
Here are our release notes for FG Funnels from December 27th, 2023 through January 3rd, 2024. If you have any questions about these updates, or other questions about FG Funnels, please reach out to [email protected] or live chat in the app and our team will be happy to help.
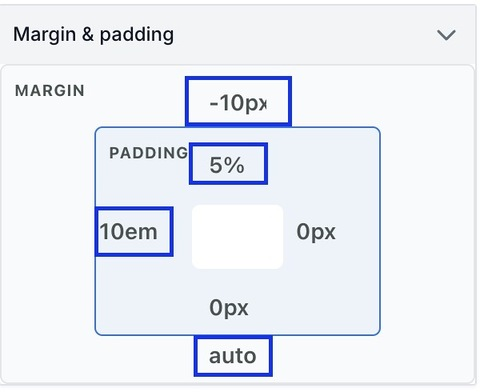
Users can now use the new margin and padding selection component for all elements in the website/funnel builder. This helps better distinguish between the role of margin and padding.

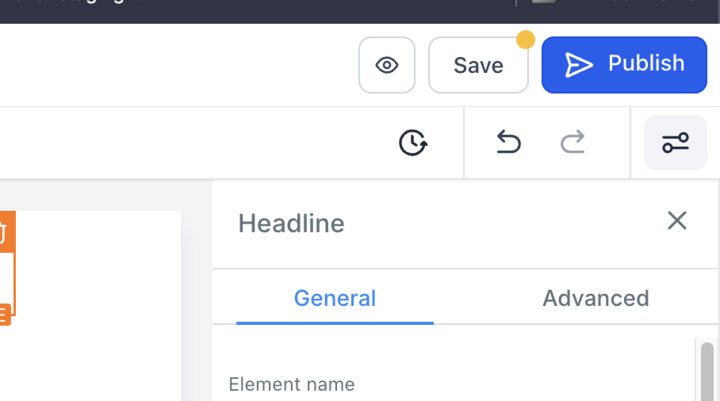
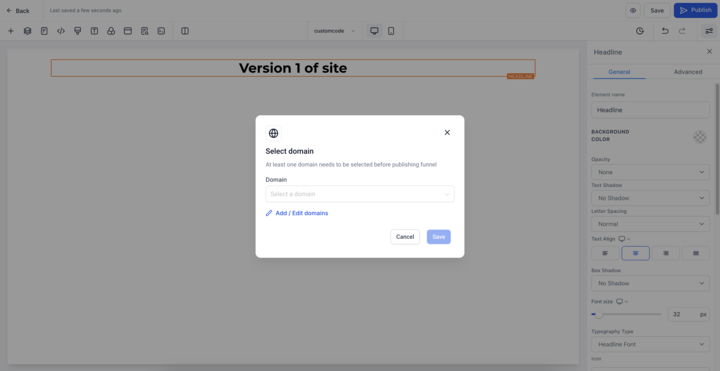
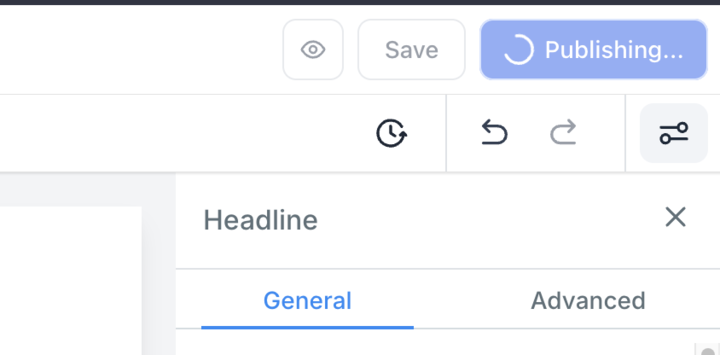
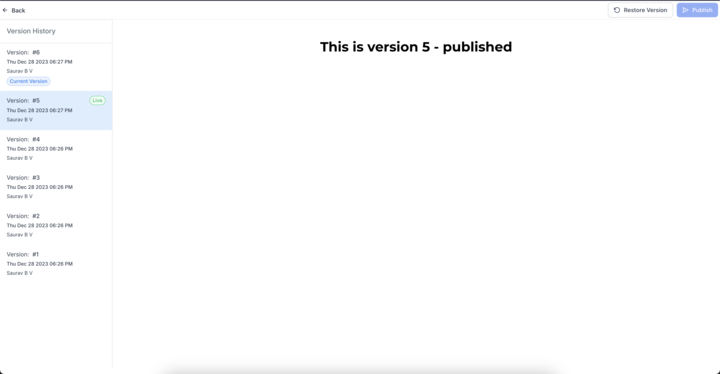
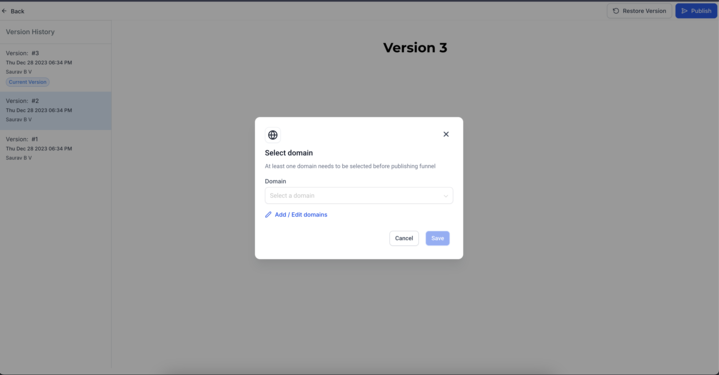
We’re excited to announce a significant enhancement to our funnel/website builder with the introduction of the Save and Publish feature. This new capability empowers users to save drafts and publish different versions of their live funnels/website seamlessly, providing greater flexibility and control over the funnel creation and publishing process.
New Features
How to Use:
Creating Drafts:
Publishing:
Versions:
Attaching domains:
Changes & FAQ
What happens to existing sites with no published version?
What happens when you clone, import funnels from snapshots?
Version limit and published site
Preview from builder
Pain Points Resolved

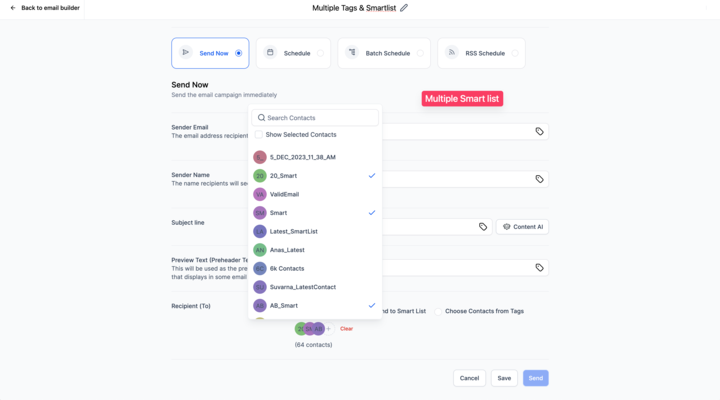
Say goodbye to static lists/tags and hello to dynamic, ever-evolving segments! We are excited to introduce a powerful enhancement to our platform that empowers users to create more refined and dynamic target lists effortlessly. Now, users can leverage multiple smart lists and tags to curate their sender lists, streamlining the process of audience segmentation for campaigns.
Prior to this update, our users faced challenges in creating custom target audience lists for campaigns as the traditional method involved creating custom lists for each campaign or manually adding contacts. This hindered efficiency and increased the risk of oversights, impacting the accuracy and completeness of target lists for campaigns.
How to Send to multiple SmartLists and tags while scheduling email campaigns:
1. Go to Marketing > Emails > Campaigns
2. Create the Email using template and save the content with different elements
3. Once you click on Send or Schedule button, it will take you to schedule the type of delivery and other details
4. In the recipient details, there is option to select contacts, smartlist and tags
– You can choose more than one smart lists and tags
– It will apply and condition to bring the unique contacts (duplicate contact emails will be considered one)
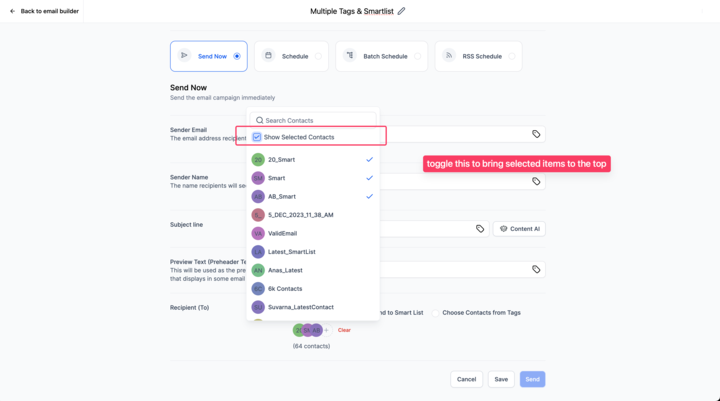
– While adding individual contacts, you can also have a custom view of only selected users with a single click.
Note – We are currently supporting adding multiple tags or smartlist. The release does not support the combination of multiple tags and smartlists yet.

New padding and margin selector
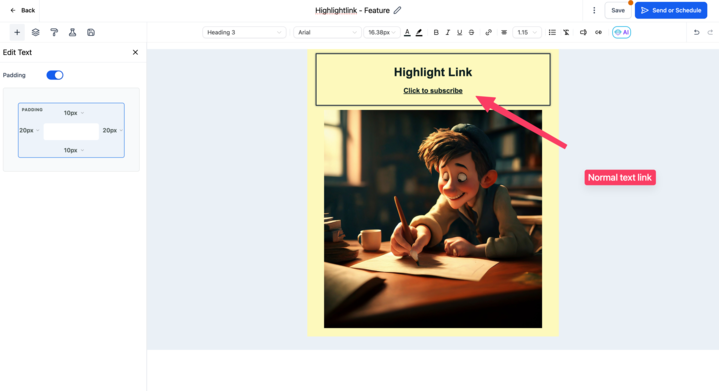
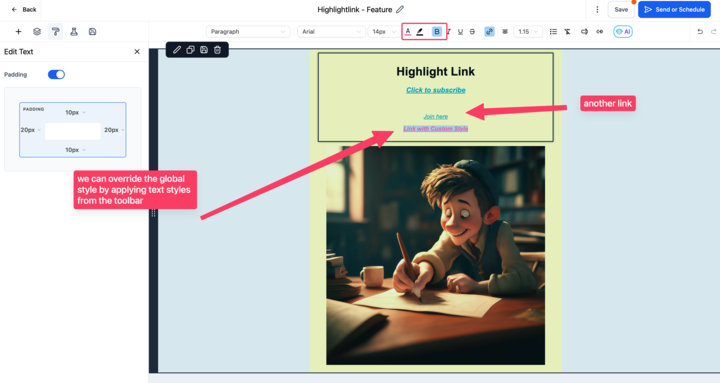
We’re thrilled to introduce a new feature that lets you easily manage the appearance of links across your content. Now, you can set link parameters directly in the Global Appearance section.
Why We Did It?
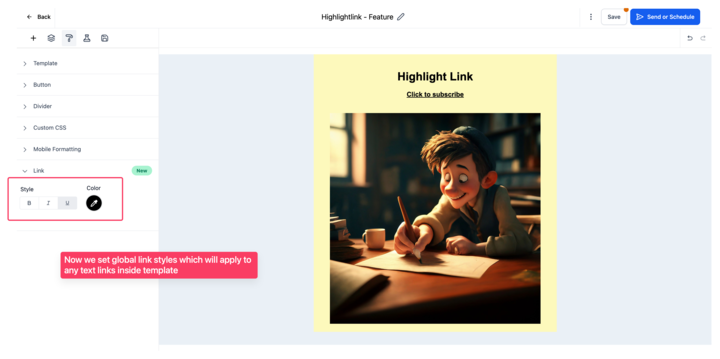
Streamlining the link customization process was our goal based on user feedback. By centralizing link settings globally, we make it simpler to maintain a consistent look and feel throughout your project.
Benefits:
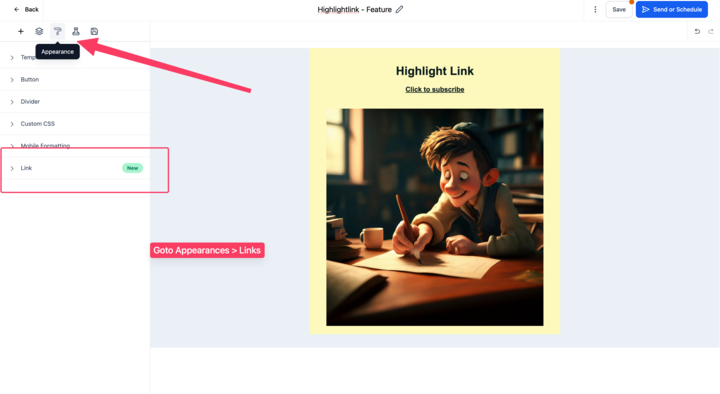
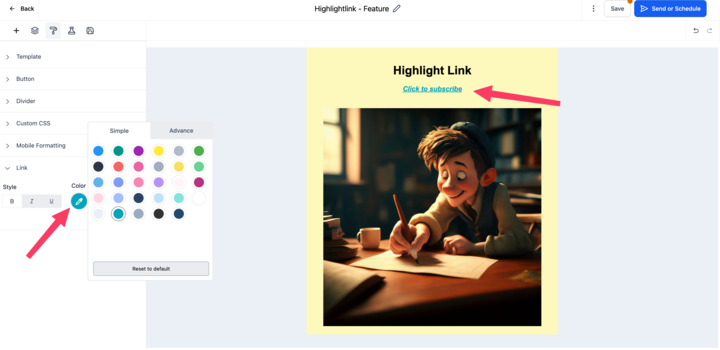
How to Use?
Inline Editing Flexibility:
We’re excited about these customization options and hope they enhance the email content creation experience.

Exciting news for our Affiliate Manager users! We’ve expanded our horizons and now proudly support commissions through NMI and Authorize.net alongside our existing Stripe integration.
New Features at a Glance:
Note: While we’re super excited about this update, we haven’t included PayPal support just yet. The payment module integration with PayPal, especially for recurring transactions and subscriptions, needs more fine-tuning. We’re eager to hear customer feedback on this! If there’s enough demand, we’ll collaborate with the developer team to make it happen.
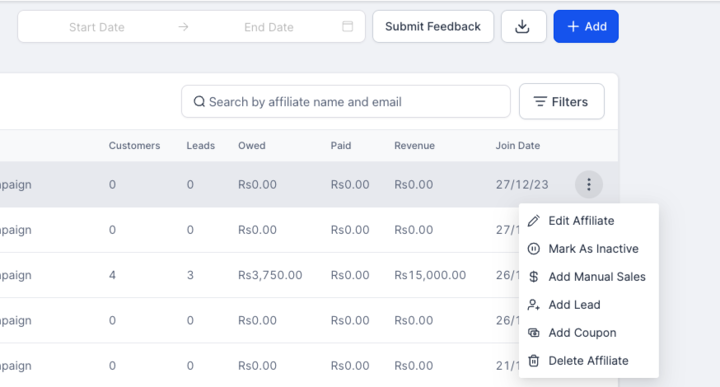
We’ve just rolled out a game-changing feature for Affiliate Manager – the ability to delete affiliates effortlessly! With just a few clicks, you can now manage your affiliate campaigns more efficiently than ever.
How to Make it Happen:
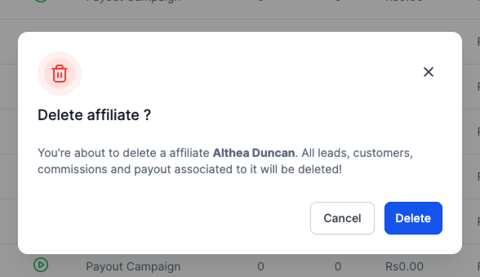
Important Note:
Deleting an affiliate isn’t just about removing a name – it’s a comprehensive action. Here’s what happens:
Why it Matters:
Empower yourself with streamlined campaign management. Whether it’s cleaning up your roster or starting fresh, deleting affiliates is now a breeze!
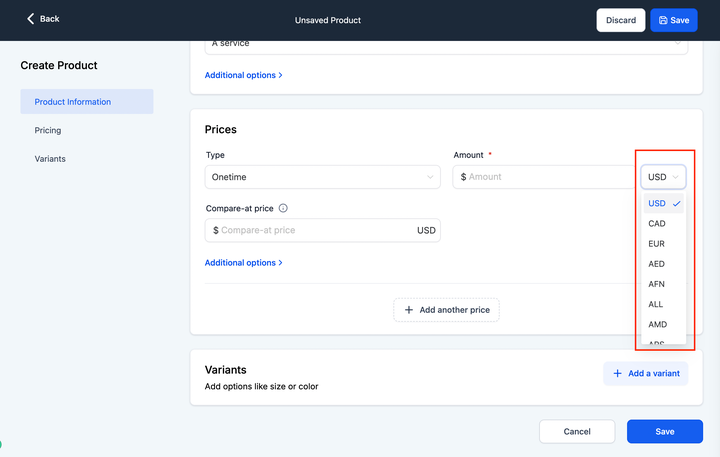
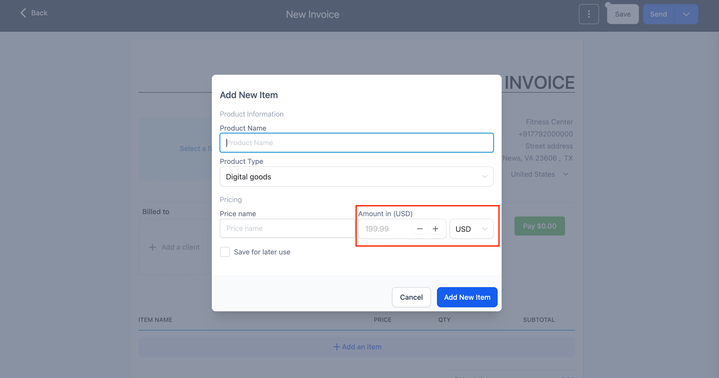
Prior to this release, a user residing in the USA could only create and send invoices in USD dollar ( the currency mapped to their account location). This includes currency restrictions in all of the invoice products like Text2Pay, Invoice Template, Recurring Template
On creation of products we only supported products with prices in the same currency and there was further restriction that allowed creation of products only in their subaccount location.
To overcome the above issues, users had to change their account location to a location that had the currency they need and post creation of an invoice / product in that location they switched back to their original location which resulted in poor experience and created a major need for having multi-currency support on Invoicing & Payments.
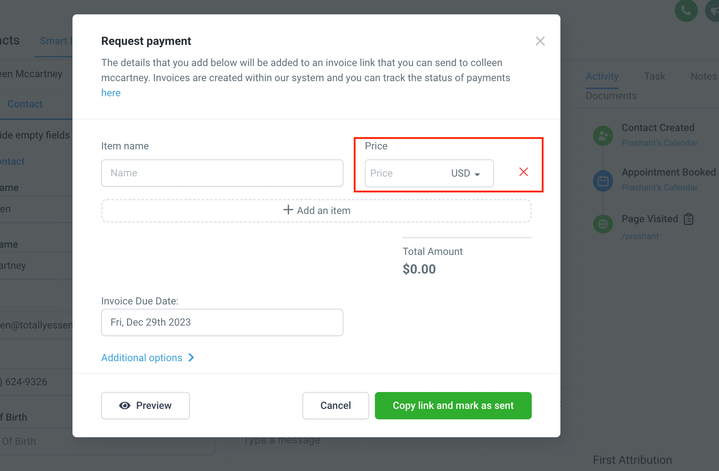
Now, users will be able to create products in their preferred choice of currency and accept payments. This means that the business country would no longer define the currency of the products, invoices, or Text2Pay links. This solves a major point of creating separate products targeted toward specific geographies or sending invoices to customers in different countries.
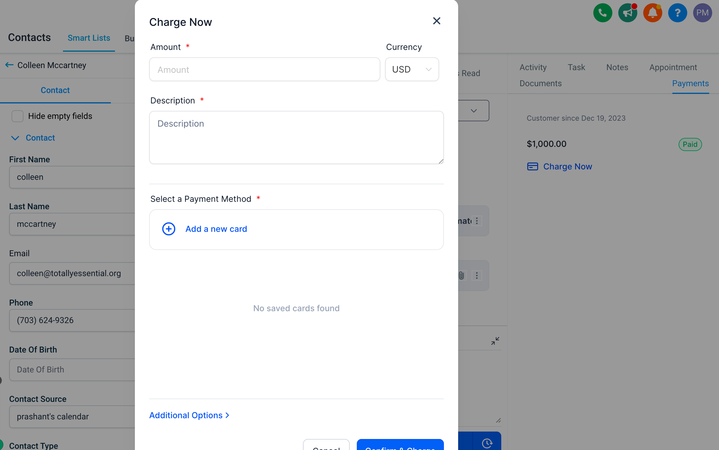
This covers support in creating preferred currency products, sending one-time or recurring invoices in any currency, sending a Tex2Pay link as per the contact’s country and currency, and charging a card while on the contacts list page.
How will this impact my old Invoices and Products?
This will not impact any of the older products or invoices created.
How can I use it ?
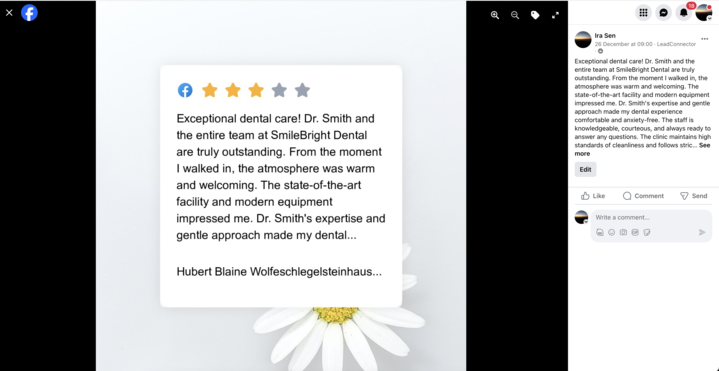
Discover the Power of Social Proof and Supercharge Your Success with Reviews!
Builds Trust and Credibility: Immerse your audience in a world of trust! Positive reviews transform satisfied customers into your biggest advocates, establishing unwavering credibility for your business.
Word-of-Mouth Magic: Ignite a wildfire of excitement! Let your customers become the heroes of your story, sharing their incredible experiences across social media. Watch as their network of friends and followers rush to join the ranks of your satisfied clientele.
Boosted Visibility, Maximum Impact: Rocket your content to the top! Social media algorithms crave engagement, and positive reviews are the fuel you need. Garner likes, comments, and shares to catapult your posts into the spotlight, magnifying your business’s visibility.
Social Proof Spectacle: Witness the magic of social proof! Each positive review is a shining beacon, signaling to potential customers that your products and services are not just exceptional but an absolute must-have. Let the reviews speak for themselves and watch your customer base soar!
Engage, Connect, Belong: Foster a vibrant community! Sharing customer reviews on social media sparks conversations, encourages interactions, and weaves a tight-knit tapestry of brand enthusiasts. Your customers become part of something bigger, creating a genuine connection with your brand.
Turn Challenges into Triumphs: Embrace every opportunity! Even in the face of challenges, negative reviews are your stepping stones to improvement. Respond with grace, showcase your commitment to customer satisfaction, and turn setbacks into success stories.
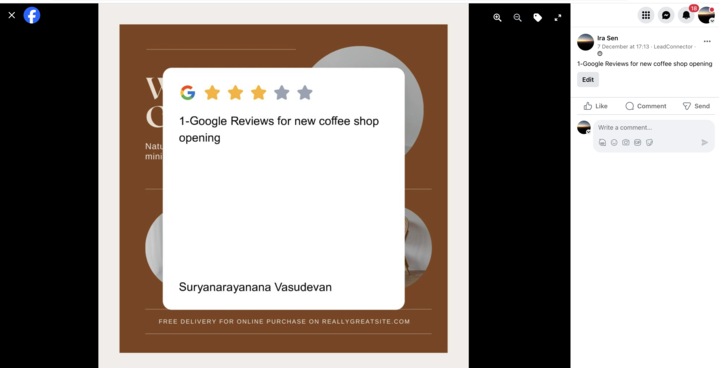
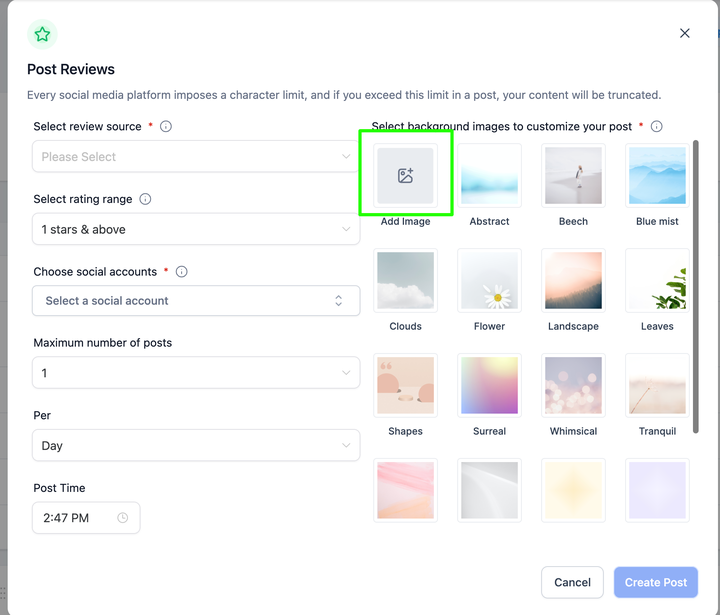
How does uploading your own background for publishing Reviews in Social Planner?
Social Planner now support Instagram Creator Account. Instagram provides three options – Personal, Business and Creator accounts.
Social Planner supports the multiple business account(s), now we support multiple Creator Account(s). Creator accounts are tailored for influencers, content creators, and public figures. Includes features like “Shops” for selling merchandise directly on Instagram.
How to Create a Post for Instagram Creator Account?
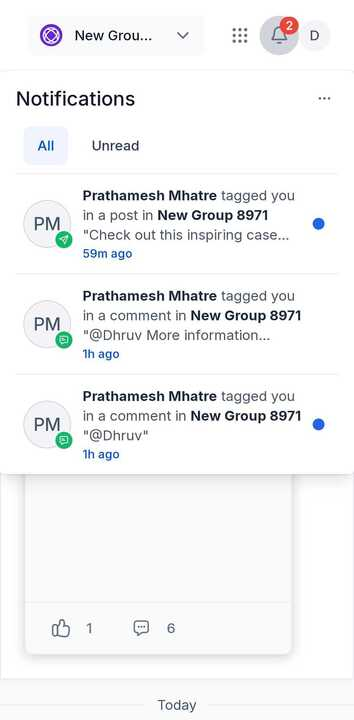
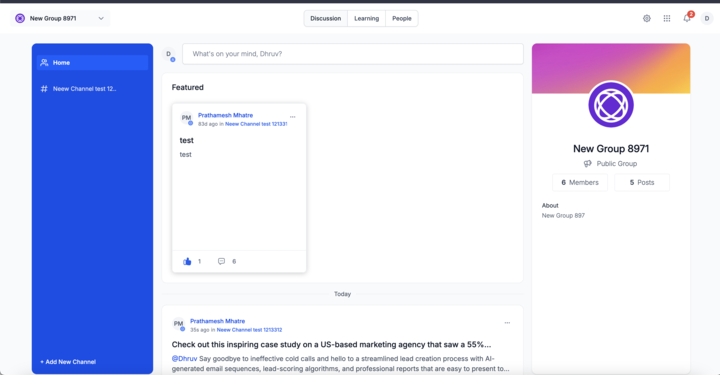
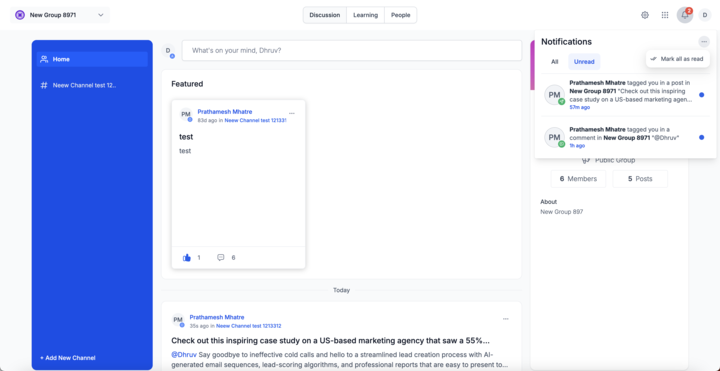
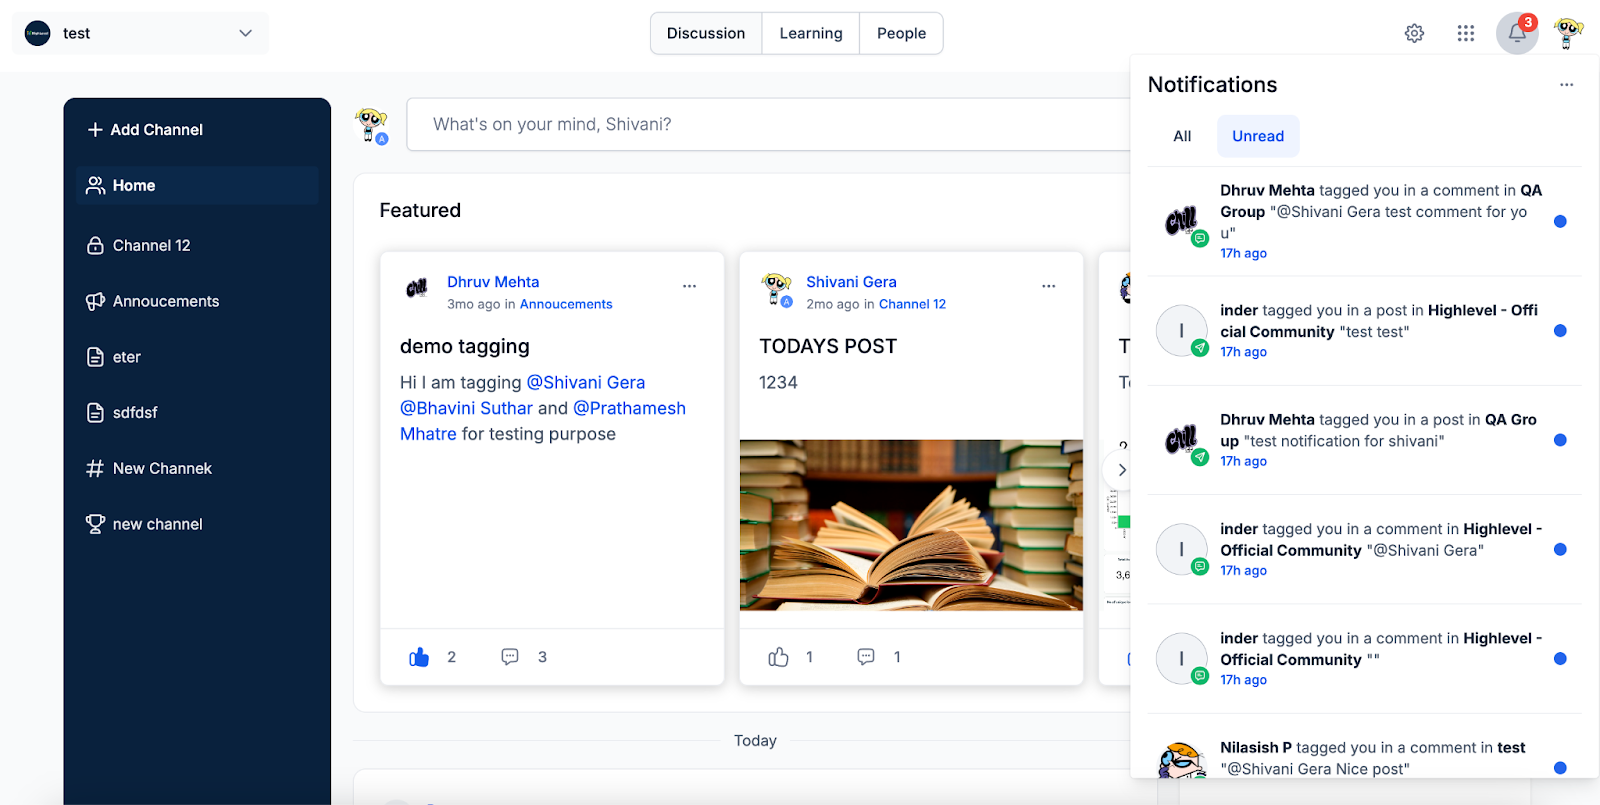
In App Notifications were one of the most important features for driving engagement into communities. These Notifications help members and owners of the communities to get updated with activities happening inside different groups, courses and certifications etc.
Currently we are supporting In App notifications for Tagged in a post and Tagged in a comment. You can find In App notifications by clicking on bell icon on the top right corner besides user profile view.
Some Features of In App Notifications:
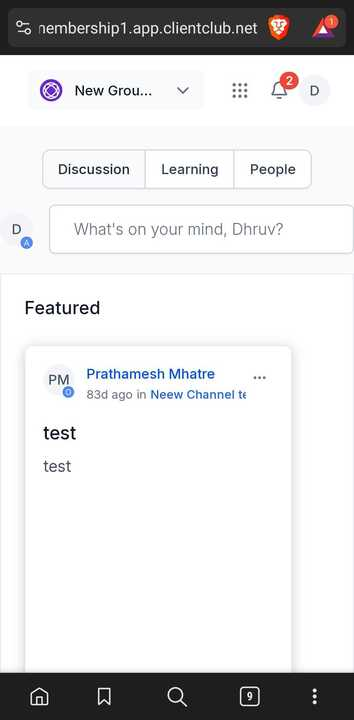


Optimized Communities Home and Post timeline for Mobile View
Bug fixes:
Restricted Owner deletion even if contact is deleted so that owners can still access groups even after contact is deleted- Received the most number of tickets for this issue
Now introducing the Embed Objects feature, allowing you to seamlessly integrate diverse online content into your FGF dashboards using iframes. Elevate your dashboard experience by incorporating web pages, Google Data Studio reports, Google Docs, slideshows, calendars, Loom videos, YouTube videos, social media posts, feeds, and more!
How this benefits you:
How to Add Embed Objects to Your Dashboard:
We’re thrilled to announce a new feature in our client portal experience—SSO Magic Links for individual client portal apps!
Key Features:
How to use Magic Links:
Go to Client Portal Dashboard > Actions > Generate Magic Link > Generate the relevant magic link
Introducing Standalone Tasks – Create and Assign Tasks to your Team members without the need of a contact.
What’s New:
This release is our first step towards enabling internal task management for our Customers. This release gives “Task” its own identity and the ability to be fully detached from contacts. The task list view is where the customers can start utilizing this and future releases will be geared to making it more useful.
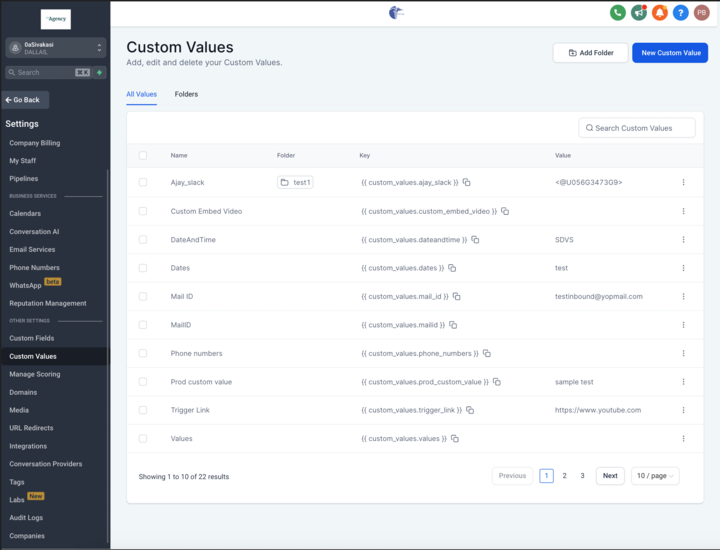
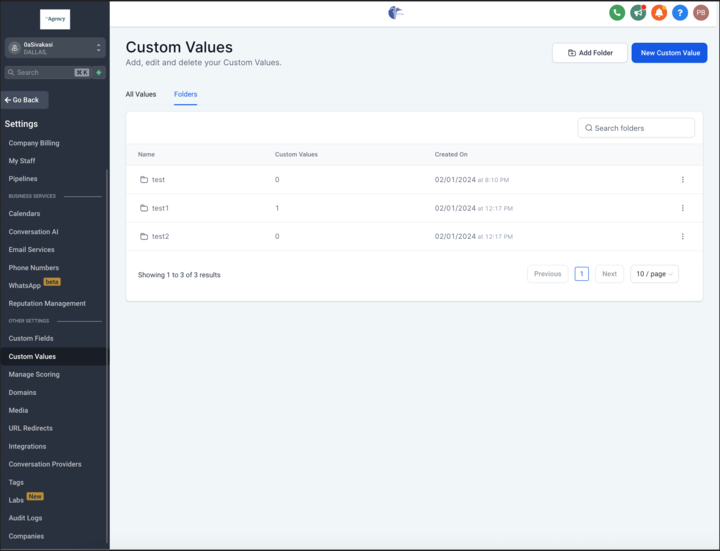
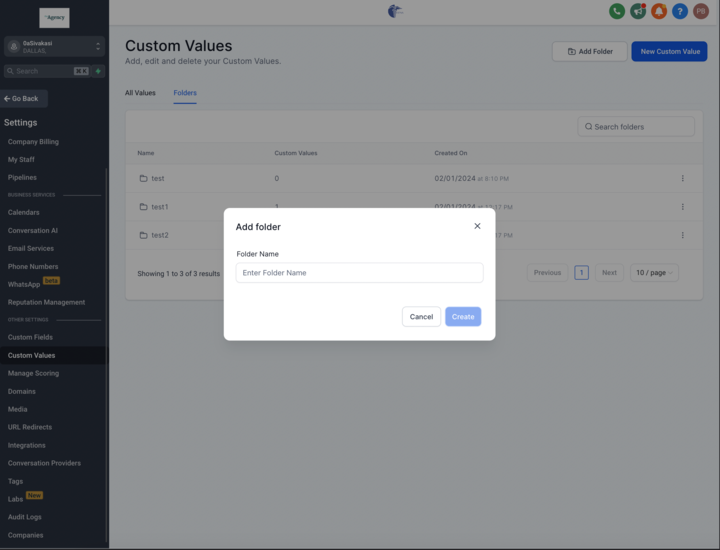
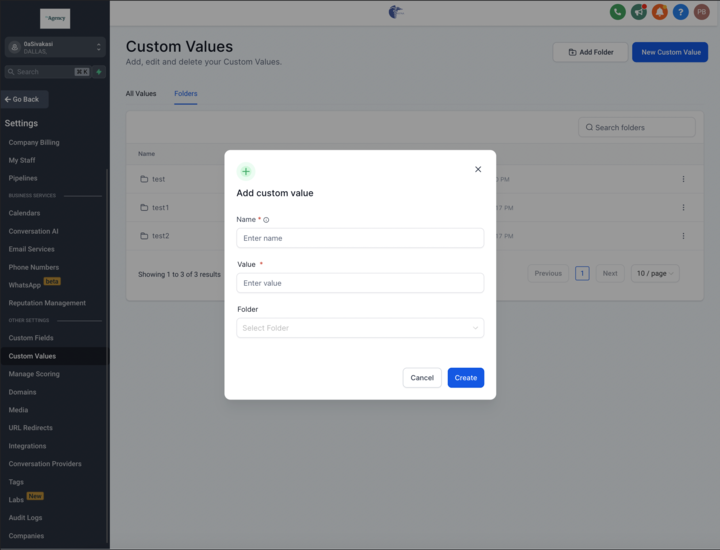
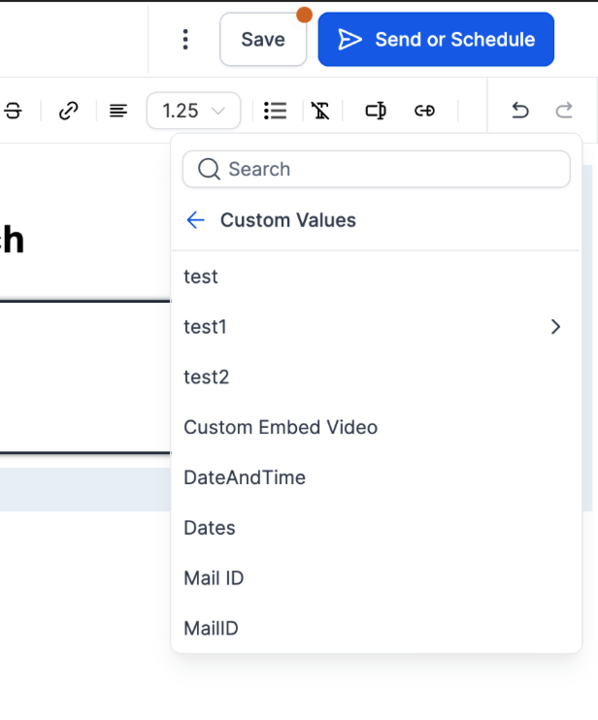
We are excited to announce 3 key features for Custom Values:
Note: Custom Values can exist without a folder
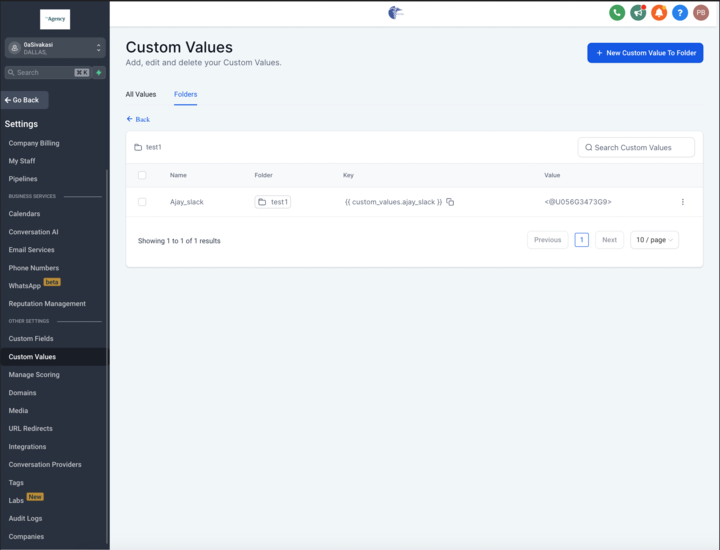
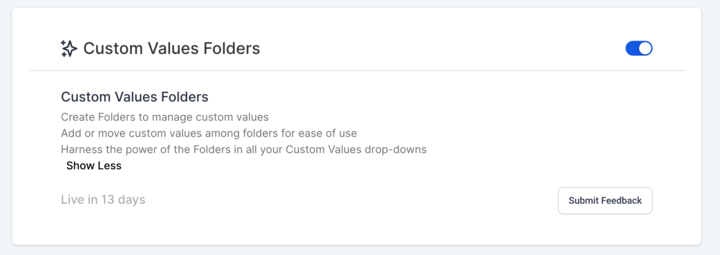
This release allows the customers to create folders and add custom values to these folders. This makes management of the custom values far easier that what is currently available and helps customers efficiently segregate and maintain their custom Values.
This feature is available in Labs for the next 2 weeks.
This has been a very large effort from multiple teams to standardize the Custom Values Dropdown and allow for this feature but it opens up the avenue to add more options to the dropdown and have it visible everywhere else. Requesting teams that are yet in the process of releasing this for their modules to quickly do so as a few places already support this and there will be inconsistency in the platform.


FGF Notifications

![]()
![]()
![]()
![]()