
Here are our release notes for FG Funnels from January 10th, 2024 through January 17th, 2024. If you have any questions about these updates, or other questions about FG Funnels, please reach out to [email protected] or live chat in the app and our team will be happy to help.
The ability to create and push snapshots with unlimited funnels is live for everyone now. Previously, users were unable to create snapshots for locations with over 100 funnels due to sync processing time constraints and memory issues.
Funnels are now processed through v2 snapshots, leveraging a new method that should resolve all of the issues we had before.
We are thrilled to announce significant enhancements to our Multi-File Upload feature. This update brings two major improvements:
File Deletion Capability: Gain the flexibility to delete individual files from the multi-file upload field, thanks to the new intuitive delete icon next to each file.
Expanded File Accessibility in Exports and Notifications: We’ve upgraded the handling of file uploads in CSV exports, email notifications, and auto-responders. Instead of just the first file’s link, now each file in a multi-file upload field will have its individual link.
How Does It Work?
Deleting a File: Simply click the delete icon next to the file in the multi-file upload field in the form/survey preview.
Accessing File Links: In CSV exports, email notifications, and auto-responders, each file uploaded through the multi-file upload field will have its link provided.
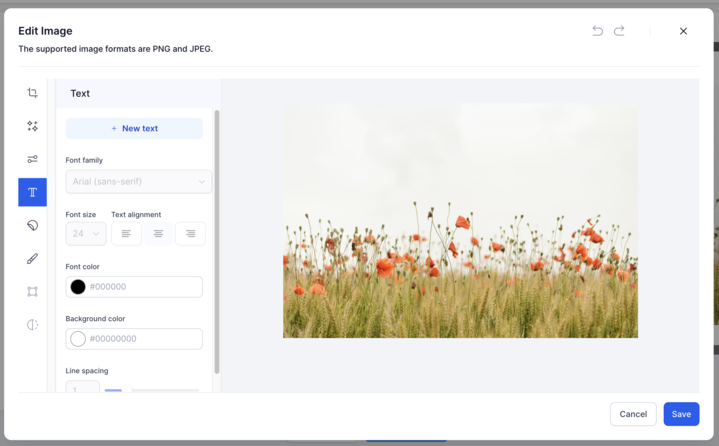
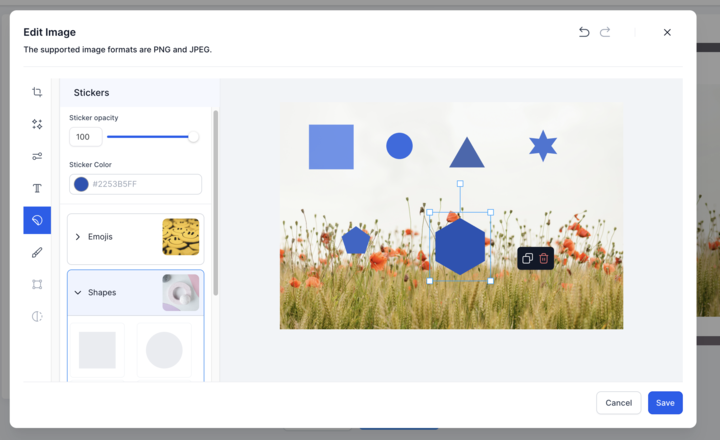
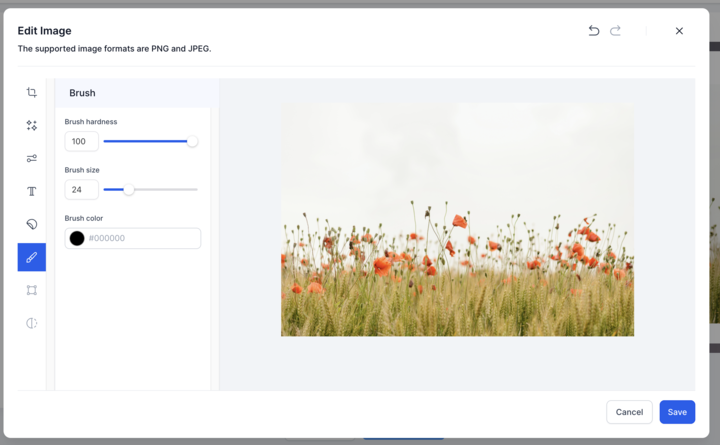
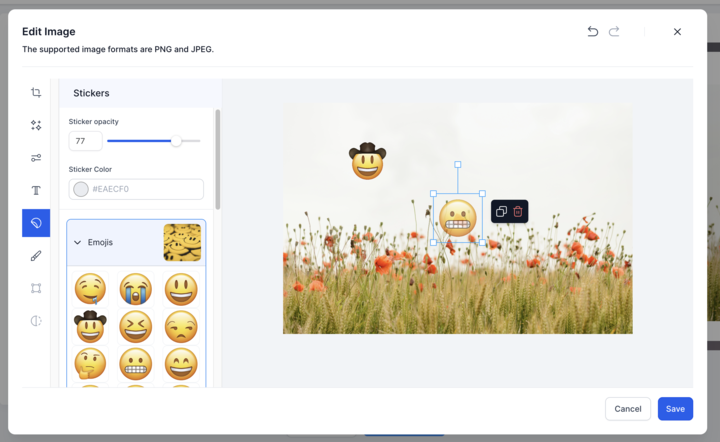
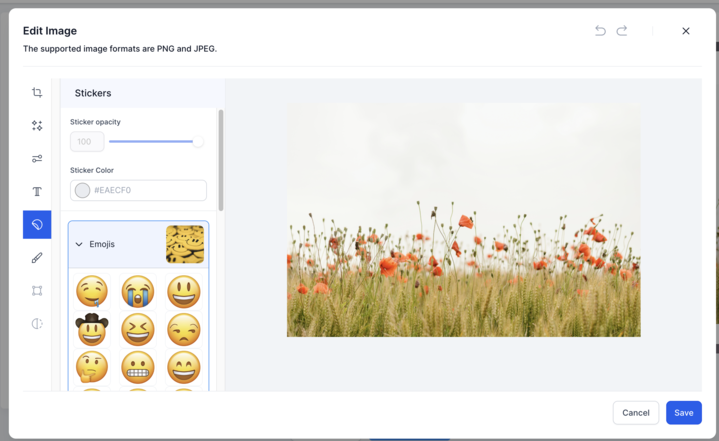
Unleash the Power of Your Creativity – Transform Your Images with Text Magic! Instantly add captivating captions, labels, and titles to provide an immersive context to your images. Engage your viewers with compelling information that leaves a lasting impression with pro stickers and emoji support.
How do you add text, stickers and emoji in Image Editor – In Social Planner?
Note – Only the following text – fonts are supported in the editor:
Arial, Verdana,Tahoma, Trebuchet MS, Times New Roman, Georgia, Garamond, Courier New, Brush Script.
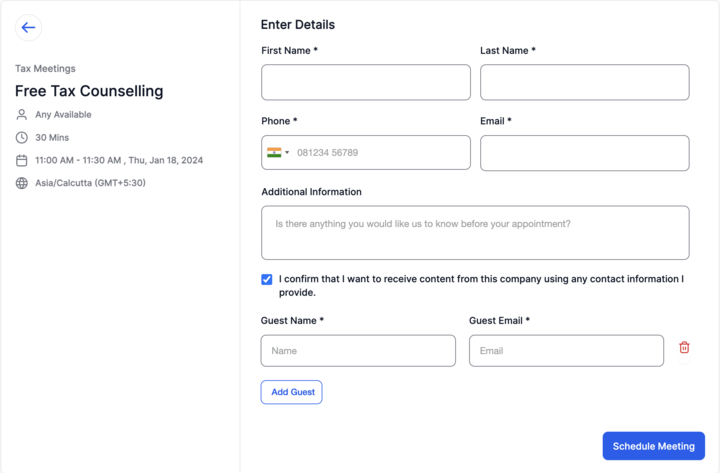
In this release, we are thrilled to unveil a redesigned calendar widget aimed at enhancing the overall user experience and increasing the booking conversion for our users. This update brings a more user-centric and user-friendly design.
Neo Widget Revamp:
Enhancements:
Please Note: This enhancement is exclusive to the existing NEO widget and can be activated through Labs. Adjust any CSS customizations to align with the updated widget design; minimal changes are required.

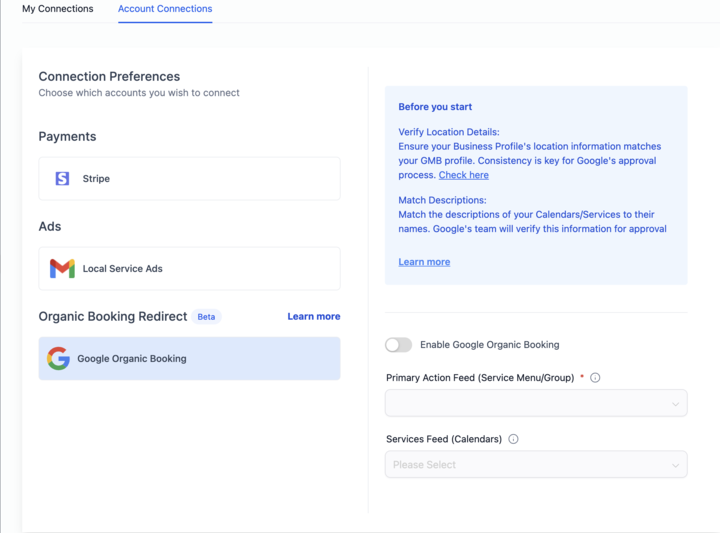
In this release, we introduce the option for users to disable Google Organic Booking, providing greater control over their online presence.
Now, users have the option to disable Google Organic Booking with a simple toggle in Calendar Settings. By disabling the integration, the system refrains from uploading any feed to Google. Consequently, the end customers won’t find the option to discover and book services directly from a business’s Google My Business (GMB) listing.
How to Use?
This feature is a crucial step towards implementing Google Organic Booking Auto Opt-In, where every location with at least one service menu or group will be automatically enrolled.
This feature gives users more control; if someone decides not to leverage Google Organic Booking, they can easily toggle off the switch and disable the integration.
In this release, users can now seamlessly shuffle between team members and dynamically add them on the fly, providing greater flexibility and efficiency in managing collective bookings.
What’s New?
Dynamic Team Member Selection: Previously, users were limited to choosing team members added to a collective calendar when booking appointments. Now, users can add any team member from the list directly in the in-app modal.
Flexible Combinations: Users can now create custom team member combinations for appointments without the need to pre-configure multiple calendars.
How to Use?
This feature is designed to cater to service-based businesses such as Home Cleaning Services, Landscaping Companies, Plumbing Services etc. that often determine team assignments at the last moment.
By enabling users to dynamically select and add team members, we cater to different use cases, improving operational efficiency.
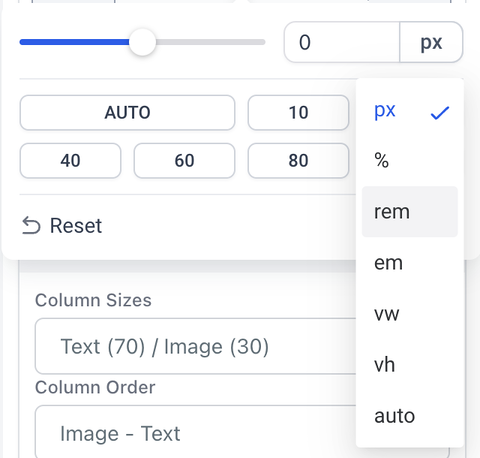
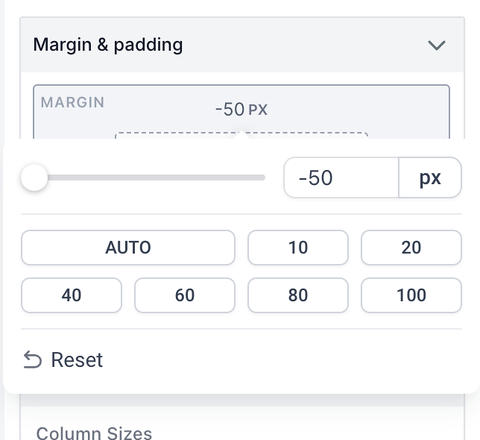
The funnel builder now has the new spacing component redesign. The new component now has less clutter and is more user friendly. Users can now select a variety of units which includes px em rem % auto vh vw.
Additionally, the beloved slider is back! Based on the units the users select, the range of the slider would appropriately change. A set of suggested values are present for each unit for quick selection.
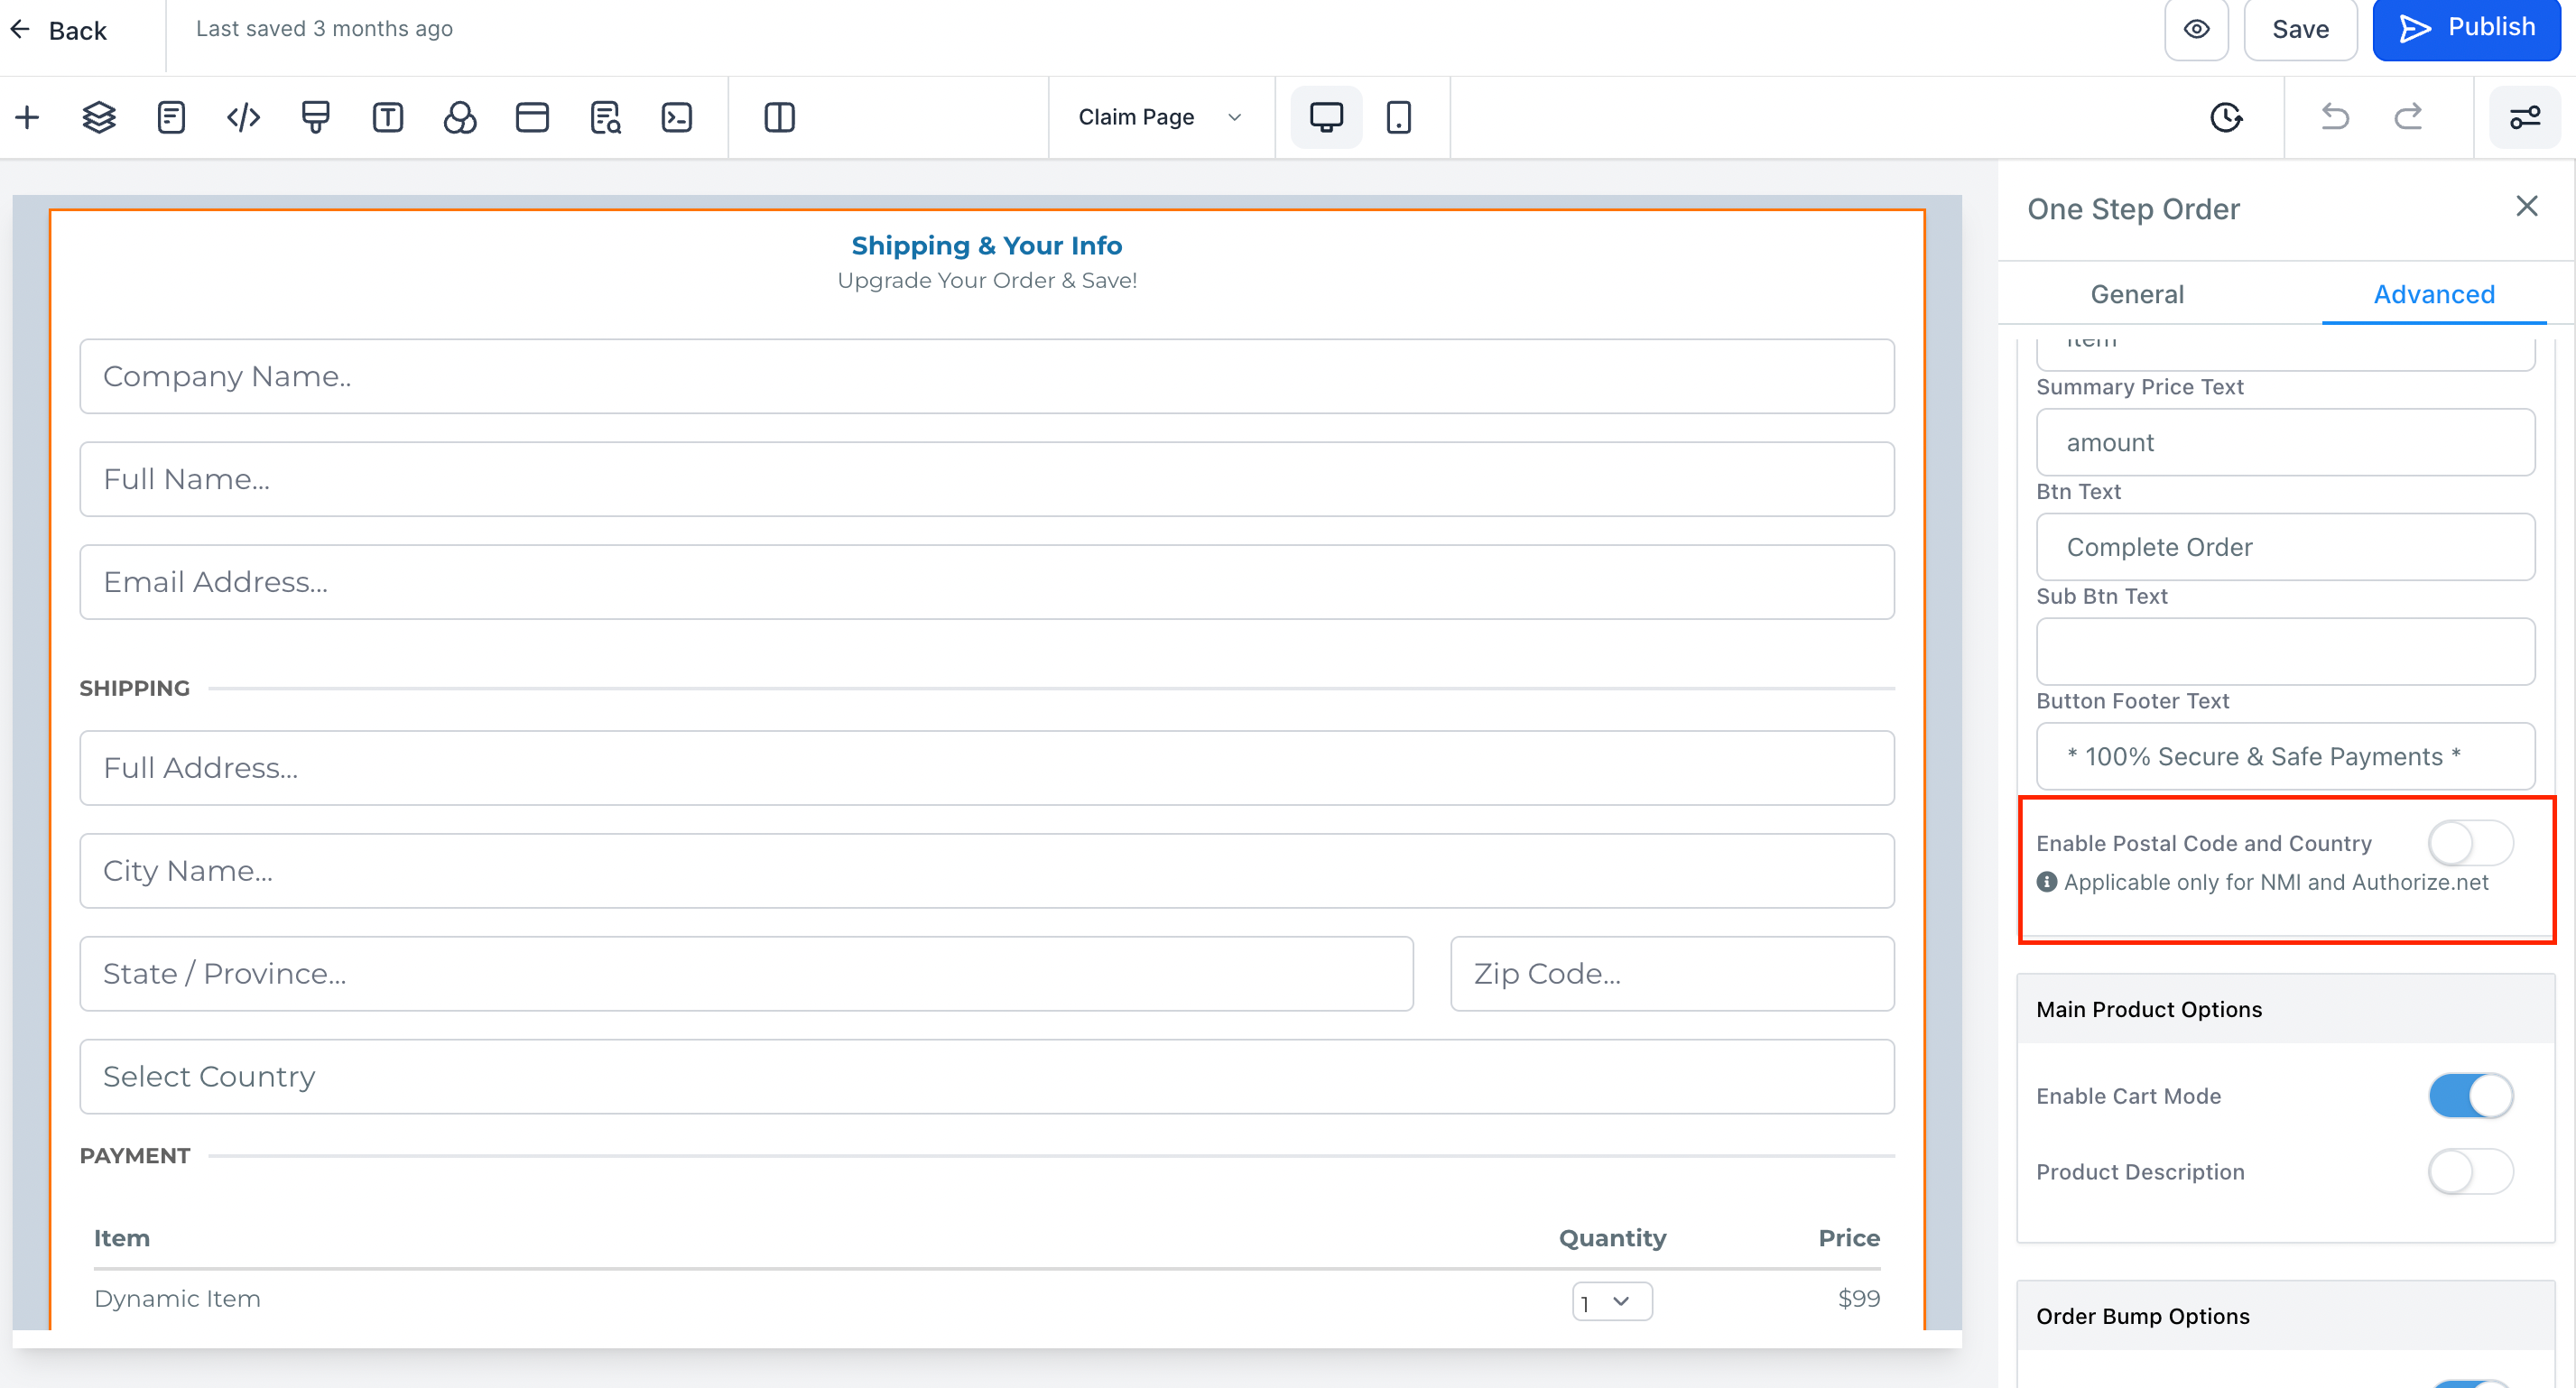
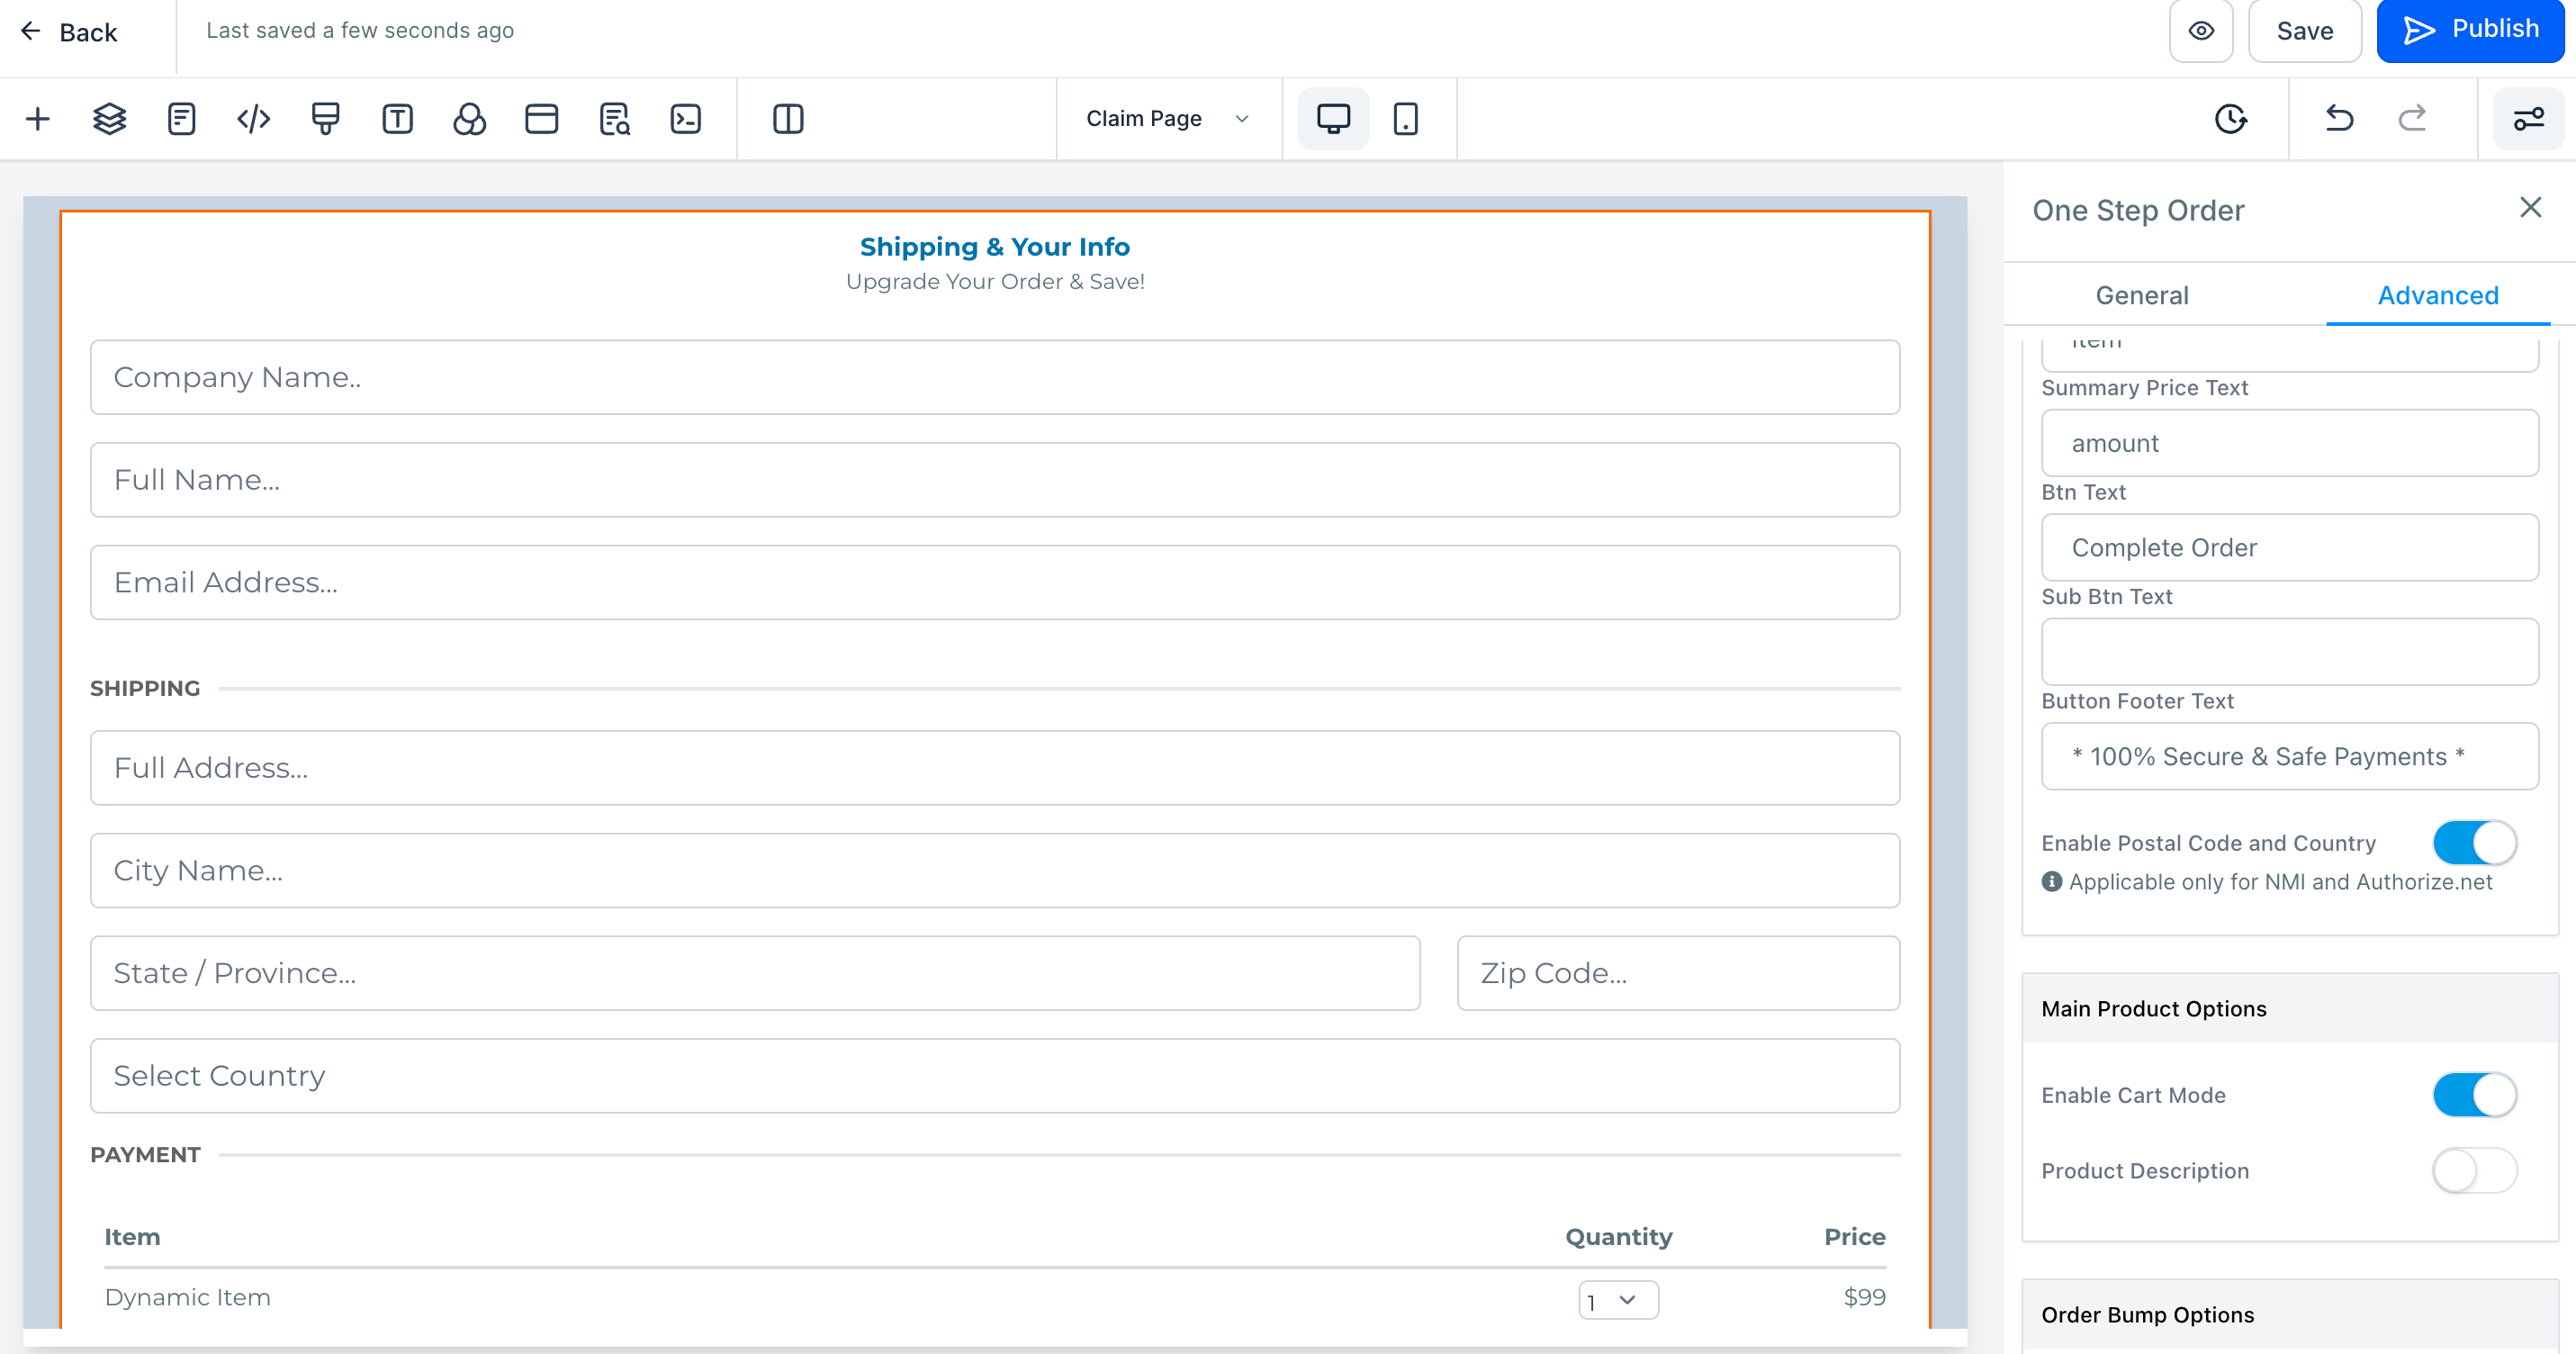
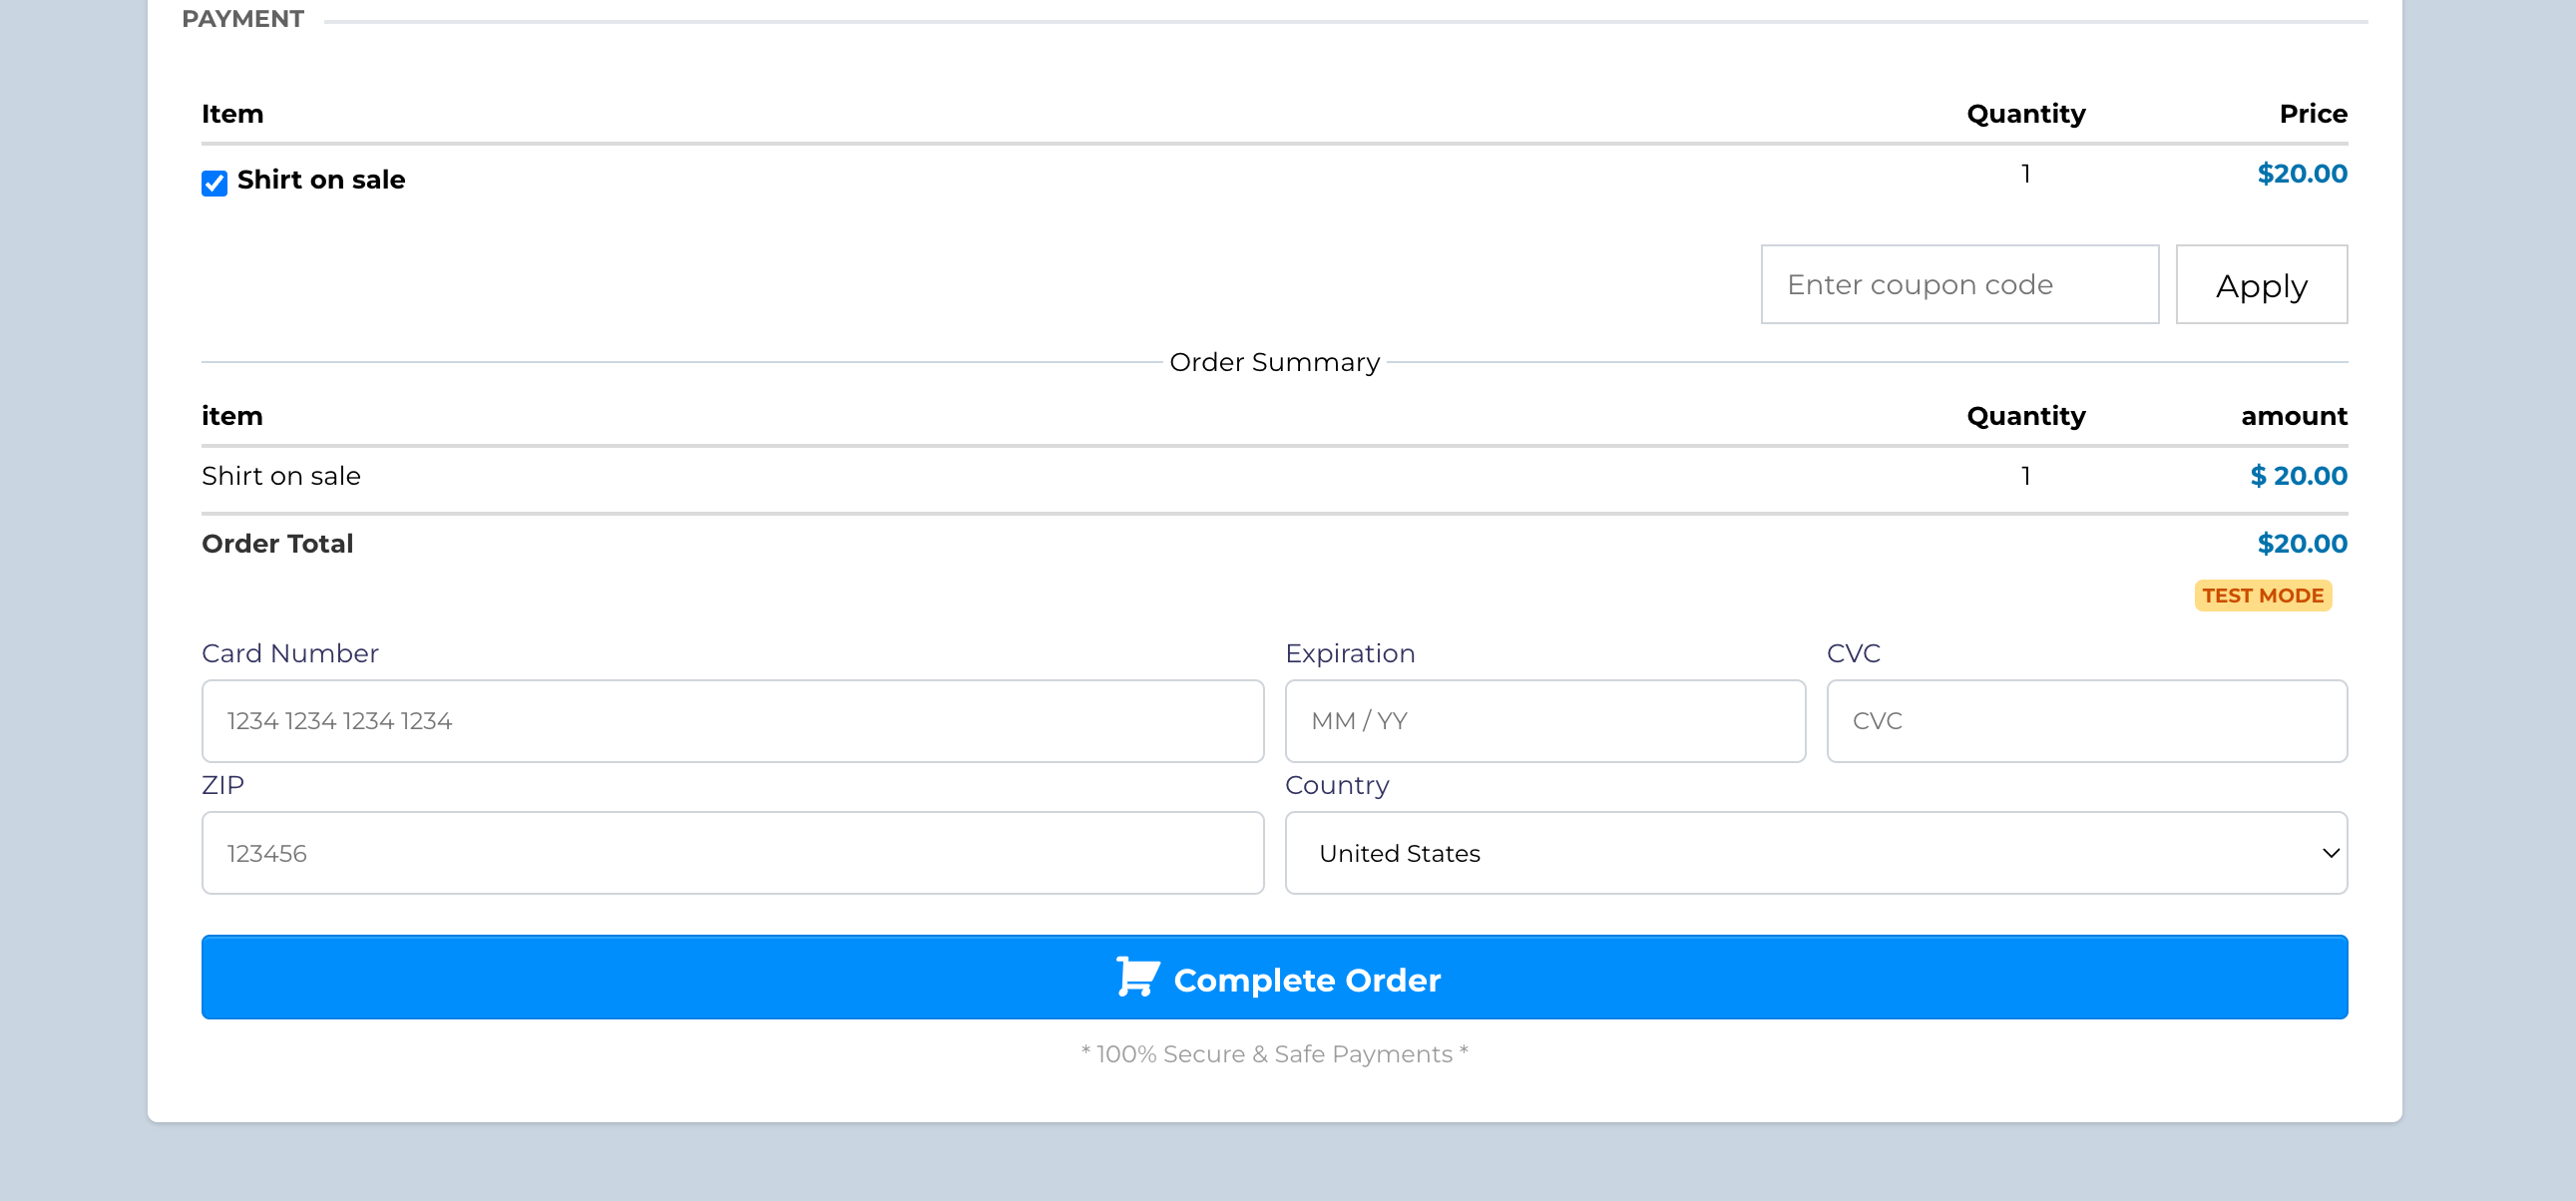
Users will now be able to enable capturing of Zip Code and Country along with the credit card information for order form payments. This solves the pain point of capturing complete billing details when the additional details are not required for the business use case.
Users will be able to enable this setting inside the funnel/website builder settings for order forms. This setting is only applicable for Authorize.net and NMI connection. The captured zip code and country will be sent to the respective payment provider as the billing details.
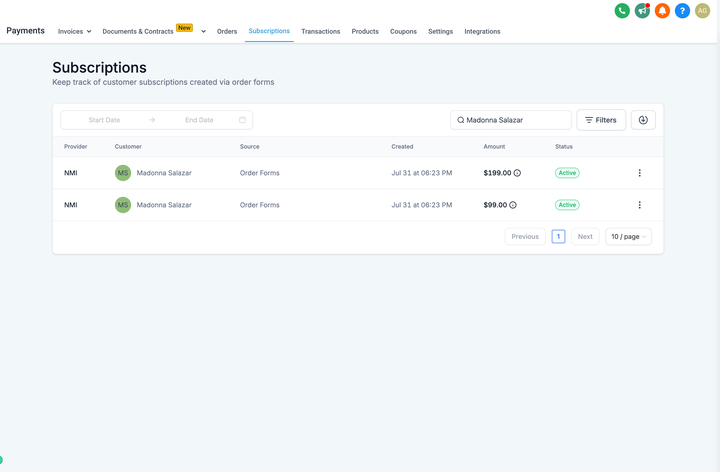
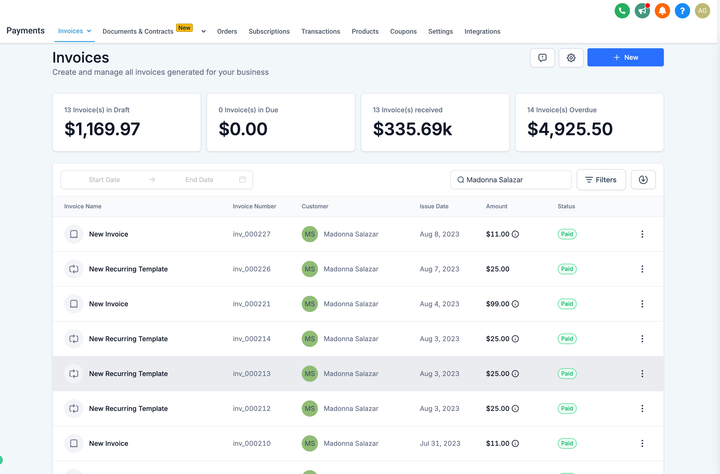
Users will now be able to see payment information and history on the contact details page. This makes it easier to scroll through the payments made, invoices sent and subscriptions associated with the contact along with their respective status.
By default, the last 5 entries would be shown in the list view for each category and users can click to view more if required. This is in addition to the customer LTV displayed and the ability to charge a custom amount for the contact without leaving the contact details page
Previously, the Drip action did not respect the Global Time window from the workflow settings page, thus hindering the usage of drip to it’s fullest potential. This has been fixed, and the Drip action will respect the time window.
As part of our commitment to enhancing your experience, we are making changes to our pricing structure for the Number Formatter and Date Formatter actions.
Both the Number Formatter and Date Formatter actions will no longer be premium features. We are thrilled to make these essential formatting tools accessible to all our users at no additional cost.
Our mission is to empower our users and make automation tools more accessible. By making Number Formatter and Date Formatter free, we aim to remove any barriers and encourage broader adoption of these powerful formatting capabilities within your workflows.
We are excited to introduce a powerful new feature—Automated Cancellations for Yext Listings. Now, users have the control to initiate cancellations directly through the platform, providing a seamless and efficient experience.
Key Features:
How to Cancel Yext Listings:
We’re thrilled to announce the expansion of Yext Listings to include France, Germany, and Italy, providing our users with an even broader reach and enhanced digital knowledge management.
Yext Availability in France:
Yext Availability in Germany:
Yext Availability in Italy:
Popular Listings Supported:
We now supports a comprehensive range of over 45+ online listings across Germany, Italy and France, including popular platforms like Google Business Profile, Bing, Facebook, Apple Maps, and many more.
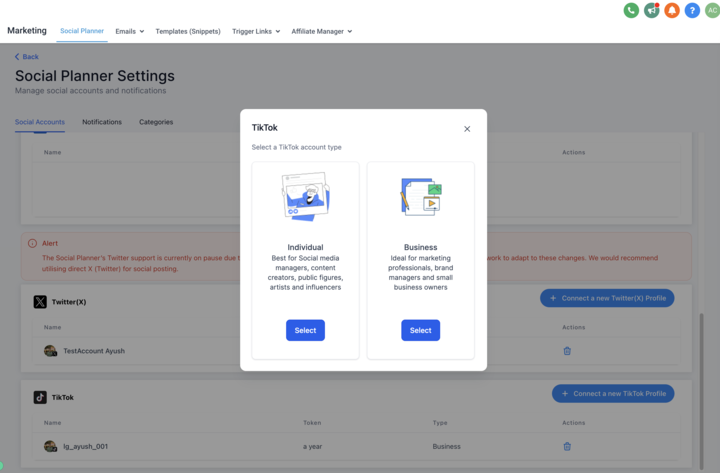
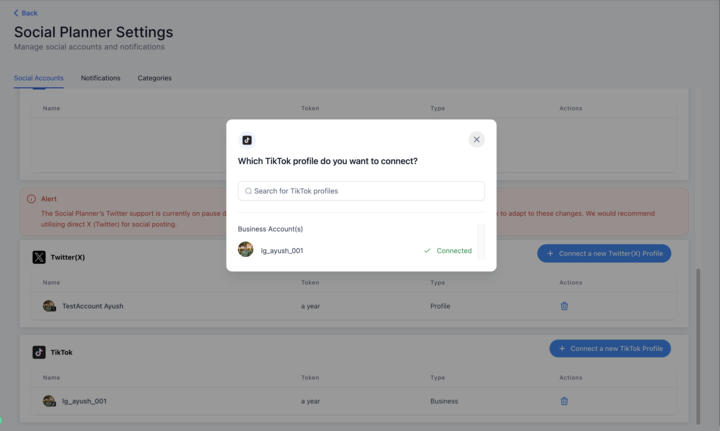
Tiktok provides two types of Accounts – Personal and Business Accounts. Social Planner already supports Personal Account(s), we have recently opened up for multiple business accounts.
Supporting multiple TikTok accounts can offer several advantages for Business Accounts:
Brand Presence:
Targeted Marketing:
Analytics and Insights:
Collaborations and Partnerships:
How does it work?
Specification for 1 Tiktok Video –
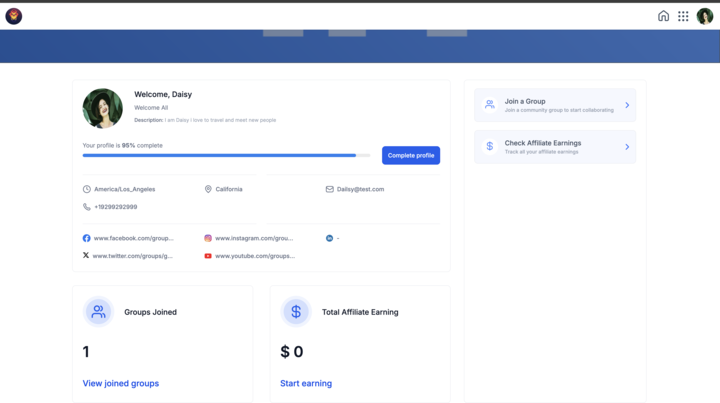
We’re thrilled to introduce a significant upgrade to the client portal experience – the Preview Dashboard. This feature will be visible to clients upon logging into the client portal and selecting “Home.”
Key Features:
How to use Magic Links:
This feature will be visible to clients upon logging into the client portal and selecting “Home.”
Bug Fixes & Tech Debts:
Introducing live chat reply triggers and live chat send message actions in workflows. Go to New Trigger -> Customer Reply -> Add filter for Reply Channel -> Select Live Chat.
InboundMessage Web-hook for Multiple channels
Introducing Standalone Tasks – Create and Assign Tasks to your Team members without the need of a contact.
What’s New:
We’re thrilled to unveil a groundbreaking feature in our email campaign analytics—Conversion Metrics! Now, you can dive deeper into the performance of your email campaigns by tracking revenue attribution directly within FG Funnels. Gain insights into the revenue generated by each email campaign, and make informed decisions based on the direct impact of campaigns on your sales.
The attribution window is flexible, and can be customized to suit your analysis needs. By default, it’s set to 5 days, reflecting the influence of campaigns on customer decisions within this timeframe. You’ll be able to extend the window up to 60 days.
How It Works:
The instance provided below demonstrates the functioning of email attribution. It’s essential to recognize that the scenario is based on the default 5-day email attribution window.
Example Scenario
Day 1:
You send an email to your subscriber, and they open it to view the offer.
Day 4:
Eventually, they return to make a purchase of that product.
In this case, revenue would be attributed to the initial email since it falls within the 5-day attribution window. However, if the customer were to make the purchase on day 12, the revenue would not be attributed to the original email.
How to Use:
Summary
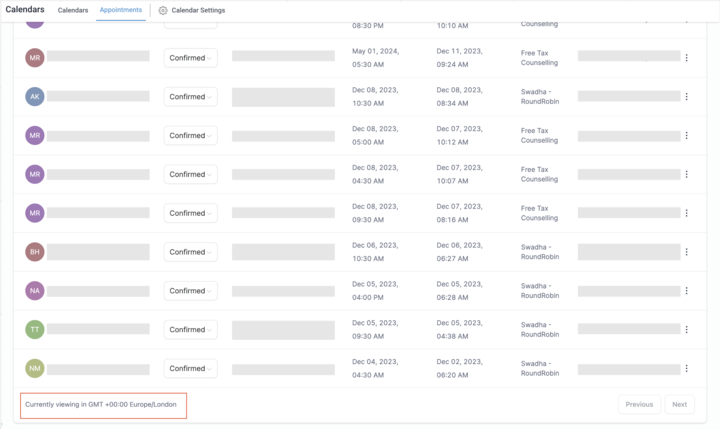
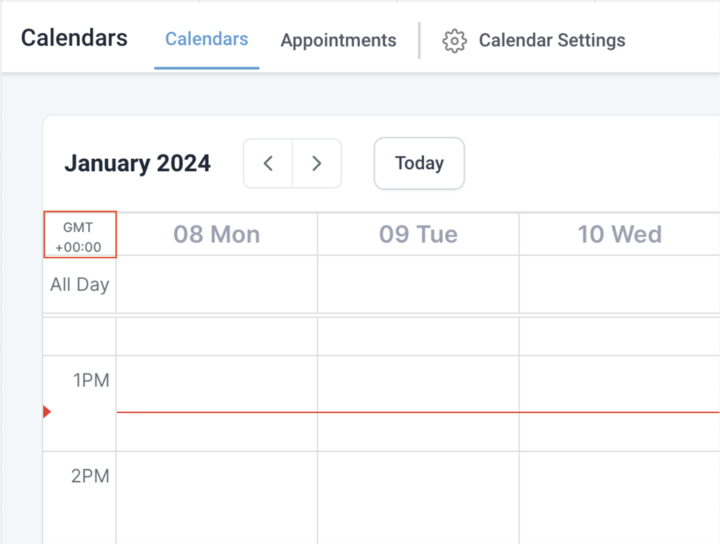
In this release, we introduce a significant enhancement – the ability to view calendar events, appointments and confirmation emails in the user’s timezone. This update aims to provide a seamless and efficient experience for users located across different time zones, eliminating the need for manual time conversion.
What’s New?
Previously, all users could only view their appointments and confirmation emails in the business timezone. With the new update, users can now set their preferred timezone in the Settings > My Profile > User Availability section. This selected timezone will be used to display all appointments in the calendar module, ensuring a personalized and accurate representation of their schedule.
How to Use?
Activation in Labs:
User Timezone
Note: If you do change your timezone, remember to adjust your availability accordingly.
Impacted Areas (Calendar Module)
Why This Feature?
FGF Notifications

![]()
![]()
![]()
![]()