It is time for all the latest updates in FG Funnels from the week of July 17th through July 24th, 2024. If you have questions about any of these updates, or FG Funnels in general, please reach out to [email protected] or live chat in the app and our team will be happy to help.
Affiliate Manager
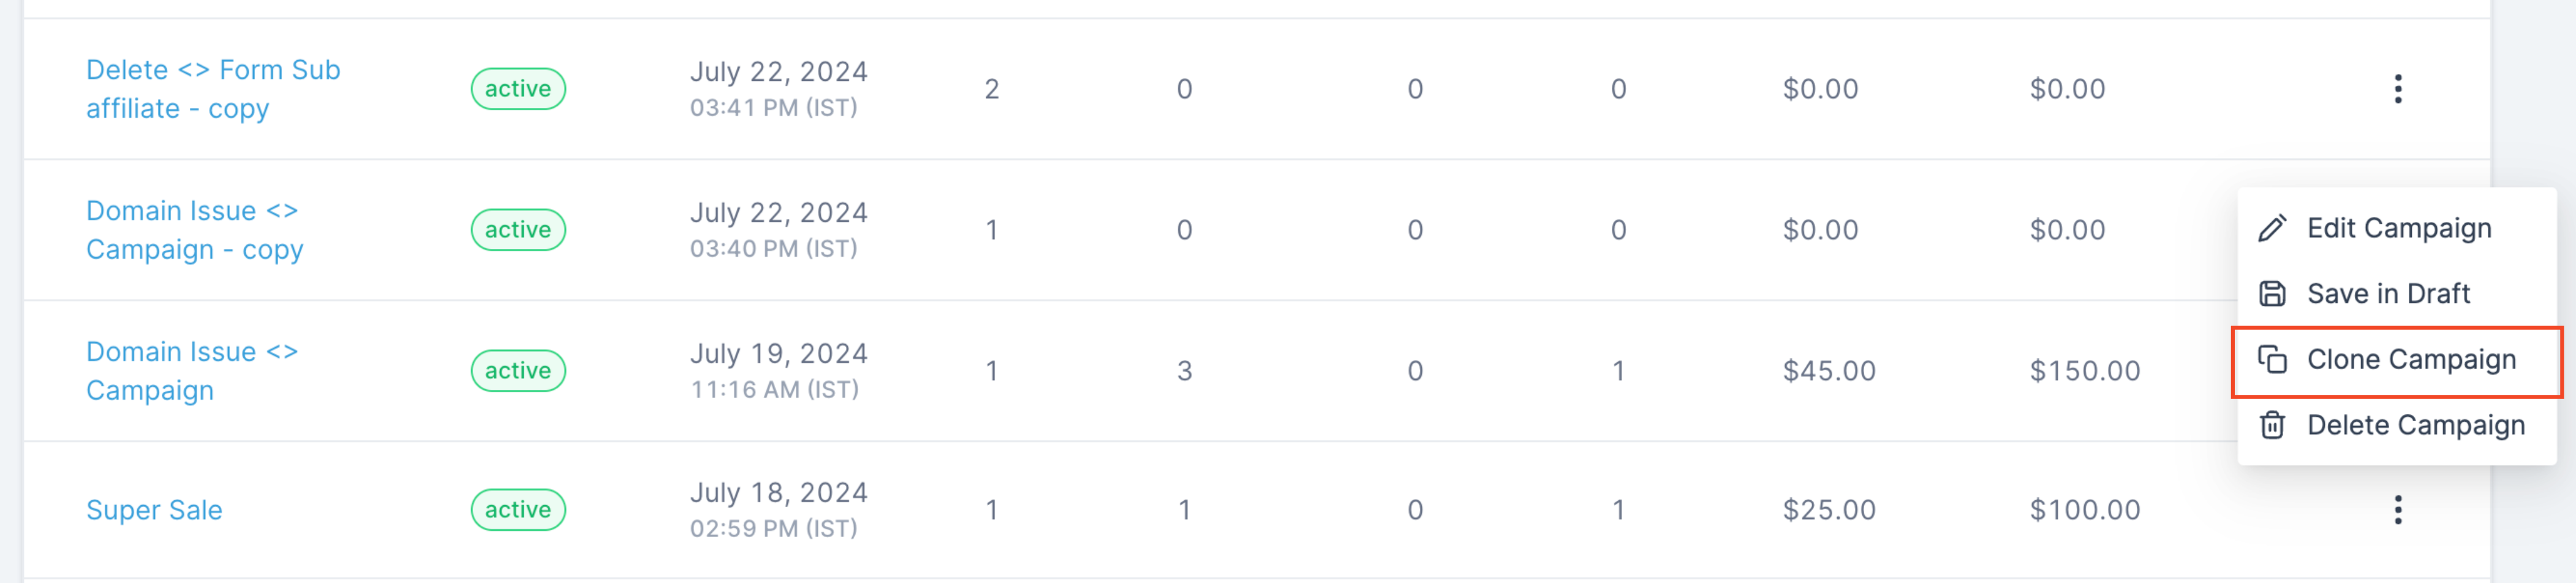
Cloning Affiliate Campaigns
The ability to clone affiliate campaigns within an account is now live.
How It Works:
Head over to Marketing>Affiliate Manager>Campaign.
For the campaign you want to clone, click on the three dots.
Choose “Clone Campaign.”
Decide if you want to keep the affiliates.
Click on Save.
The new cloned campaign will be inactive. You can publish it after making the required finishing touches.
This feature saves you time by allowing you to reuse configurations and settings from existing affiliate campaigns, streamlining the process of campaign creation.
Contacts
Delete and Restore Contacts – Update
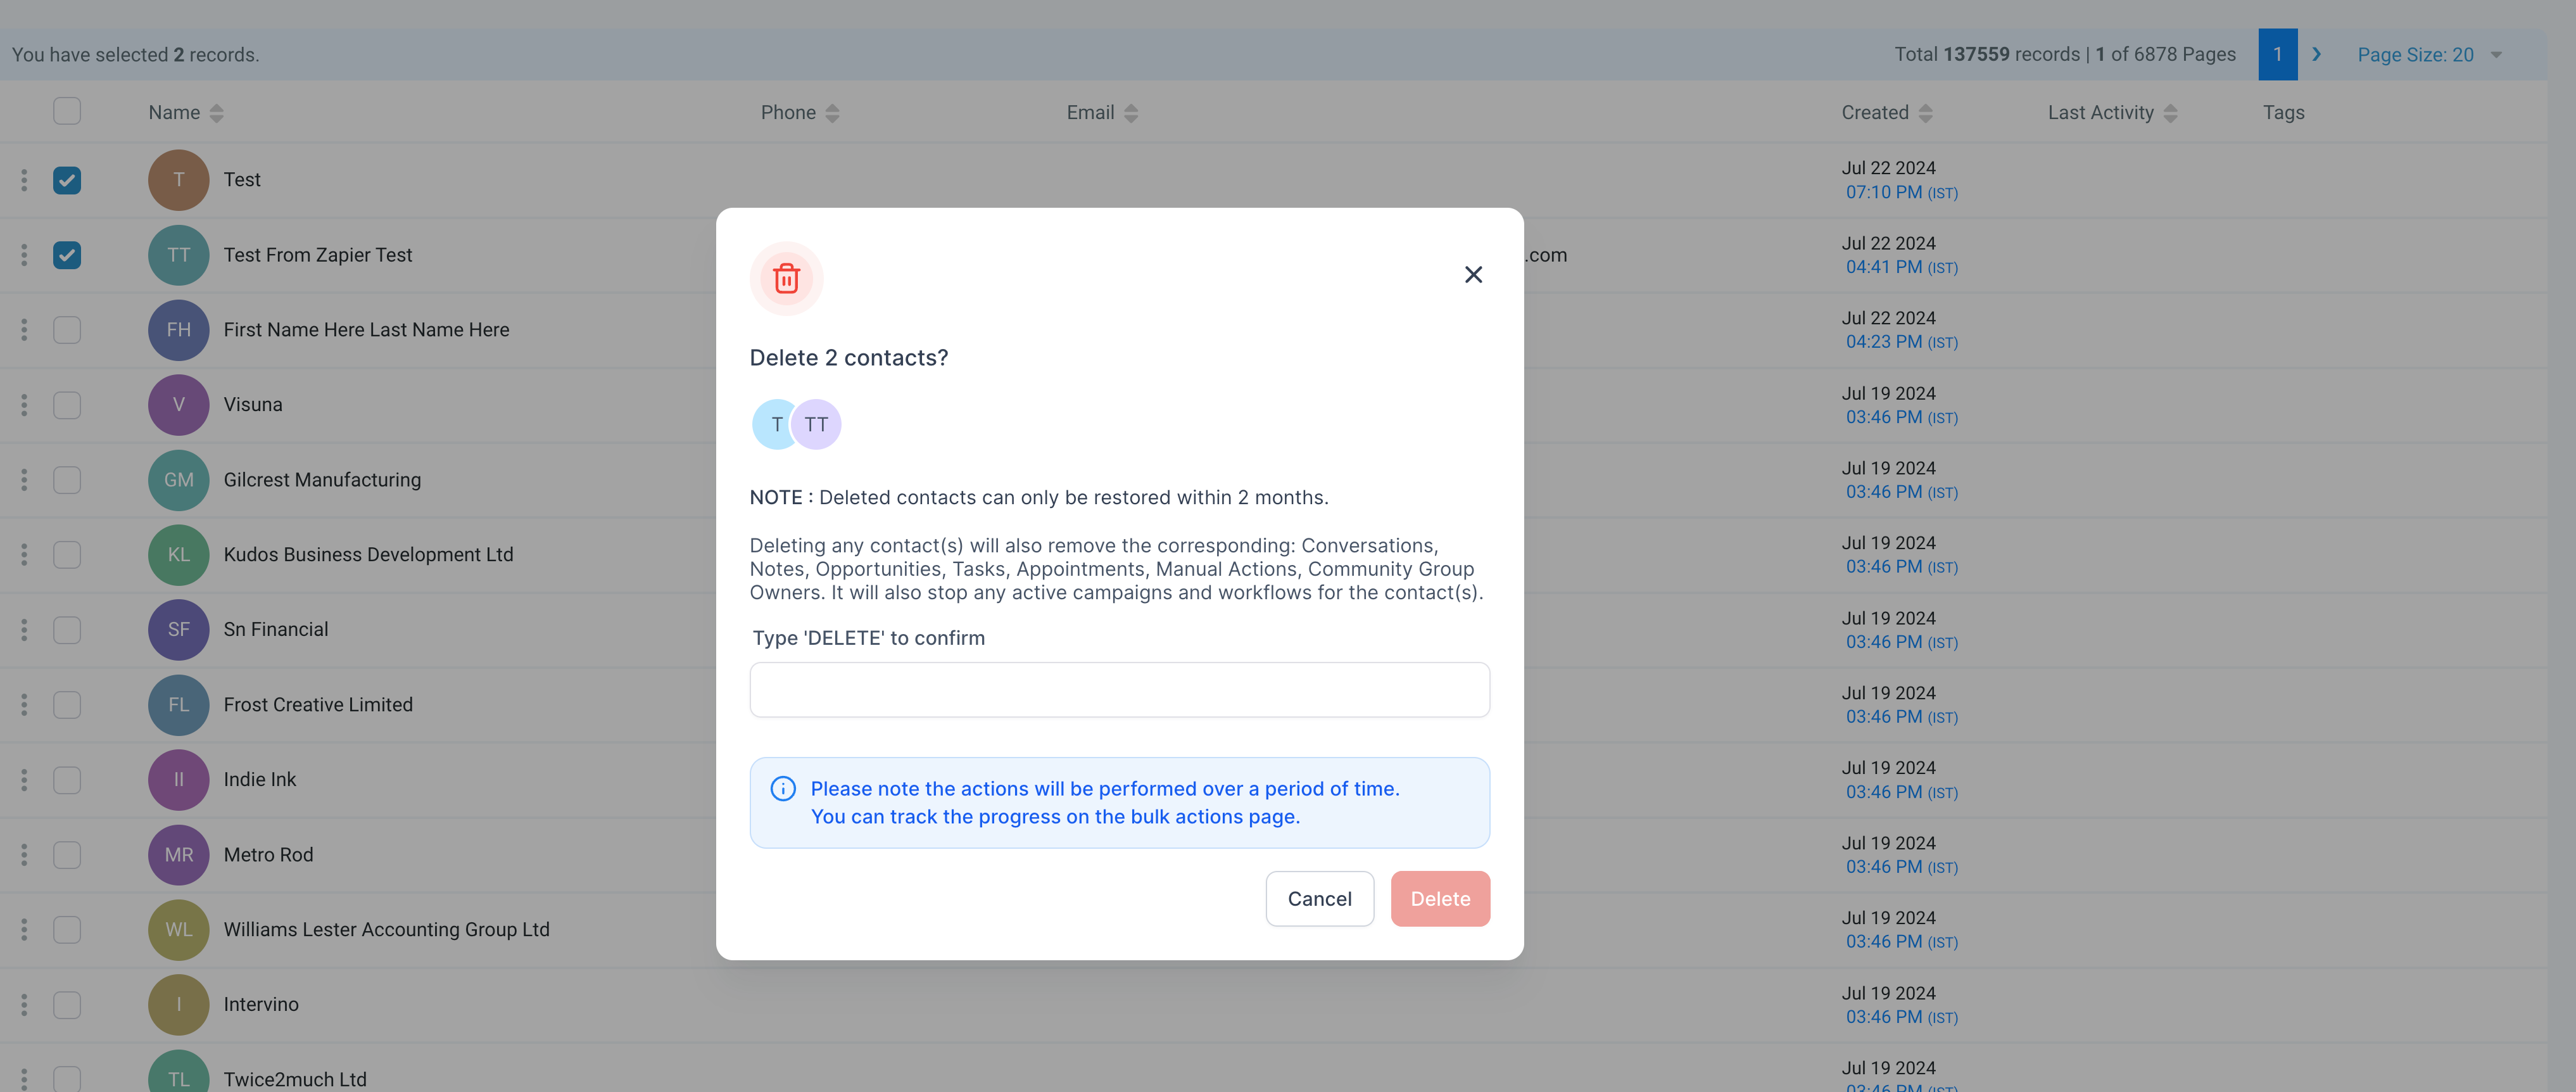
We’ve revamped the bulk delete and restore functionality for contacts, increasing reliability and efficiency, especially for large contact lists.
Key Features:
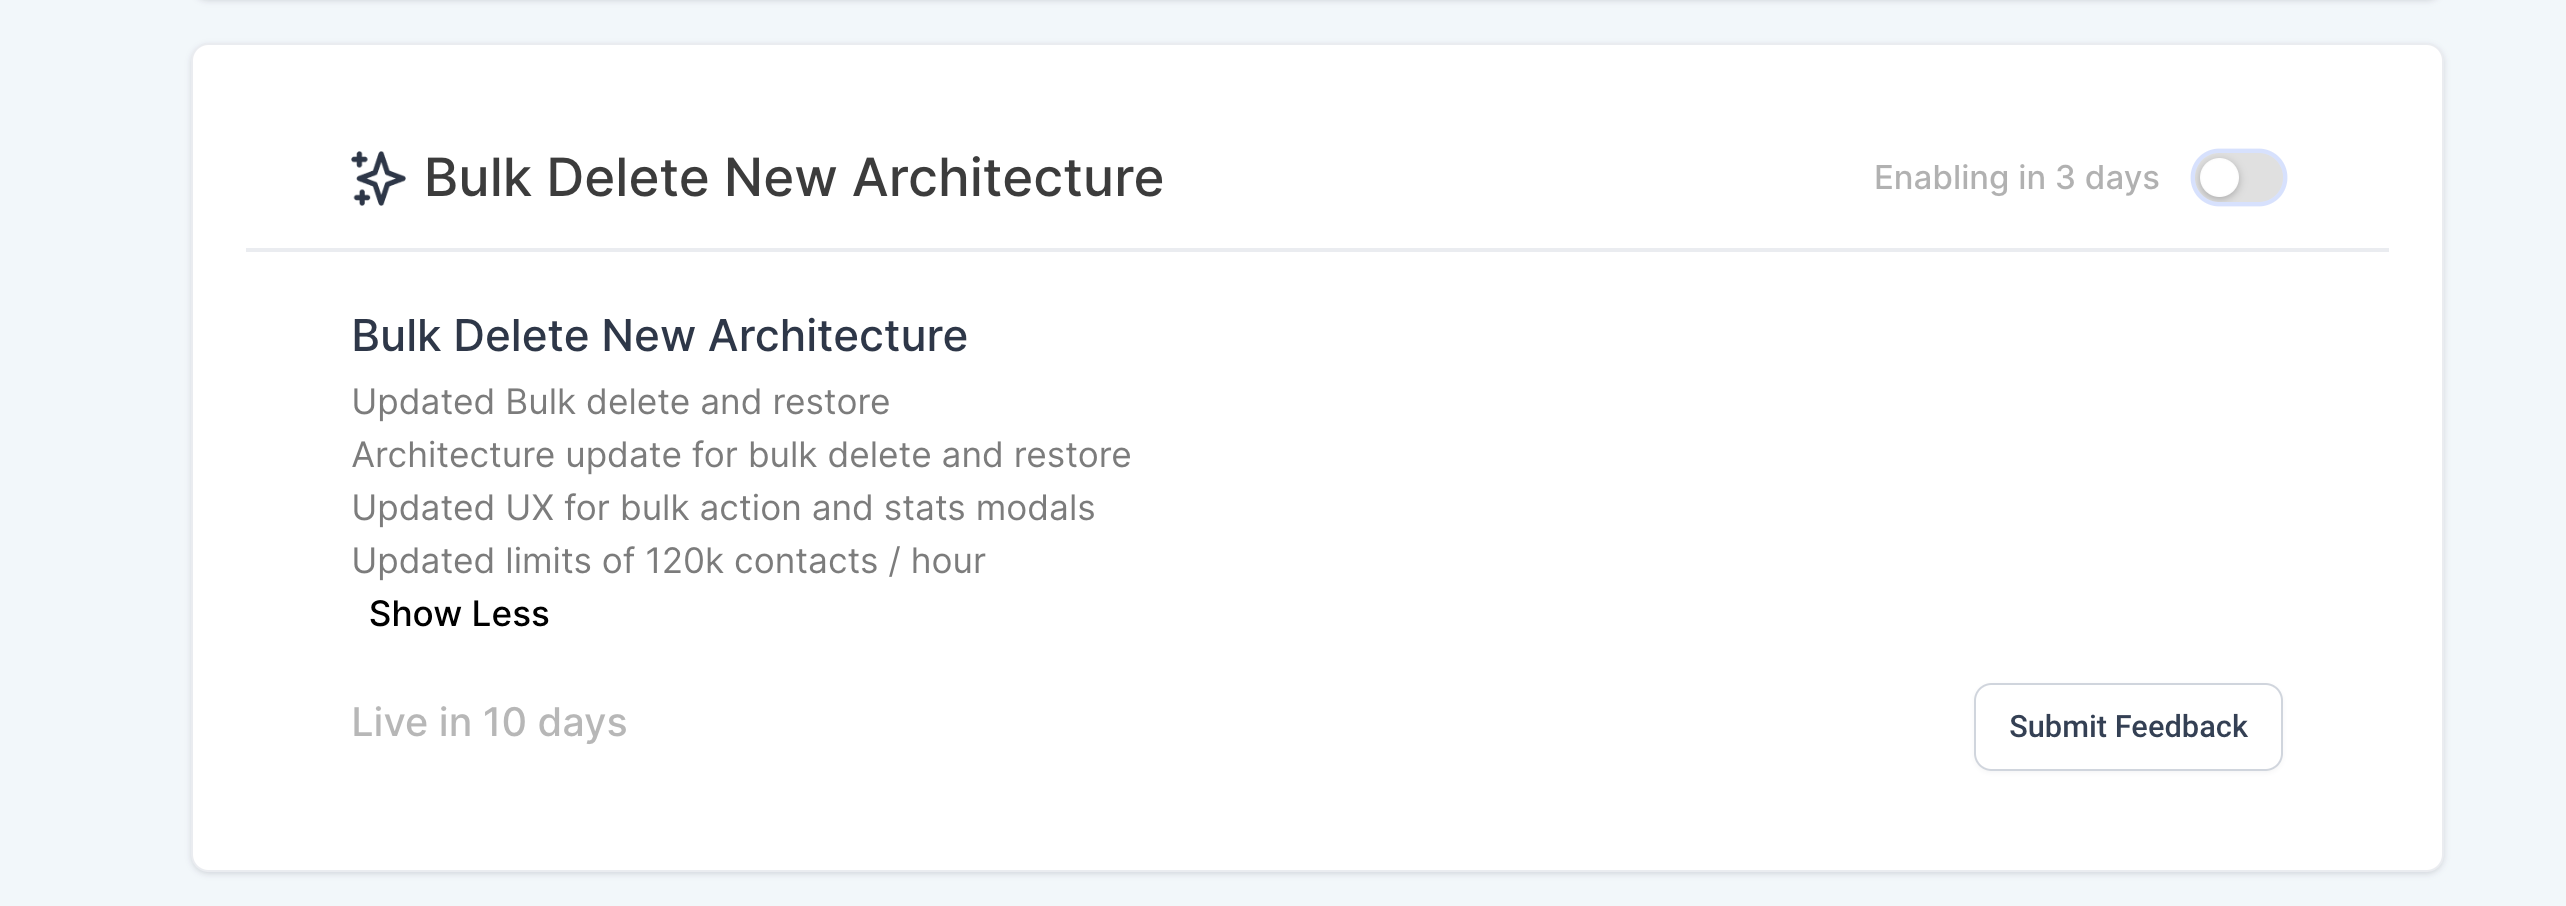
Updated Bulk Delete and Restore Architecture: Ensures smooth operation for deleting and restoring large volumes of contacts.
Enhanced UX: Improved bulk action modal for a better user experience.
Updated Stats Modal: Added new Stats modals for Delete and Revert to monitor the action better
Added New Limits: Going forward, we support processing up to 120,000 contacts per hour.
This feature is currently under Settings >Labs > Bulk Delete New Architecture.
Select multiple contacts and click on the “Delete” action to delete multiple contacts at once.
You can restore the deleted contacts by clicking on the kebab (3 dots) menu on the right and clicking on “Restore.”
Dashboards
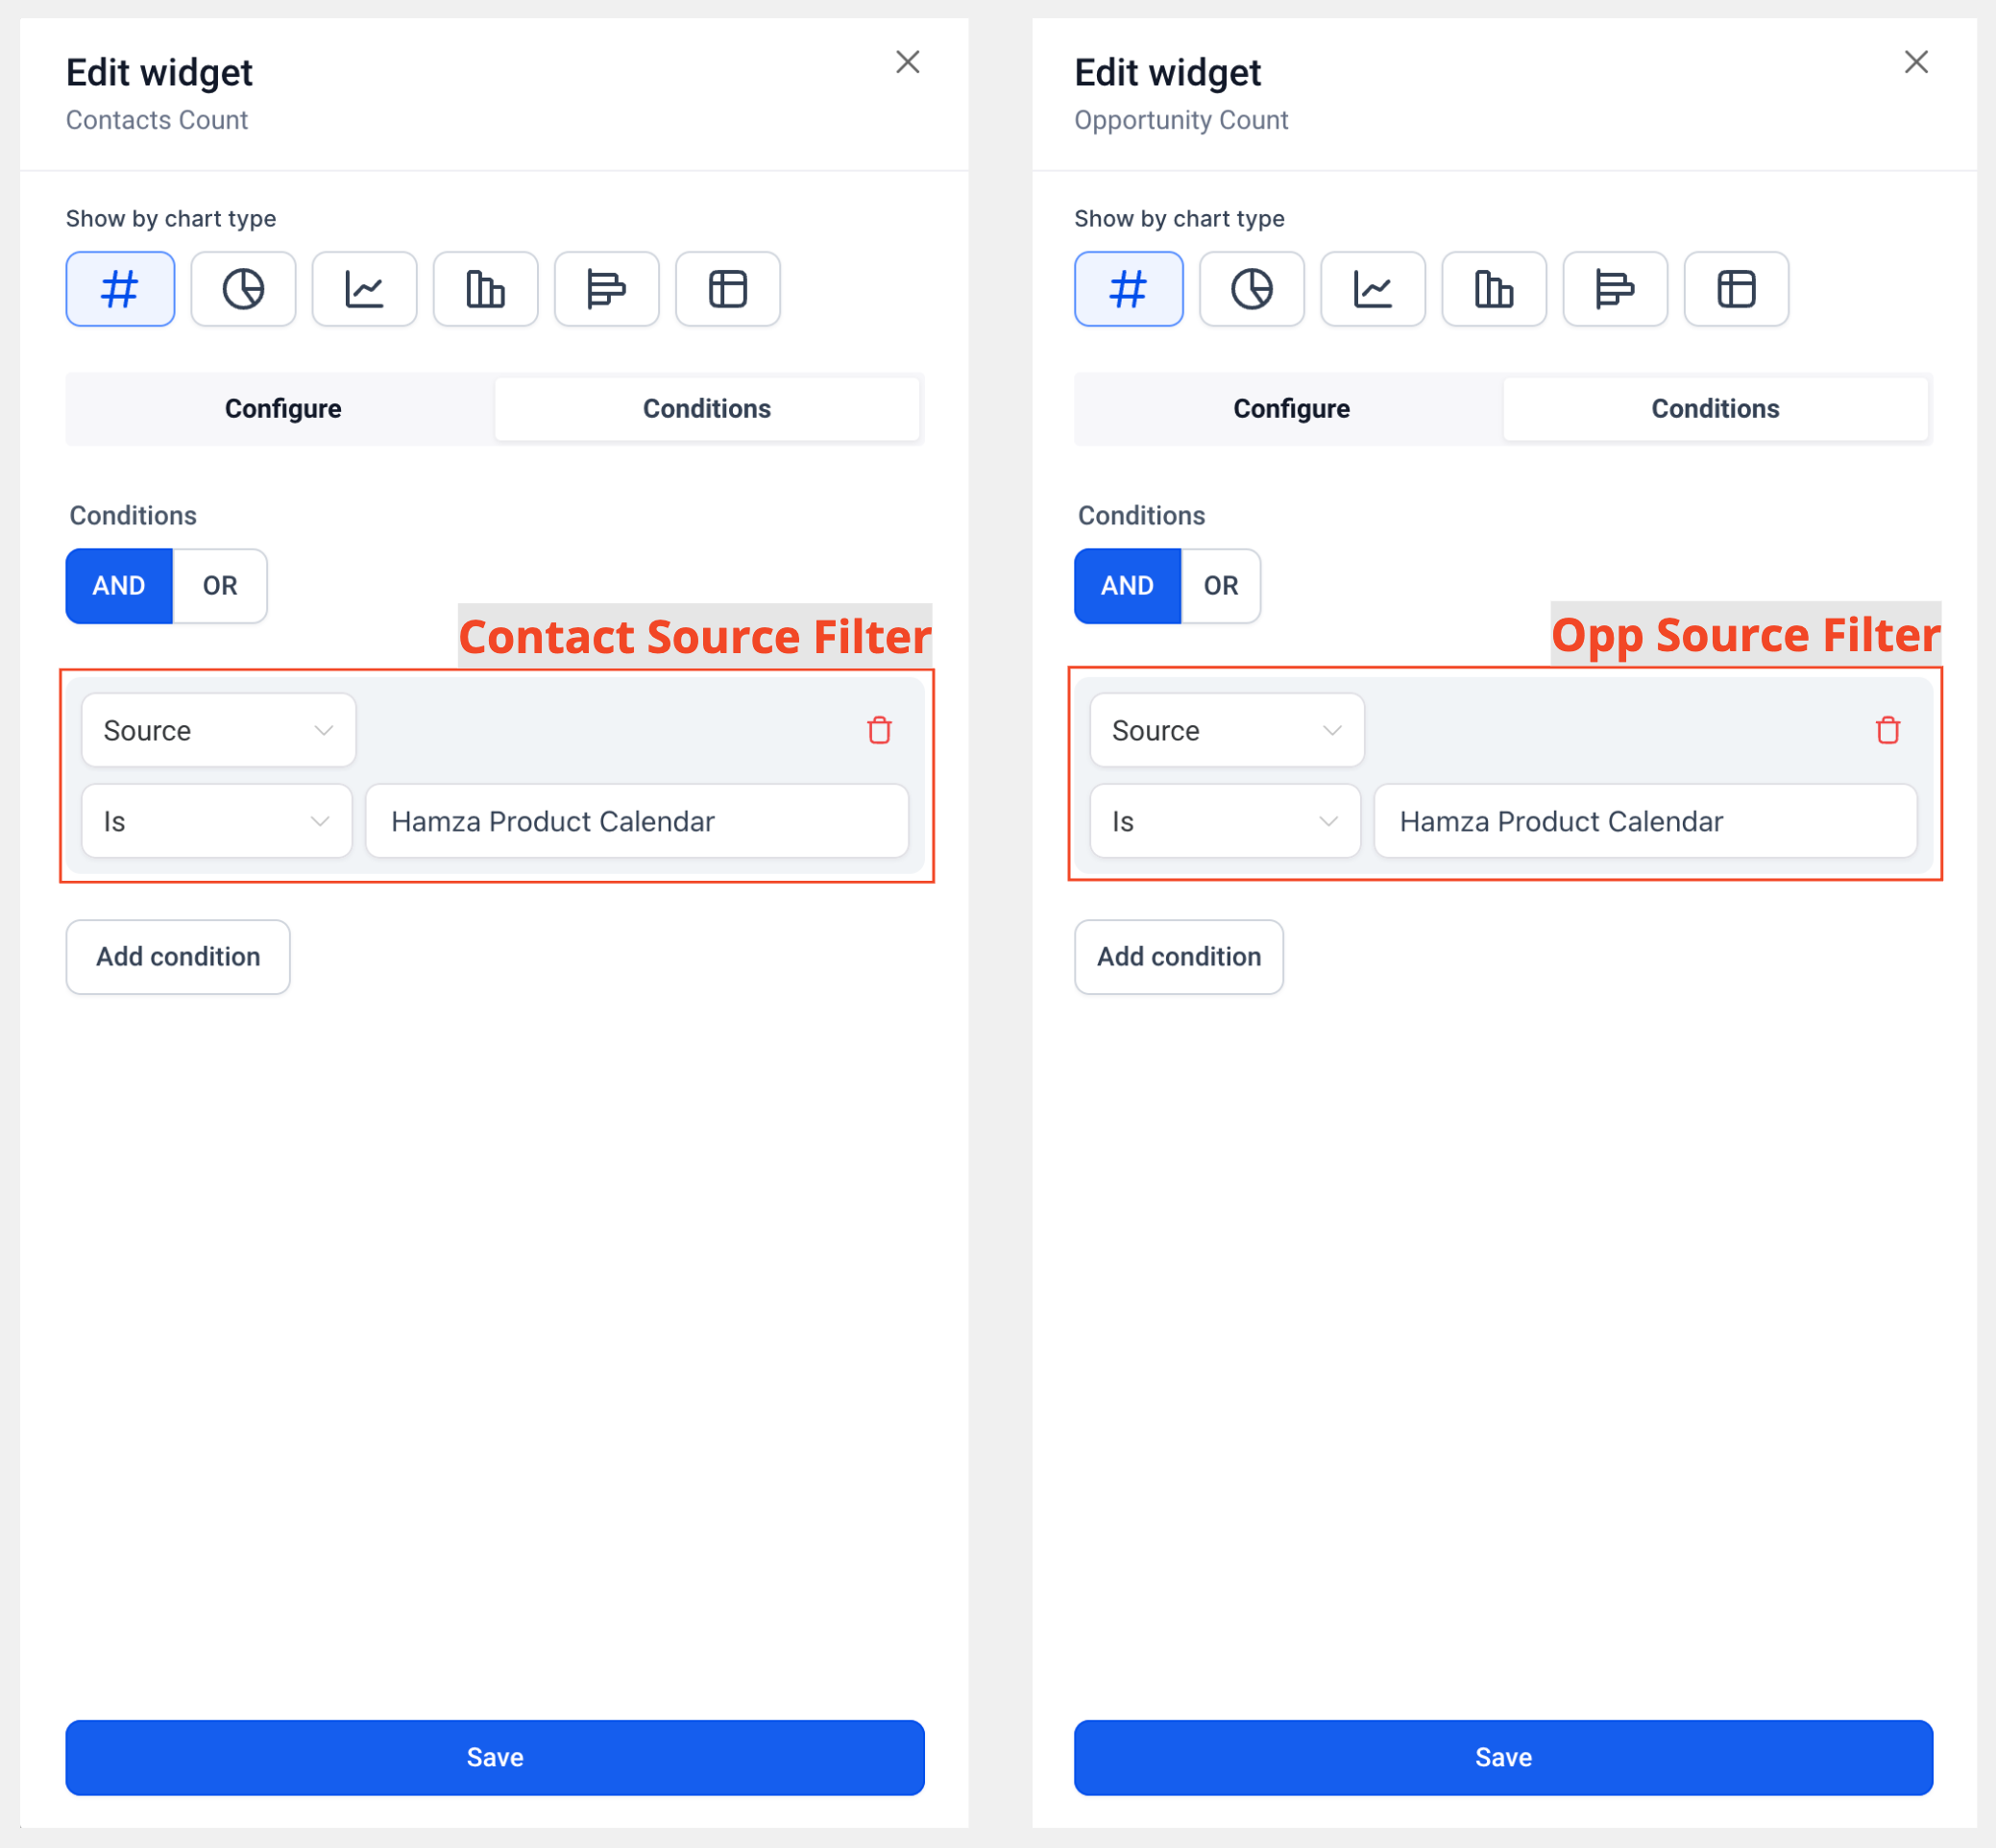
Contact Source and Opportunity Source filters
We have introduced powerful new filters for your dashboard widgets: Contact Source and Opportunity Source. Both properties are added as columns for table widgets and granular insights.
How It Works:
Enter Edit mode on your Dashboard.
Click on “Add Widget.”
Choose any widget from the Contacts or Opportunity category.
Switch to the Conditions tab.
Add a condition and select “Source.”
Configure the widget settings as per your requirements.
Save your changes.
WhatsApp
Bug Fixes
WhatsApp Workflow Execution
We have resolved the issue where the correct failure reason was not being updated for WhatsApp workflow executions configured with pause execution.
WhatsApp Template Formatting
Support for template formatting has been added, allowing for improved selection and formatting of subtext within WhatsApp template body:
Bold
Italics
Strike through
Monospace
Trigger Links And Automated DND
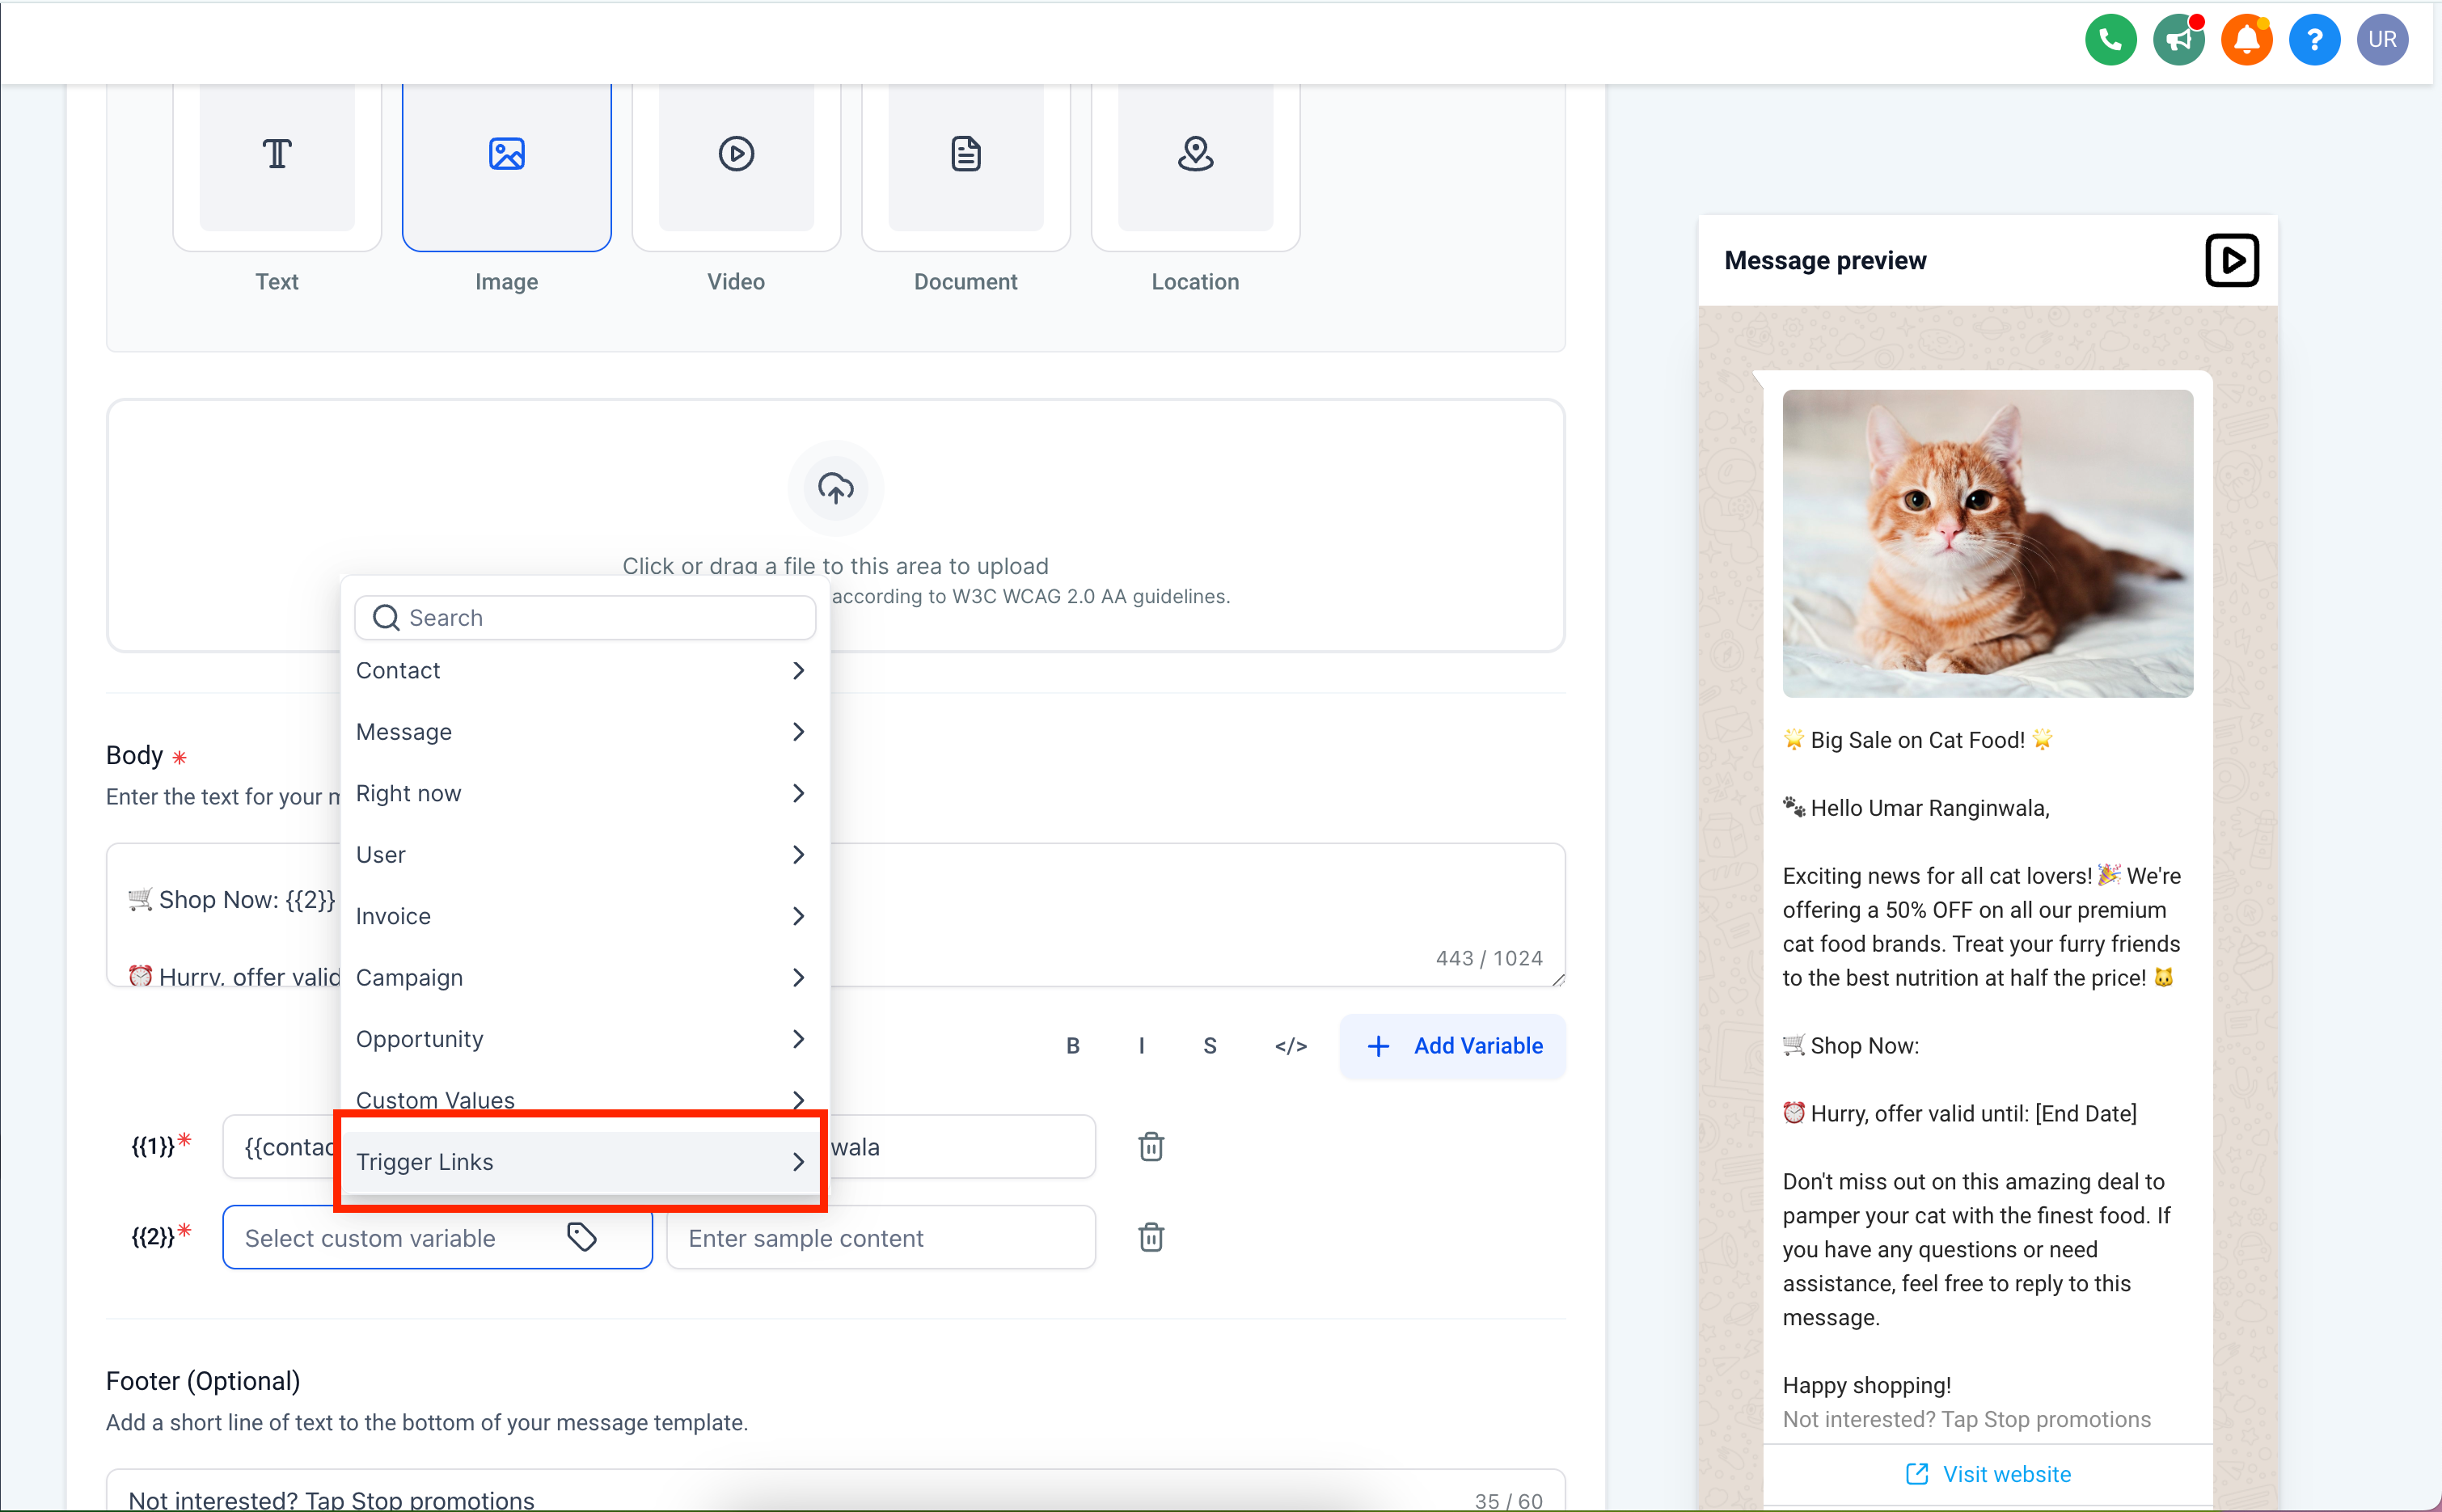
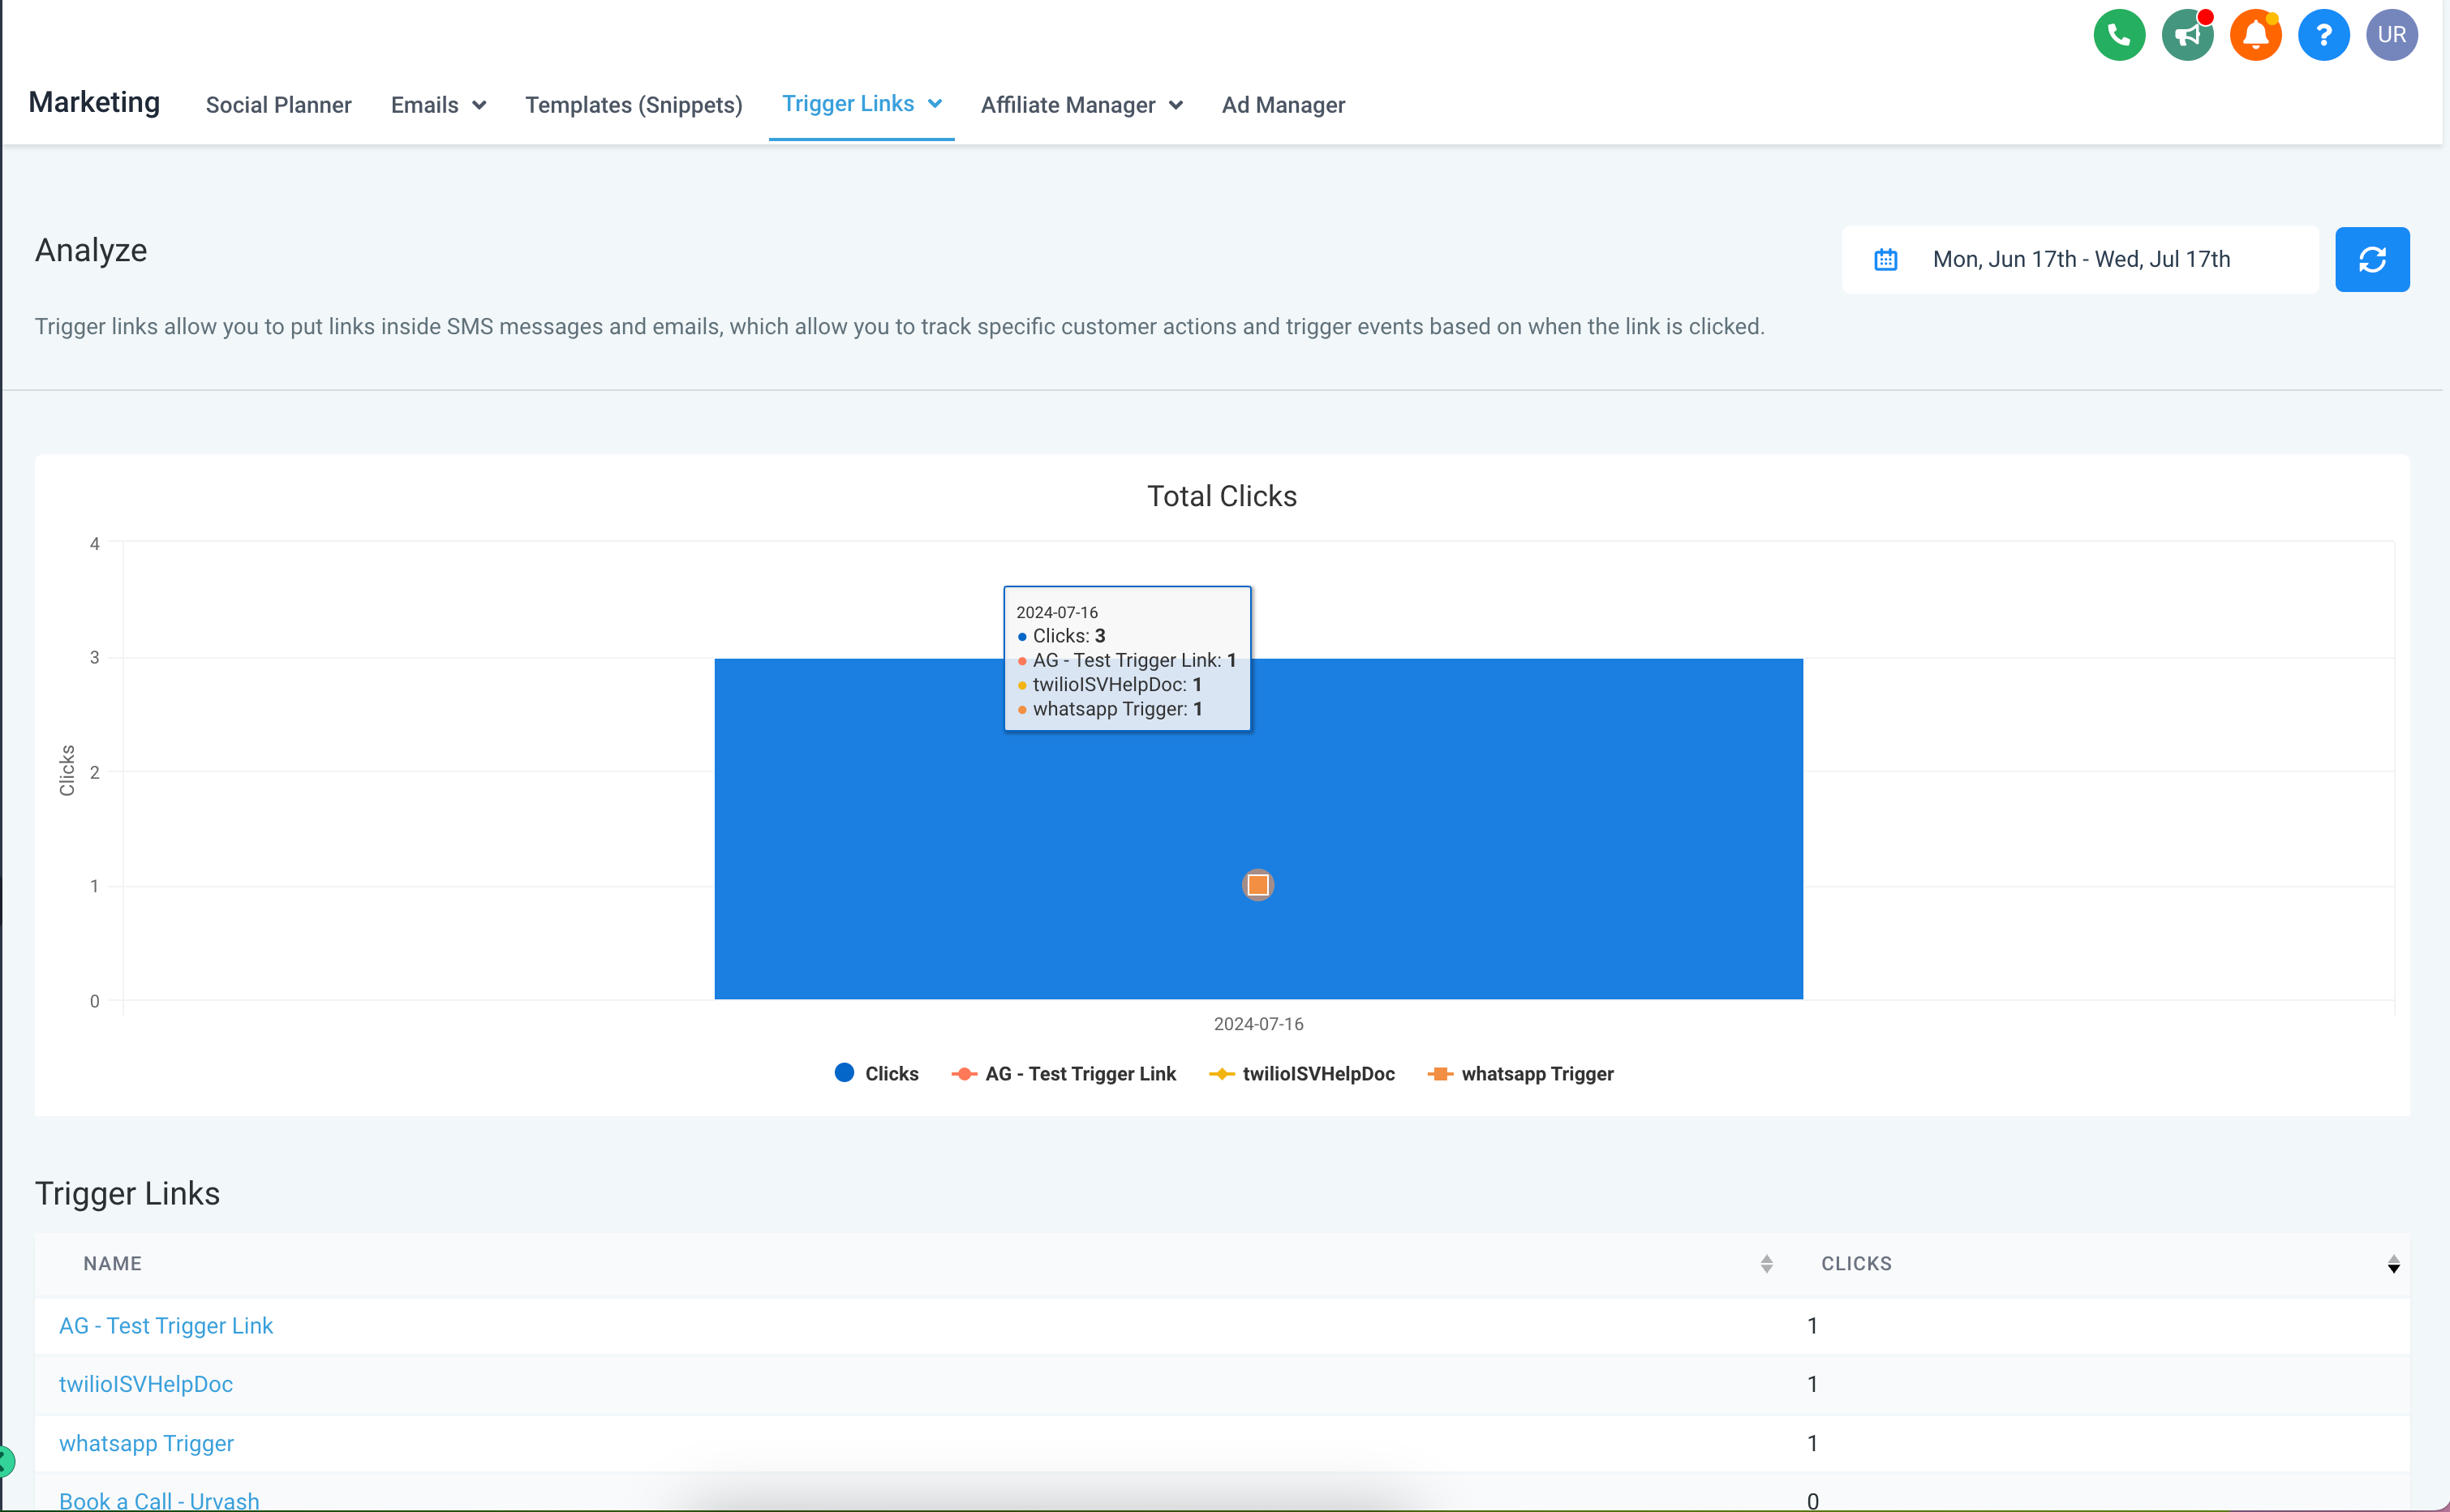
Trigger Links
We are excited to introduce Trigger Links, a powerful new feature for your WhatsApp templates. With trigger links, you can:
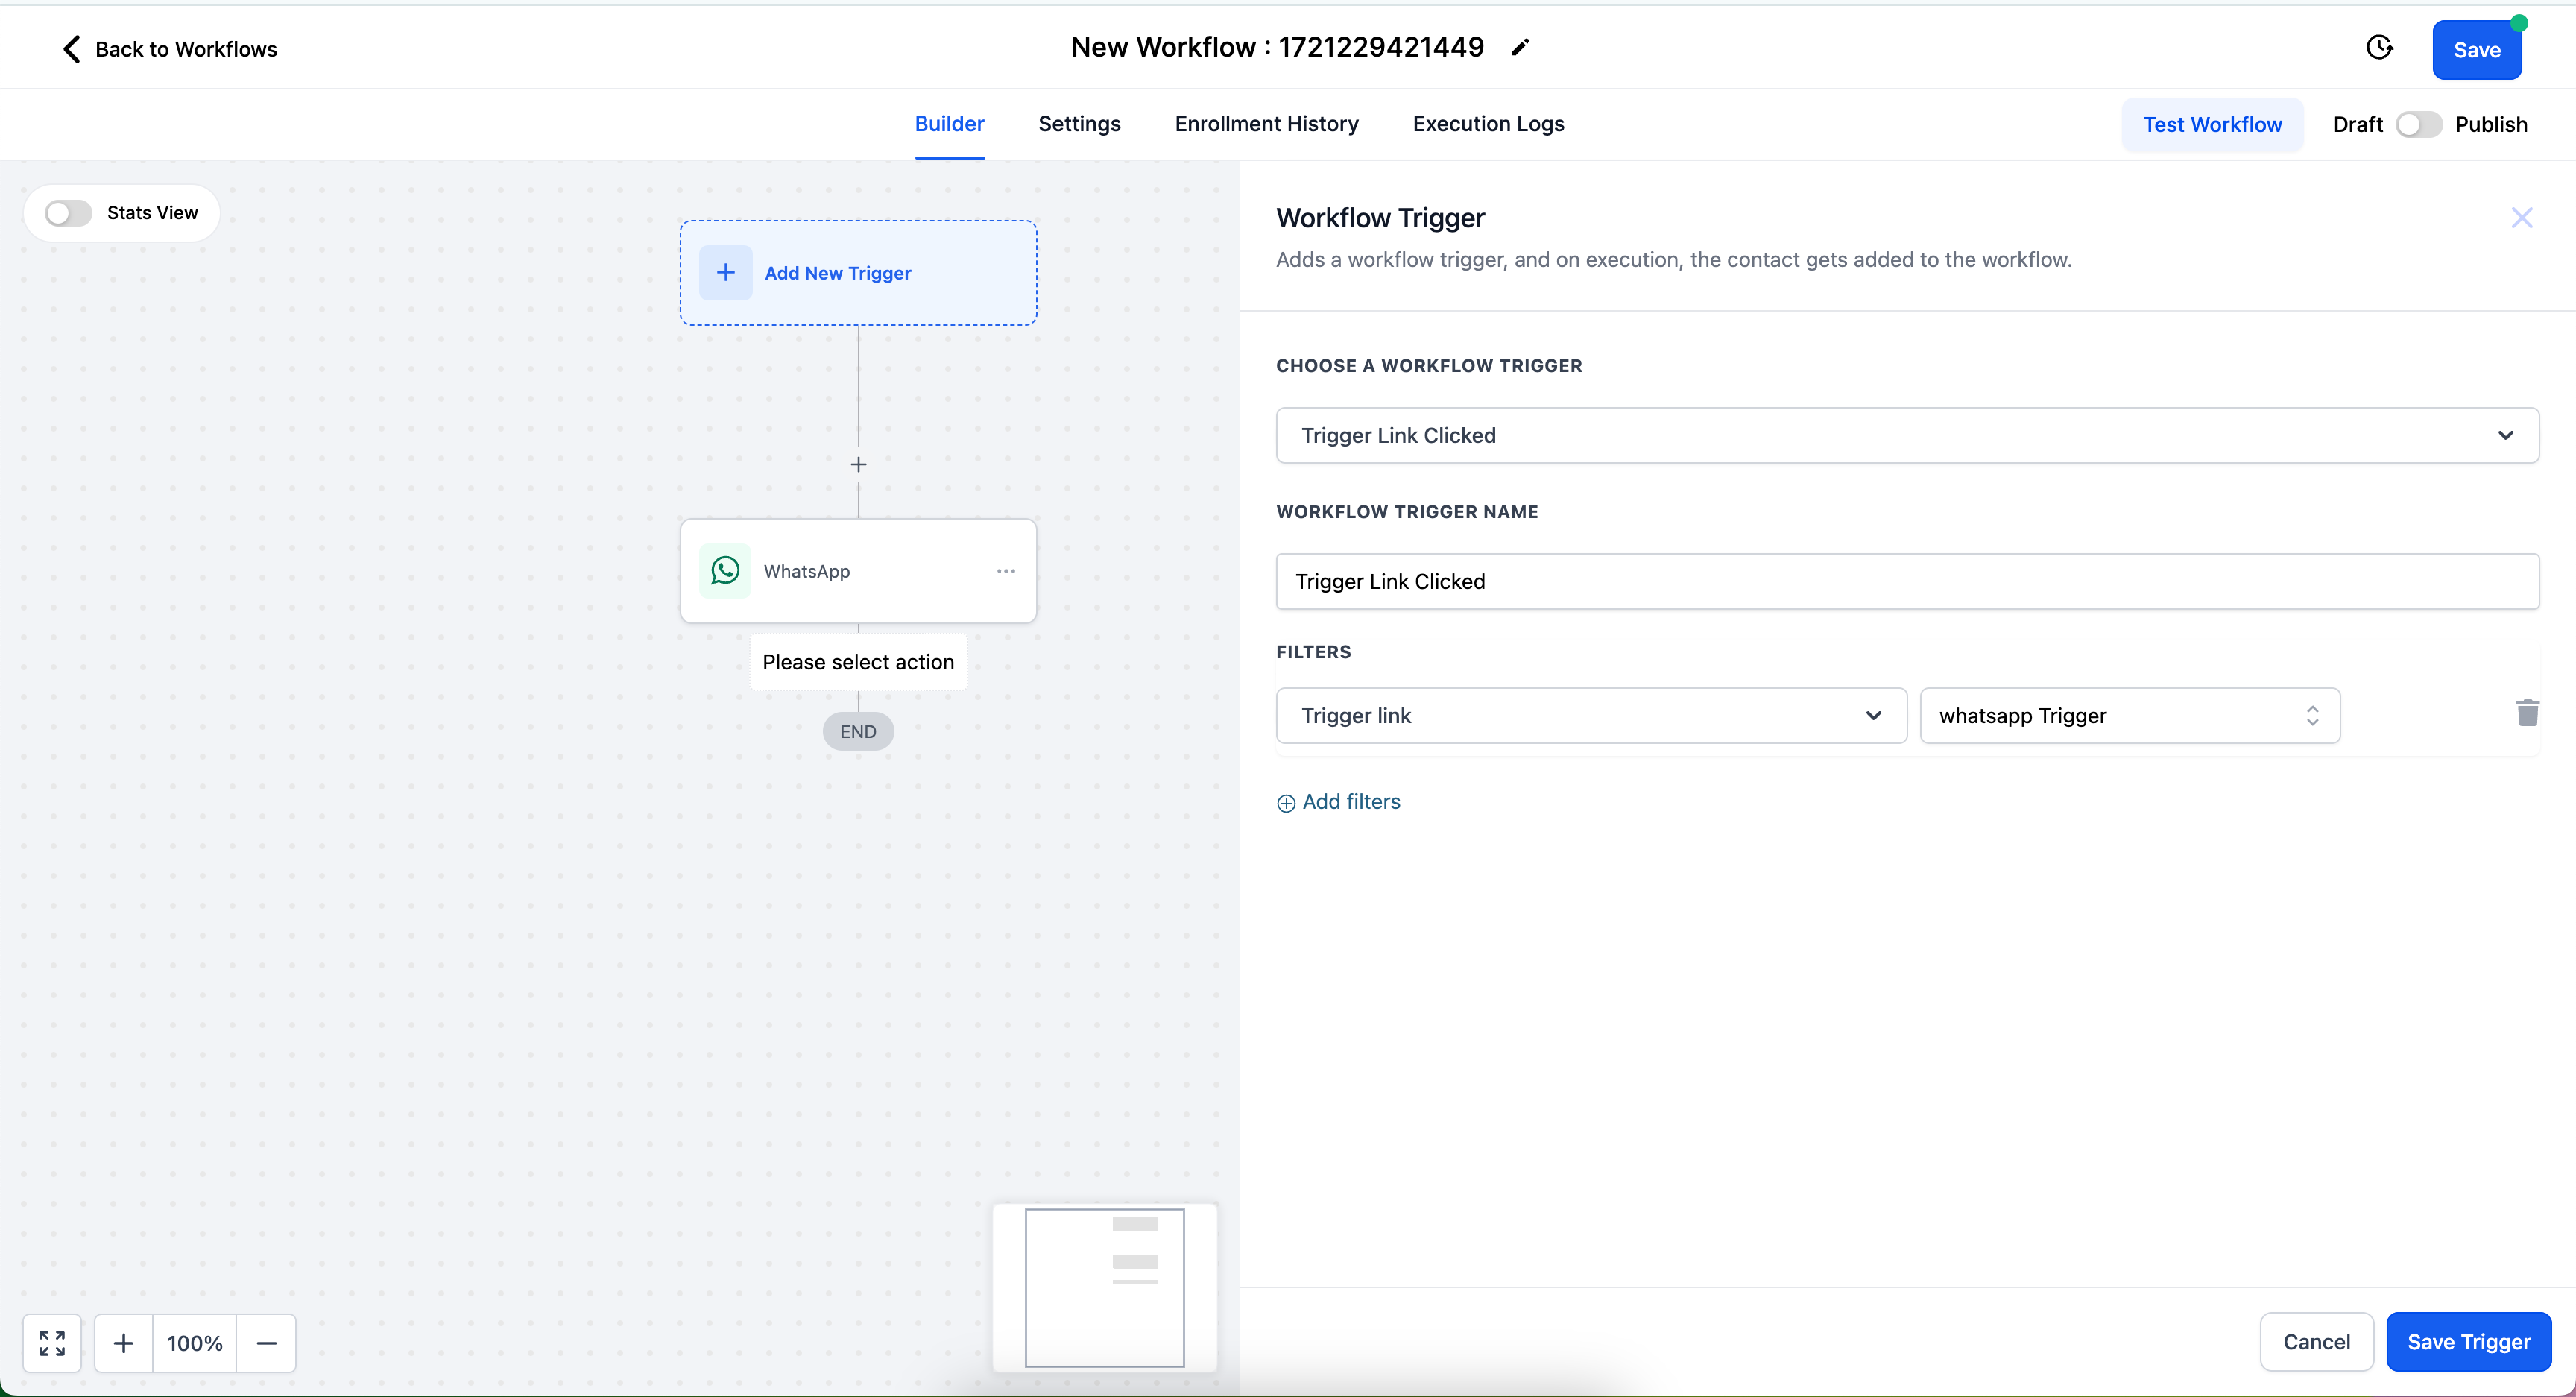
Track Engagement: Monitor which customers click on specific links within your WhatsApp messages.
Power Automations: Set up automated workflows based on link clicks. For example, when a customer clicks on a link, you can automatically send them a 10% discount coupon.
This feature enhances your ability to understand customer behavior and respond with targeted actions, improving overall customer engagement and satisfaction.
Automated DND
To help you manage customer preferences and maintain compliance with WhatsApp messaging regulations, we have implemented Automated Do Not Disturb (DND) for WhatsApp.
Automated Opt-Outs: If a customer replies with “Stop,” “Unsubscribe,” or “Stop Promotion,” they will automatically be placed on a DND list for WhatsApp communications.
Easy Re-Engagement: The DND status will be removed only when the customer initiates a reply back to the user, ensuring that they have control over their communication preferences.
Payments
Automatic Taxes For U.S.
Customers can now automatically collect taxes based on product and buyer location
Business users will now be able to calculate taxes automatically for their customers based on address details entered during checkout and type of product purchased
This is applicable on all payments being made on order forms (including selling membership courses), online stores, invoices and payment links. The tax will be dynamically calculated based on the customer state and zip code along with the product category
This works only if the business has enabled address collection during checkout or has a saved address in the contact details in case of payments being made on invoices. Do not forget to turn on address fields to make tax calculation work accurately
This works dynamically only for people selling in the US. For other countries, we already support manual tax rates which can be directly attached to products and added to subtotal while checkout
Automatic tax calculations can be enabled under Payments -> Settings -> Taxes using the toggle to enable automatic tax calculation. Businesses will be required to select the nexus addresses/states where they want to collect taxes along with defining a default product tax category which acts as the default category for all your products
Specific product tax categories for individual products can also be defined separate from the default category while creating or editing products under Payments -> Products
Taxes are applicable for both one-time and recurring products and breakdown on the amount paid will be available on the order details and transaction details page
What’s Next?
Configure whether tax amount is inclusive or exclusive of price is coming up next.
Automatic Taxes On Payment Links
Now you can have automatic taxes applied on Payment Links for end customers in the USA. The scope of this feature covers both -one time products, recurring products.
If configured in the Settings inside Payments -> Taxes, at the time of checkout automatic taxes would be applied on the product. Automatic taxes would also be applied to subsequent transactions for recurring products.
Important Notes:
The payment link must capture customer address in order for automatic taxes to reflect.
Automatic taxes are available only for customers entering in valid US Address.
Automatic Taxes would also be applied to recurring products bought via Payment Links.
Feature would be usable across already created payment links also !
How to Use:
Go to Payments -> Settings – > Taxes
Enable Automatic Taxes -> Enter in all the details
Go to any live Payment Link via preview or Copy Link Option -> Enter in US Address details
Automatic Taxes on Invoices
Automatic taxes are now available on invoices. When configured for recurring invoices, they will be present on all invoices generated.
Automatic taxes will be available will be available when all products on the invoice have:
Tax category attached to it or default tax category is configured in payment settings
Valid US state present for invoice contact
Valid postal code present for invoice contact
Important Note: Automatic taxes are available only for customers entering in valid US Address.
Conversations
2-Way Sync Attachments Bug Fixes
We have made significant bug fixes related to attachments in emails connected via 2-way sync.
New Email Attachments Not Logged: Previously, when a contact or user sent a new email, the attachments were not logged in the CRM. This issue is now resolved, and attachments up to 25MB are fully supported and logged in the CRM.
Reply Email Attachments Not Logged: When a contact replied to an existing email thread, only attachments smaller than 5MB were captured in the CRM. Attachments larger than 5MB were not logged. This issue is now fixed, and attachments up to 25MB are now logged, ensuring all relevant information is captured seamlessly.
UI Enhancements and Fixes
Default line height is changed to 1.5 for email composer
Spacing b/w list items of unordered and ordered list is fixed
Fix for type error in left panel
Communities
Private Channels and Channel Emojis
These features are available on both mobile and Web version, enhancing privacy and customization options for your community.
Private Channels: One of the most awaited features is here. You can now create private channels within community groups to keep certain content private. Group admins and owners can create new private channels or convert existing public channels to private.
How to Use:
Create a new channel and turn on the private channel toggle or convert an existing channel to private by opening the channel settings, move to settings tab and click on change to private channel
After converting the channel to private, open the channel settings again and click on members tab and add members to the channel. you can make a member as channel manager which will give them admin access only for that specific channel
Things to note
The group owner and channel creator will automatically be added as channel managers in the private channel.
Channel manager is kind of an admin of that specific channel and group roles like group admin will have no significance inside a private channel
Group owner cannot leave a private channel
If a channel is private it will not be visible in channel list if you are not part of it
Channel Emojis: You can now add an emojis as channel icon, Isn’t it cool.
Memberships
Courses User Magic Links (Labs Release) + Password Reset Flow and New Email Templates
What’s New?
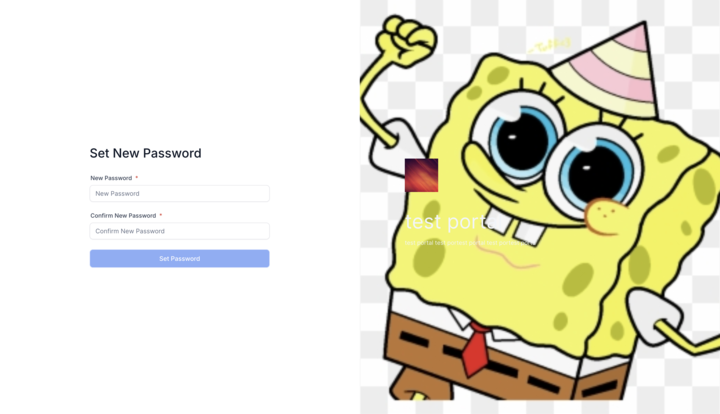
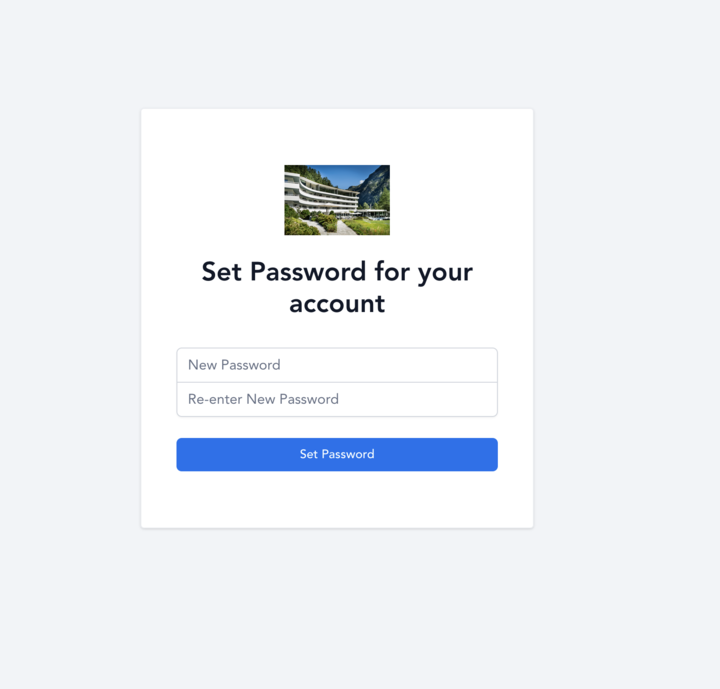
Students get the flexibility of setting their own passwords. No more automated password generation.
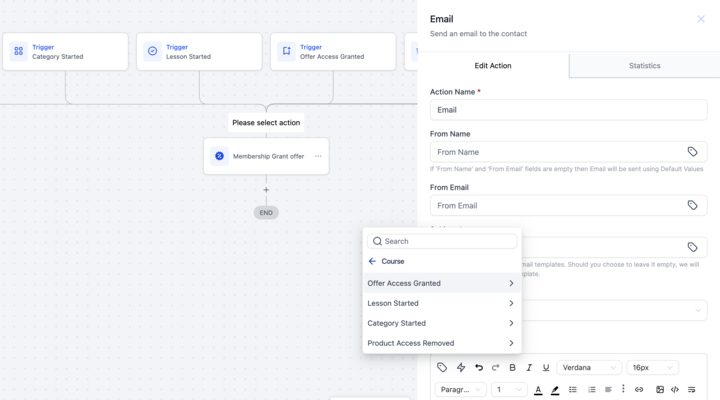
User specific Magic Links will be sent across all course emails and triggers to make sure they are able to set their own password.
Redirection to Set Password page if user try to log in without setting their password.
Password field will be deprecated across all templates after this Labs release, even if the password custom field is added the templates, it wont be populated with a password but instead with the contact’s magic link.
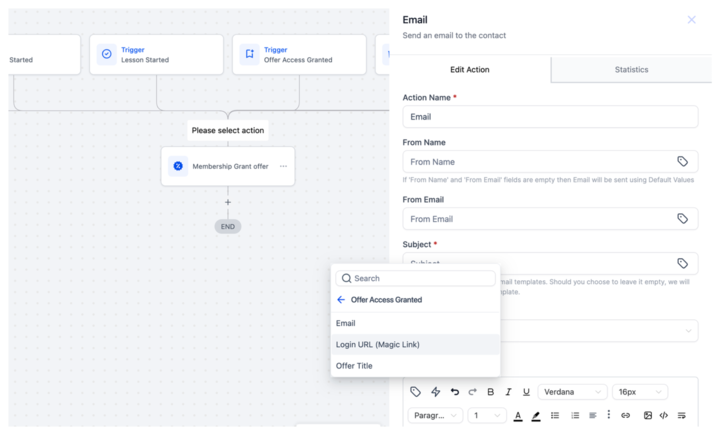
Introducing loginUrl custom field across all our triggers and email builders for courses, users will have to append this in their template to make sure they receive the magic link.
Password custom field is now removed across all the builders once this is enabled (and across all accounts once this goes live on July 29th, 2024).
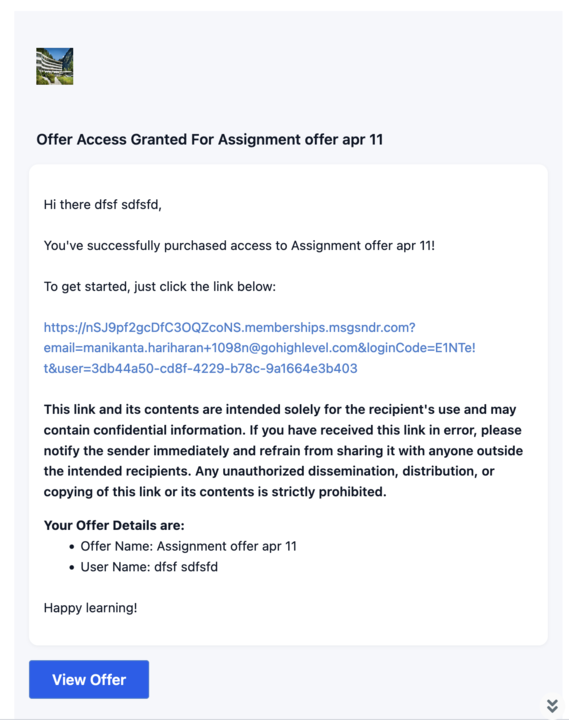
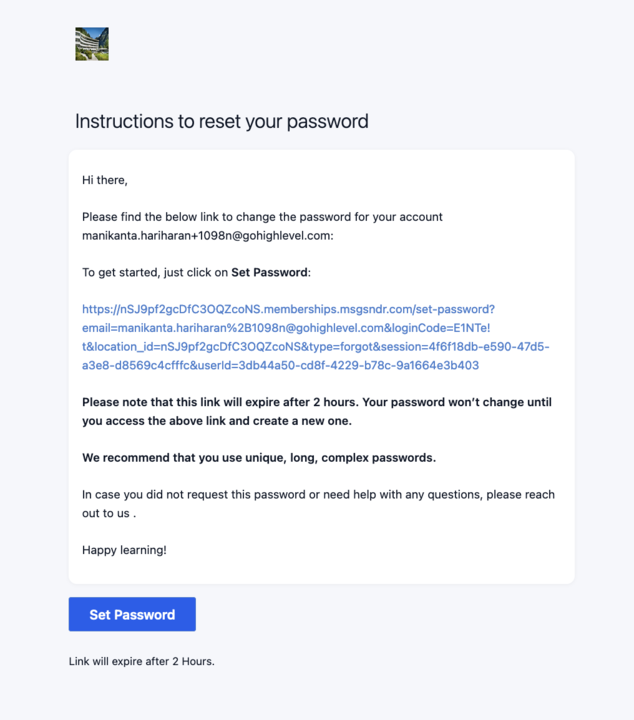
No more system generated passwords in your reset password emails. With the new reset link, users will be able to set their own password within 2 hours of the request.
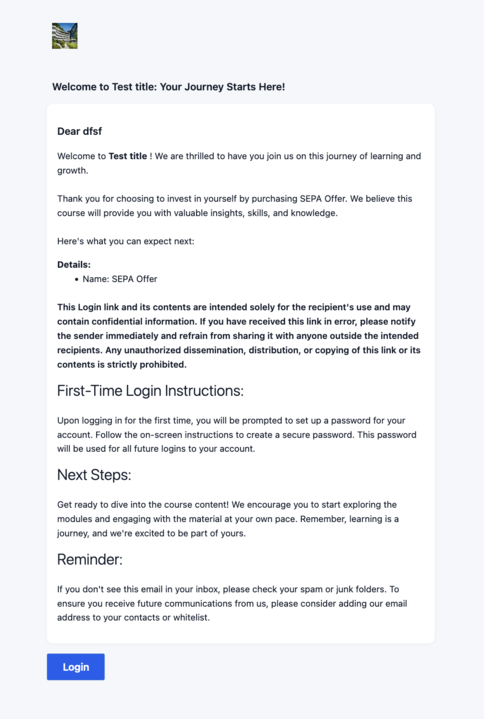
New Default Email Templates.
We have segregated the custom fields specific to course triggers to separate dropdowns in Workflows.
Important Notes& FAQ’s
What will happen after turning on this feature in Labs?
No more system generated password for users.
Password fields in the existing templates wont get populated with a password, the loginUrl custom value should be used by users to set their passwords.
A new default email templates will be sent out to users.
Password Custom field wont be visible across all template builders and workflow email options, users also wont be able to add password field in their new templates.
New Magic links will be sent across all emails and triggers with the custom field loginUrl.
This will be turned on for everyone and will be live in all the locations starting 29th July 2024. After this date, passwords wont be generated by the system. We recommend removing the password custom value from all of your email templates and add in the loginURL custom value instead (along with updating your copy to instruct them to set their own password).
Membership Analytics
Previously, the login count for the legacy membership area and client-portal were stored differently. This caused a lot of confusion for users to gather actual login count analytics. Now login from both the legacy membership area and the newer Client Portal membership area will be stored and shown in member analytics.
We are also showing actual course completed count as analytics to the users, lending more visibility to students regarding their progress.
E-Commerce Stores
Dedicated Tab For Ecommerce Stores
Store owners can now manage and view all their stores under a single tab called “Stores” under Settings>Sites. The new stores tab will have all the stores listed, and have all the features, such as sorting, filtering, folder creation etc, same as funnels and websites. All existing stores will be visible as well as newly created stores.
Along with the new stores tab, we are also bringing along a much awaited feature, the ability to create a brand new ecommerce store with just one click! When a new store needs to be created, a user can create it directly from the stores sub menu with all the store pages pre-created by default.
How to use:
Stores Tab Under sites
Navigate to Settings > Sites.
There will now be a new tab called Stores
Navigate to Stores, and now you can see all your created stores present.
Create new store
Navigate to the previously mentioned stores menu
Click on “New store” button
You will be prompted with a modal to either created a fresh store “From blank”, or create one from templates. Select “From blank” and enter the store name
You will now see a progress loading, where in the background all the store pages would be created.
Once created you can see a brand new store created with all your store pages!
Important Notes:
All websites that have been converted into stores, will come under the stores section.
Similarly, once the store pages are removed from a store, it will be seen only under the websites section.
All stores are still inherently websites. Stores will be found under the websites section as well. It is the same store being shown at both places.
Any stores deleted under the stores section will always get deleted in the websites section as well.
When a new folder is created either in the store or website section, the folder will show up both in stores and websites section.
The folder shown in the stores section, will only have stores in it. Whereas the websites section folder will have both stores and websites.
A folder cannot be deleted in the stores section regardless of if it is created there. It can only be deleted from the websites section.
While creating a store from a template. only ecom store templates can be found under the stores section.
Mobile App
Calendar & Conversations Updates
What’s New?
Change contact while scheduling an appointment – You can now update the contact while you are scheduling a new appointment.
Custom value support for custom meeting location: Custom values are now supported inside the Custom meeting location field.
Calendar notes improvements: Calendar notes will no longer be truncated. You can tap on “View more” to view the entire text added inside calendar notes.
Send review request: Now send review request to a contact directly from the conversation window of that contact.
View external calls logs – All external calls made to a contact will now be visible inside the conversation window of that contact.
New Invoice Dashboard – A new dashboard that displays the most important information you want to view – Earnings that have been collected vs Earnings yet to be collected.
Invoice listing – A clean interface to see all of your invoices in every state (draft, due, paid, etc.), irrespective of whether the invoice was created on web or mobile.
Invoice card interactions – A new way to interact with your invoice cards:
LC Phone & Twilio
SMS Sent from International Long Codes to the UK Will Be Blocked
IMPORTANT Announcement: SMS Sent from International Long Codes to the UK Will Be Blocked, Effective July 30, 2024.
UK carriers have implemented restrictions on messaging traffic originating from international long codes to UK phone numbers; they consider the use of international long codes for Application-To-Person (A2P) SMS as an abuse of Person-To-Person (P2P) routes.
Due to these restrictions, in 2023, Carriers began blocking all SMS messaging traffic sent from international long codes to UK phone numbers on the BT and Sky Mobile networks.
Starting July 30, 2024, all SMS messages sent to the UK via international long codes, regardless of carrier, will be blocked. Going forward, SMS messages sent to the UK must be sent via a domestic UK long code, an Alphanumeric Sender ID, or a short code.
We plan to support Alphanumeric SenderID and Short-codes in the next 6/9 months.
What do you need to do?
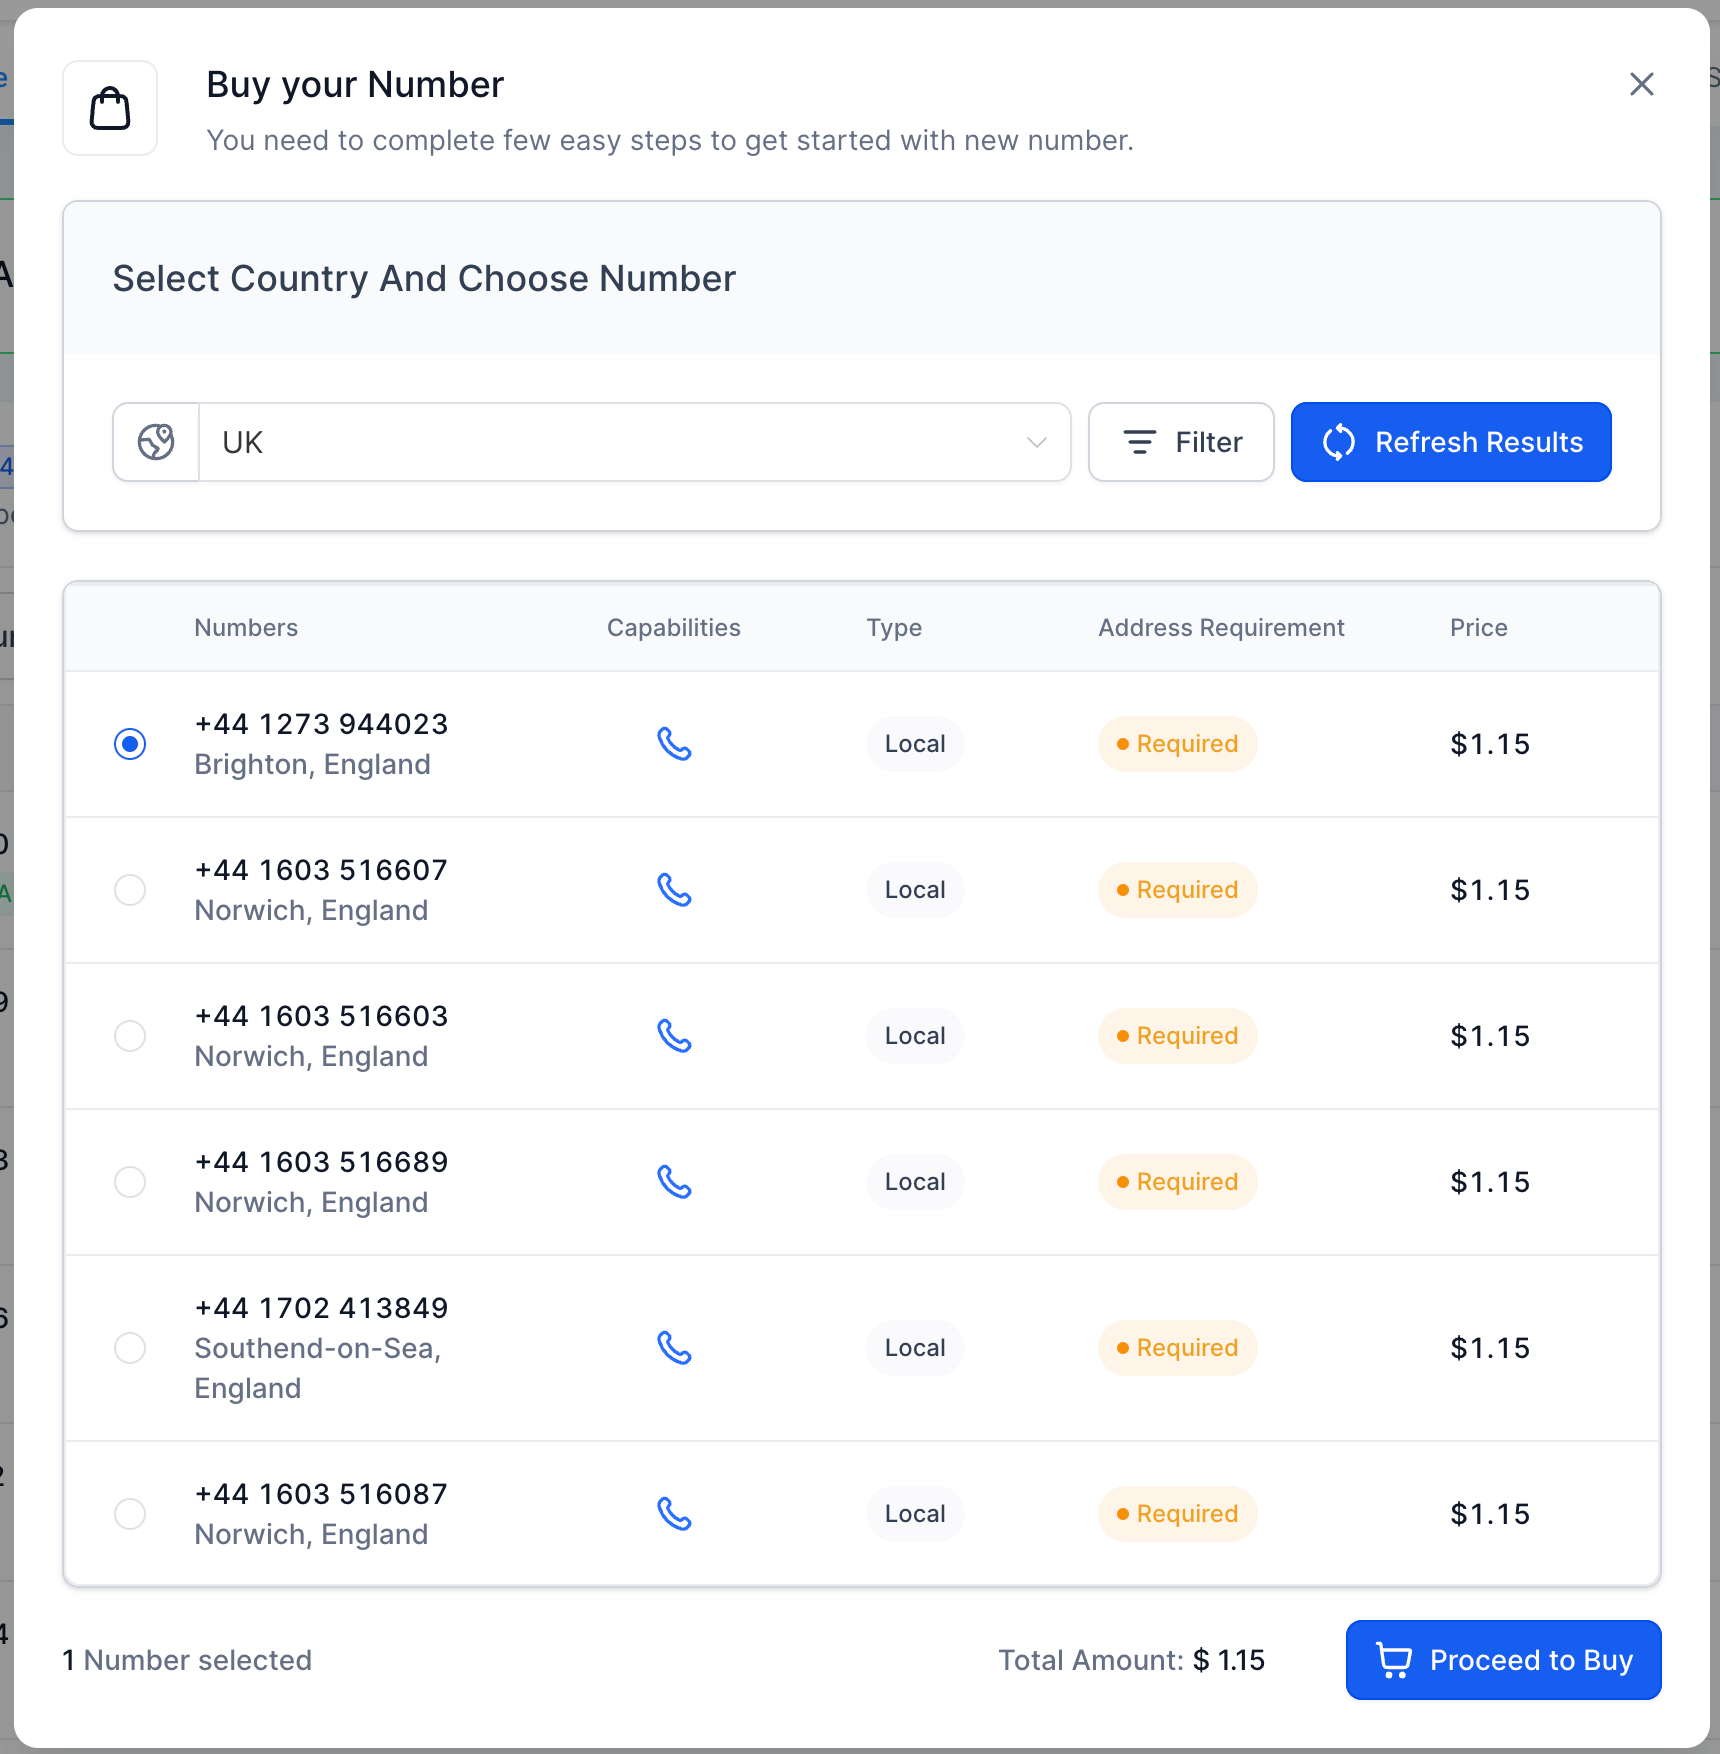
By July 30, 2024, start using UK long code to replace your international long codes to send A2P messages to the UK:
UK long code: This is a two-way messaging option using local, national, mobile, or toll free UK numbers. UK long codes are ideal to replace international long codes.
Provisioning time: 48 hours.
Review Know Your Customer (KYC) in the UK for more information on KYC requirements.
KYC Requirements Brief
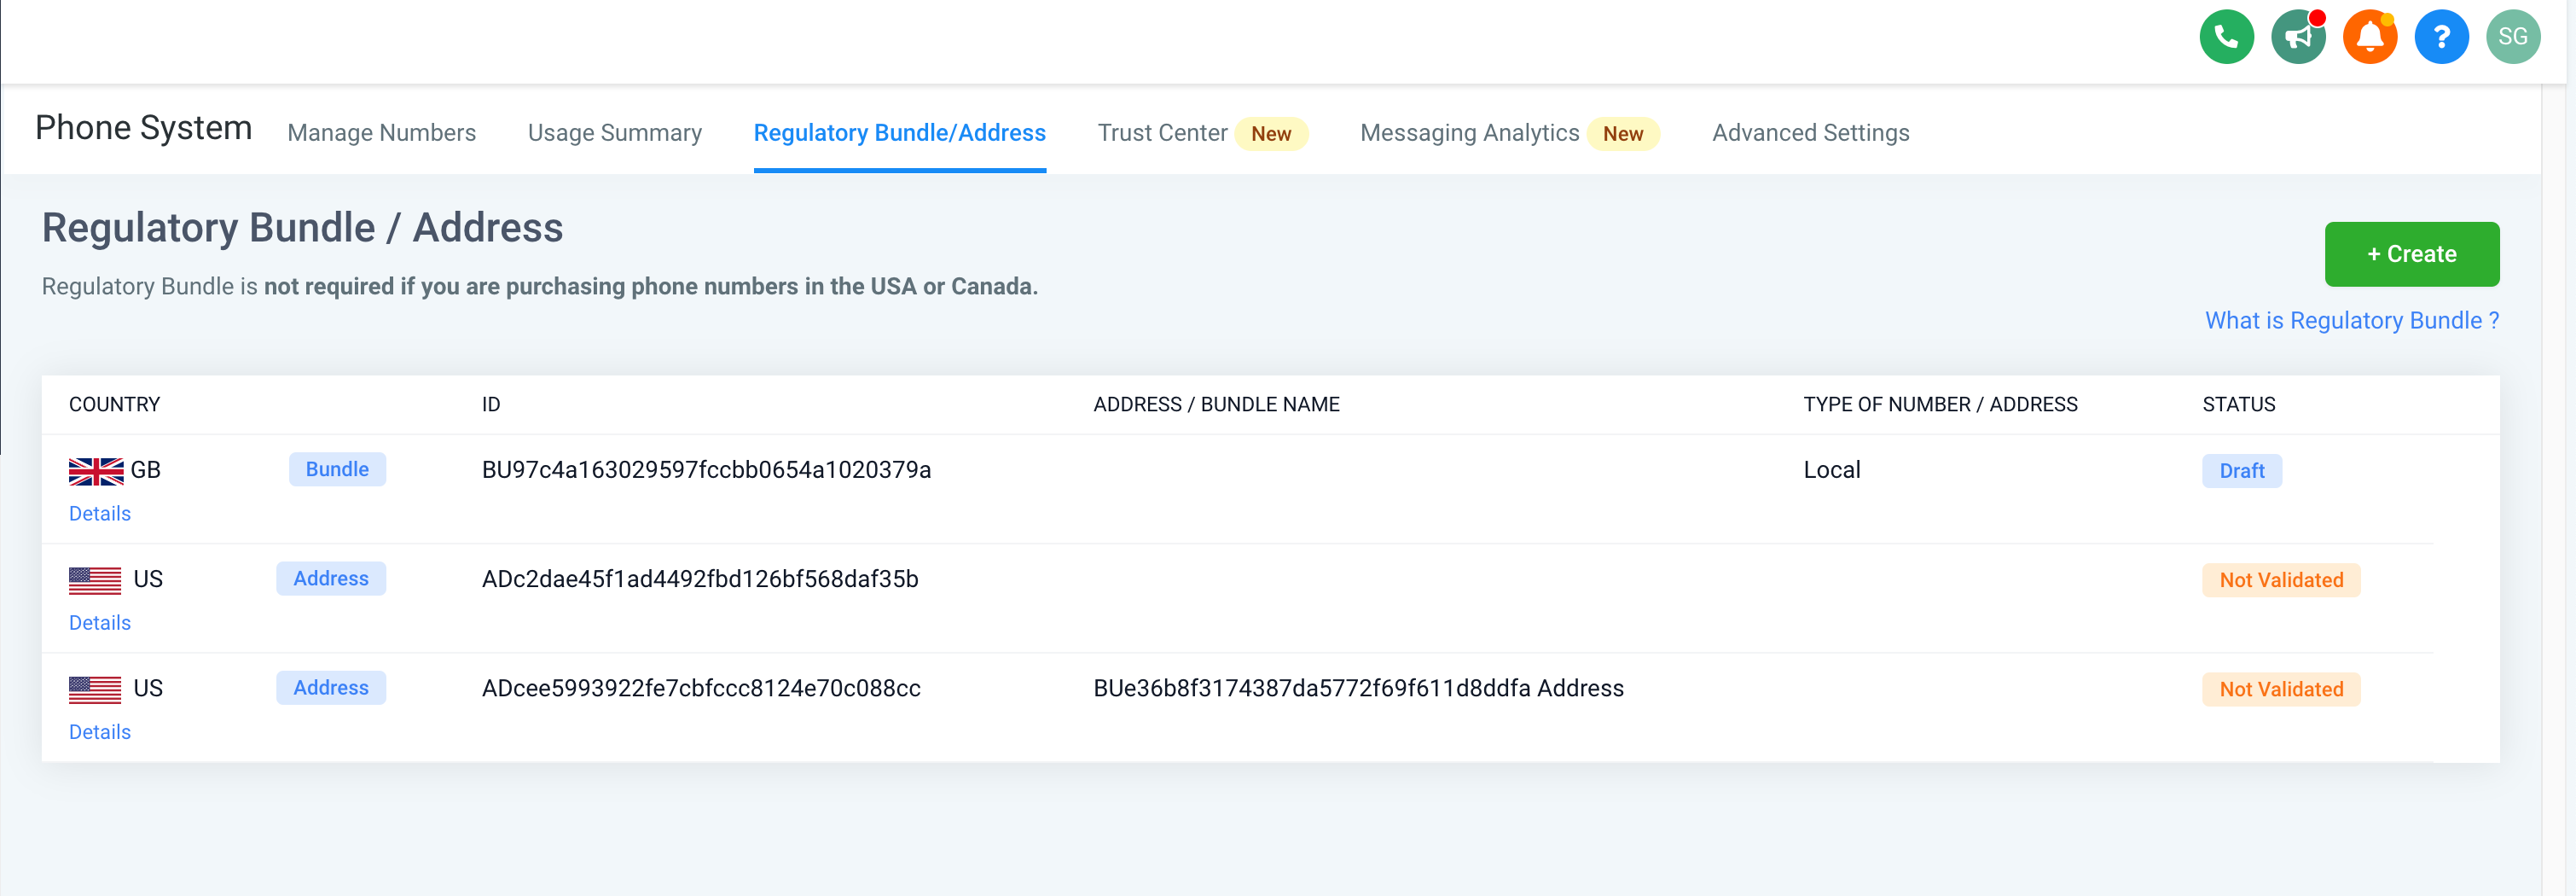
Go to Location Settings -> Phone Numbers Tab
Create a Regulatory Bundle / Address based on the number type you want to buy in the UK and submit it for approval.
Once approved please proceed to buy a UK number.
What if you don’t take action?
If you don’t use an alternative to replace international long codes, all SMS messages sent to the UK from international long codes will be blocked starting July 30, 2024.
For existing contacts who are linked to the from US number, make sure to create an agent, assign a UK number to him/her and post that assign all the UK customers to this user.
Social Planner
Schedule YouTube Videos and Shorts
How to Create a YouTube Video or Short in Social Planner:
Go to Marketing > Social Planner.
Connect your YouTube account with Google Integrations and select the account.
Go to Create New Post.
Select the YouTube channel for posting.
Add your video description in the caption along with hashtags and emojis.
Select either the Video or Shorts option.
Add a title for your YouTube Video or Short.
Note: By default, #shorts is appended to the title when the Shorts option is selected.
Set the privacy level: Public, Private, or Unlisted.
Add a follow-up comment to your post if needed.
Schedule your YouTube Video or Short.
Video and Short Dimensions for YouTube:
Users can add videos and shorts of up to 1GB.
Thumbnails can be PNG or JPEG and up to 2MB in size for a verified user.
Shorts must be 60 seconds or less and should have a vertical aspect ratio (recommended 9:16).
Email Builder
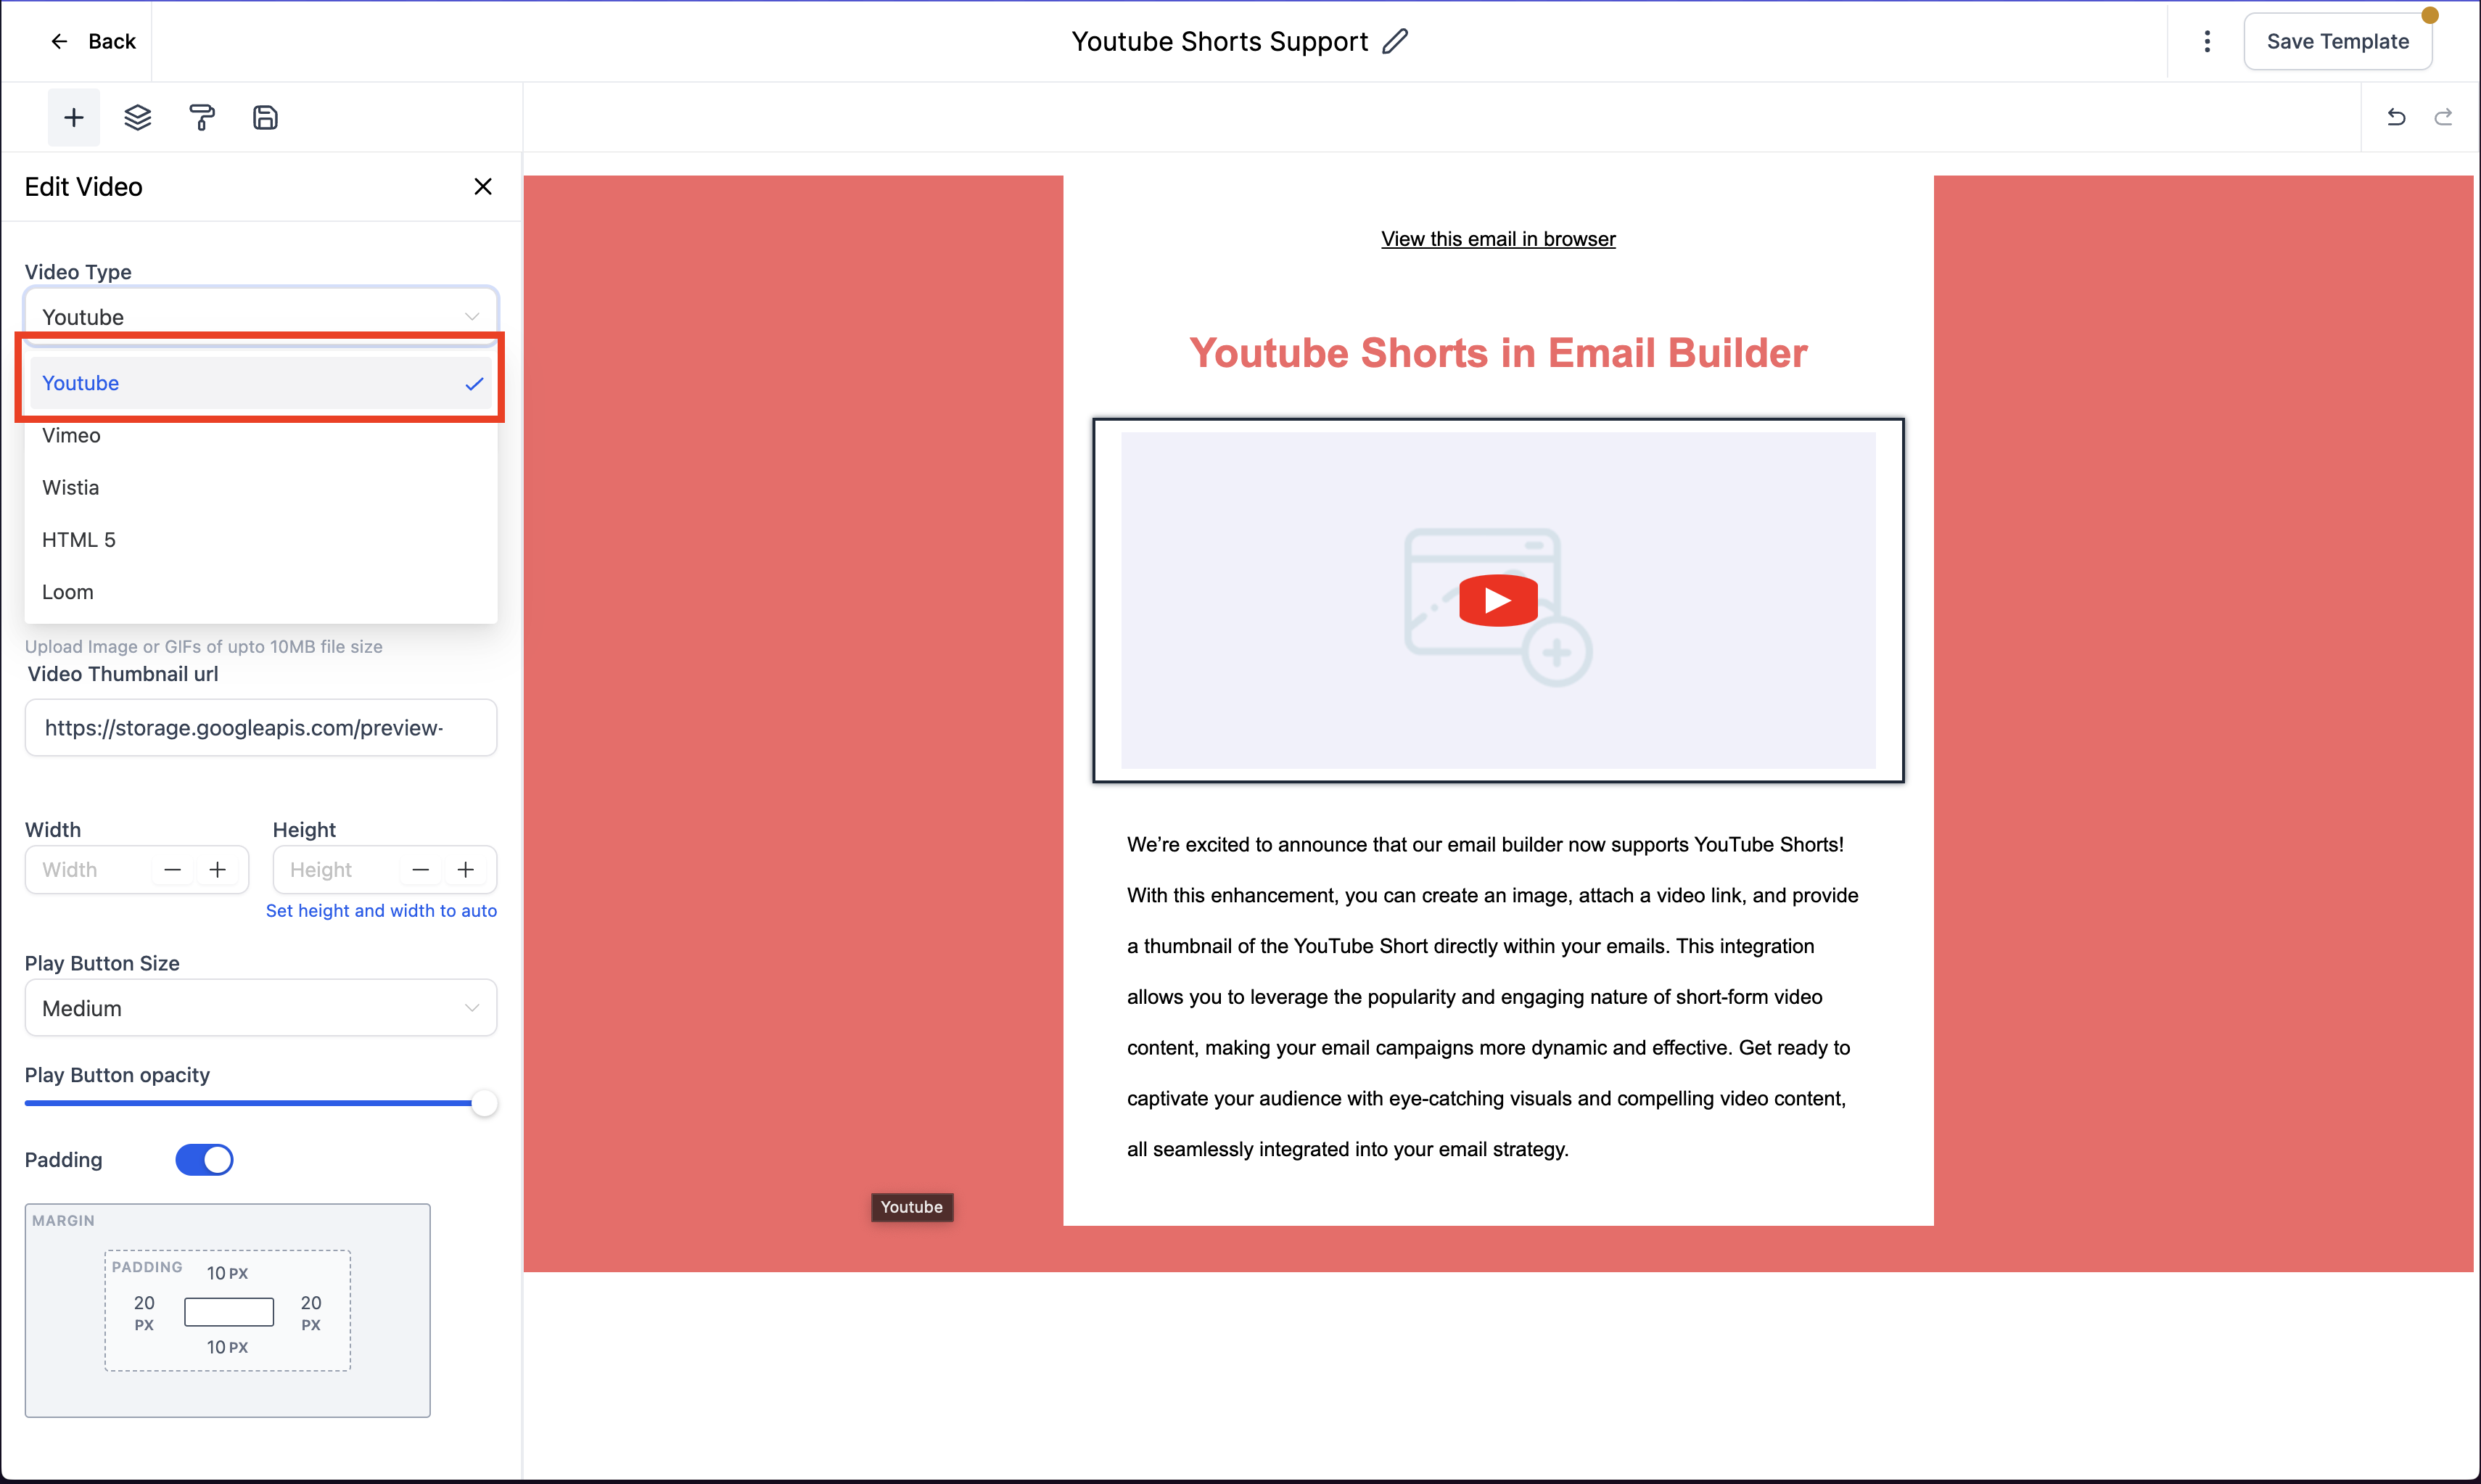
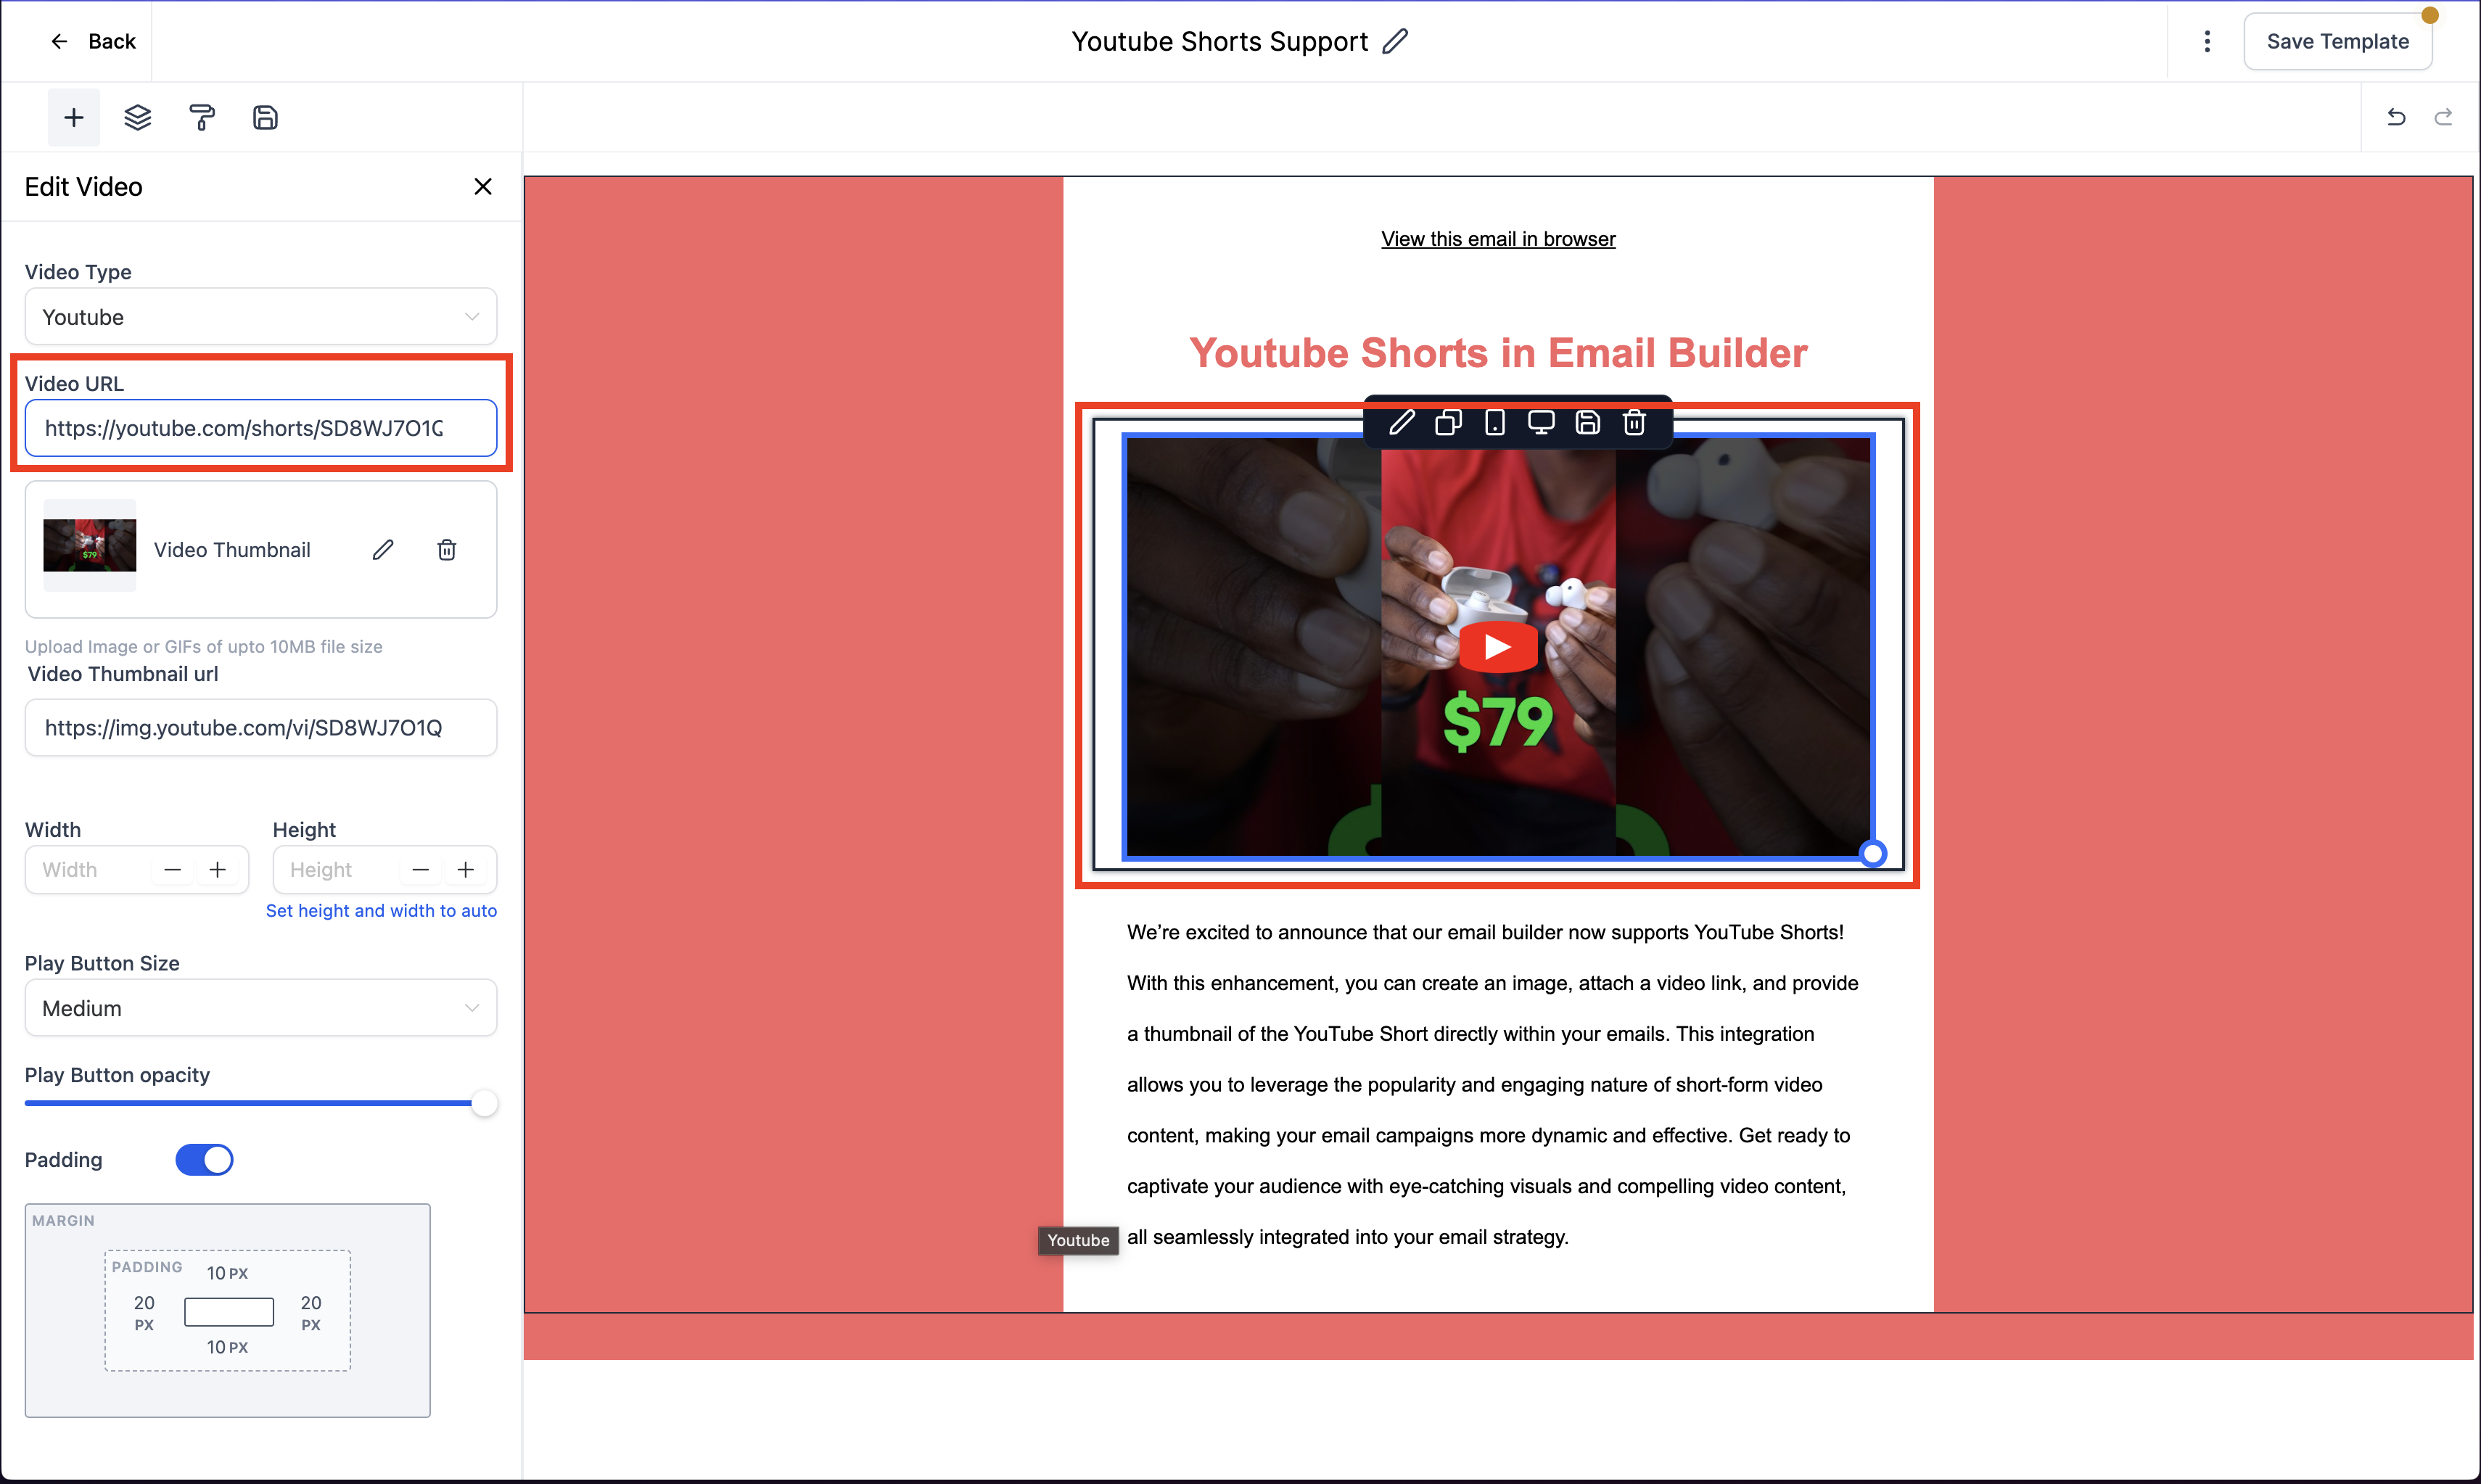
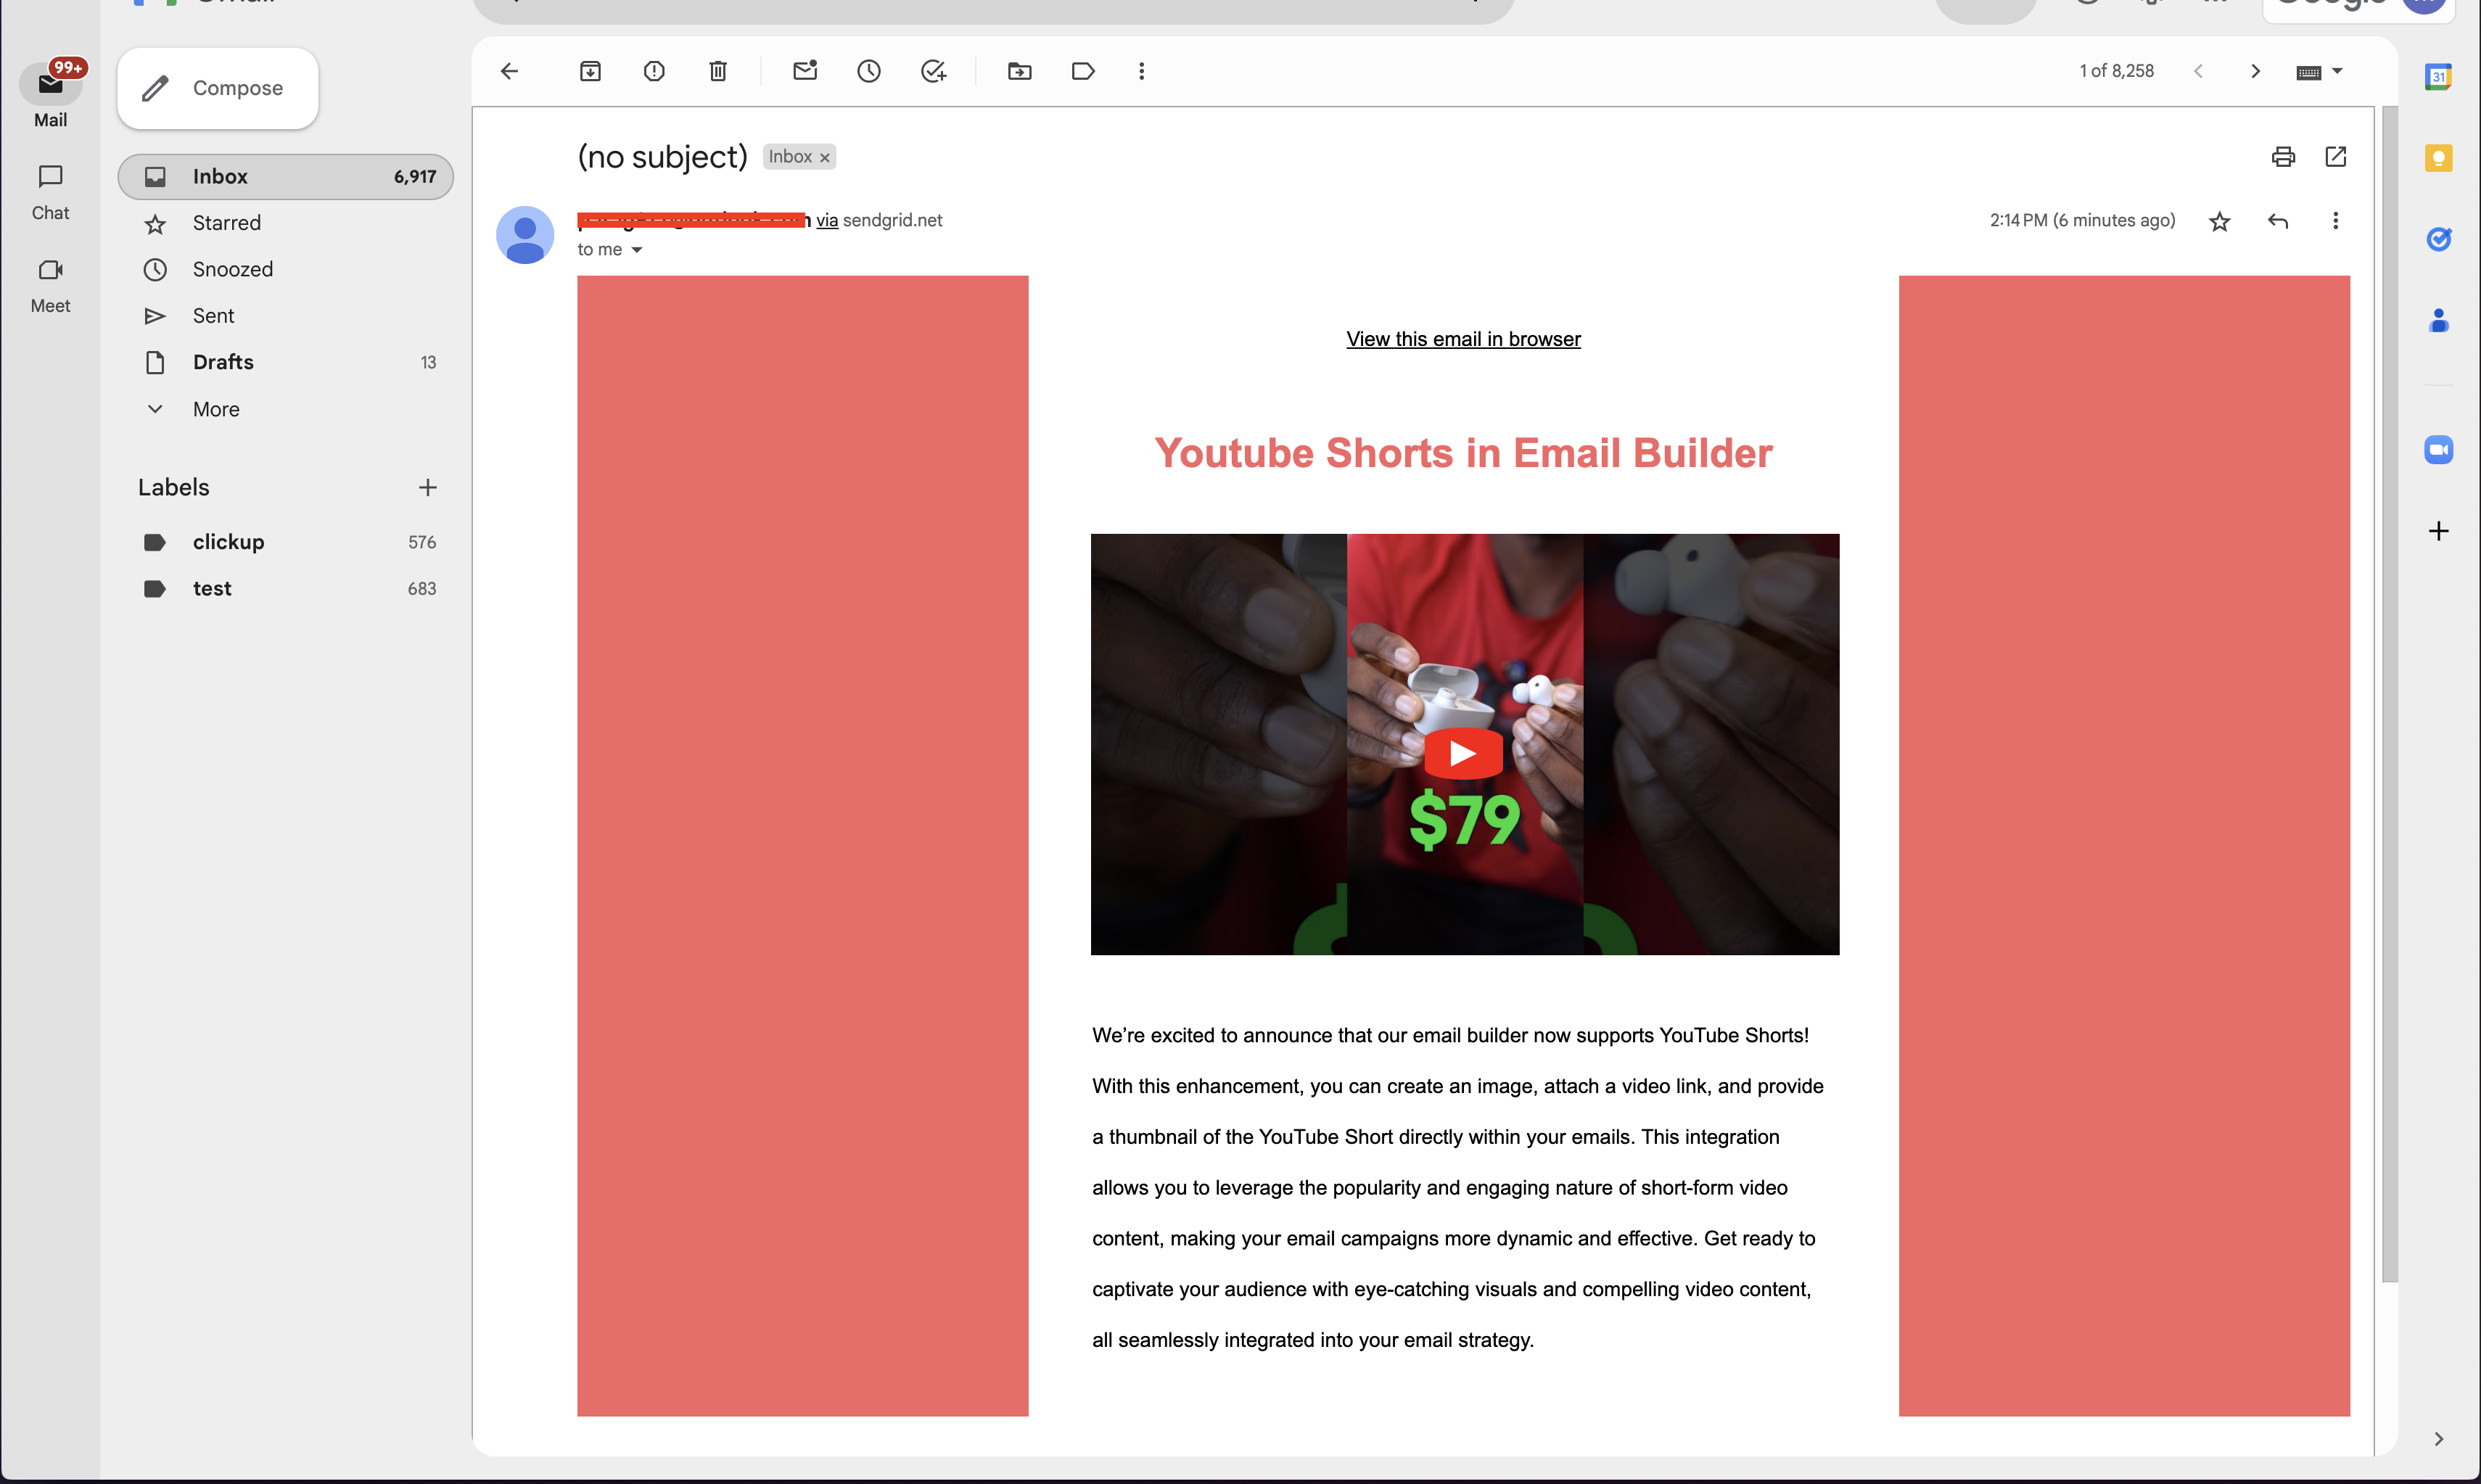
Introducing YouTube Shorts Support In Video Elements
We’ve upgraded our Video Element in email builder to now support YouTube shorts, giving your email campaigns a vibrant new twist.
How to Use:
Head over to Marketing>Emails.
Create or edit your campaign/template.
Add the Video Element and select Youtube
Insert your YouTube shorts URL.
Customize the thumbnail to match your email’s look.
Preview to see it in action!
Workflows
Shopify Customer API
Custom video embeds from youtube, wistia, vimeo now pre-render video thumbnails in SSR with lazy loading instead of client side, which fixes an issue with delay hydration where thumbnails would remain blank until an hydration event. (No user action required)
We were facing some issues recently with Shopify, where some triggers weren’t firing because Shopify stopped sending to us the contact identifier (email and/or phone).
In order to fix it, we’re adding a change to use the Shopify Customer API to get the customer information. To enable this Shopify functionality, the client should update the Shopify integration to add the read_customers access scope.
Integrations without this new access scope will work normally. Nothing will fail on the integration side.
Reputation
Revamped the UI in Reputation Settings
Enhanced Navigation: Enjoy a more intuitive and user-friendly interface.
Tab Management: Easily manage your settings for Email Requests, SMS Requests, Review Links, and Reviews AI.
High Demand: Ticked off one of the most requested Enhancement in Ideas board
Better platform for introduction of upcoming new features
Chat Widget
UI/UX Enhancement
We’re thrilled to unveil a brand-new revolutionary feature in Chat Widget – You can now customize the chat widget according to your test with the placement, look and feel and bring more customisations.
How Does It Work?
Navigate to Sites > Go to Chat Widget
Click on New to Create Chat Widget
Select the option between the SMS/Email Widget, Live Chat or WhatApp Chat
Once that is done, you will be able to go to Widget to customize the look and feel with options of different styles and themes. There are options to select the avatar images, select the placements and size of the widget.
Add Chat Launcher with or without prompt
Select the Chat icon
Select the theme or customize according to your brand
Allow users to add the message for first time and return visitors
Add Avatar images
Select where you would like to add the widget placement
Widget dimension – keep it auto or customize it with width and height
Next is Chat Window, all the message which are static visible to visitors are configured here. For each type, the chat widget adds extra fields. In Chat window, they are asking for branding and compliance parts.
Add Chat Window title, Intro message, allow user to enable email and change CTA button
Allow users to add their own branding and legal consent for HIPAA
The last option is messaging which allow customisation of acknowledgement and language settings.
Adding support contact details, acknowledgement message and greetings
User can select the language for the chat widget
A Few Notes
If you were already using the chat widget, it will show in the Widget option of theme with light blue color
WordPress plugin will work for default widget, allowing user to select the widget will be part of upcoming releases.
Integrations
Private Integrations
The marketplace team is excited to announce a new feature, Private Integrations, that allows customers to build powerful and secure custom integrations between their FGF account and any other third-party app.
What is New?
Private Integrations, to put it simply, is a feature-rich yet secure alternative to API Keys.
More secure:
Sub-account users can restrict the scopes/permissions that a developer can access on their accounts
Feature-rich:
Private Integrations allows sub-accounts to access API v2.0, which packs more API features and Webhooks.
Easy to manage:
Sub-accounts can follow token management rotation best practices using “Rotate and Expire Now/Later” features.
Why was this feature necessary?
The primary objective behind this feature is to enable customers who currently use custom integrations built on top of API v1 to migrate to API v2.